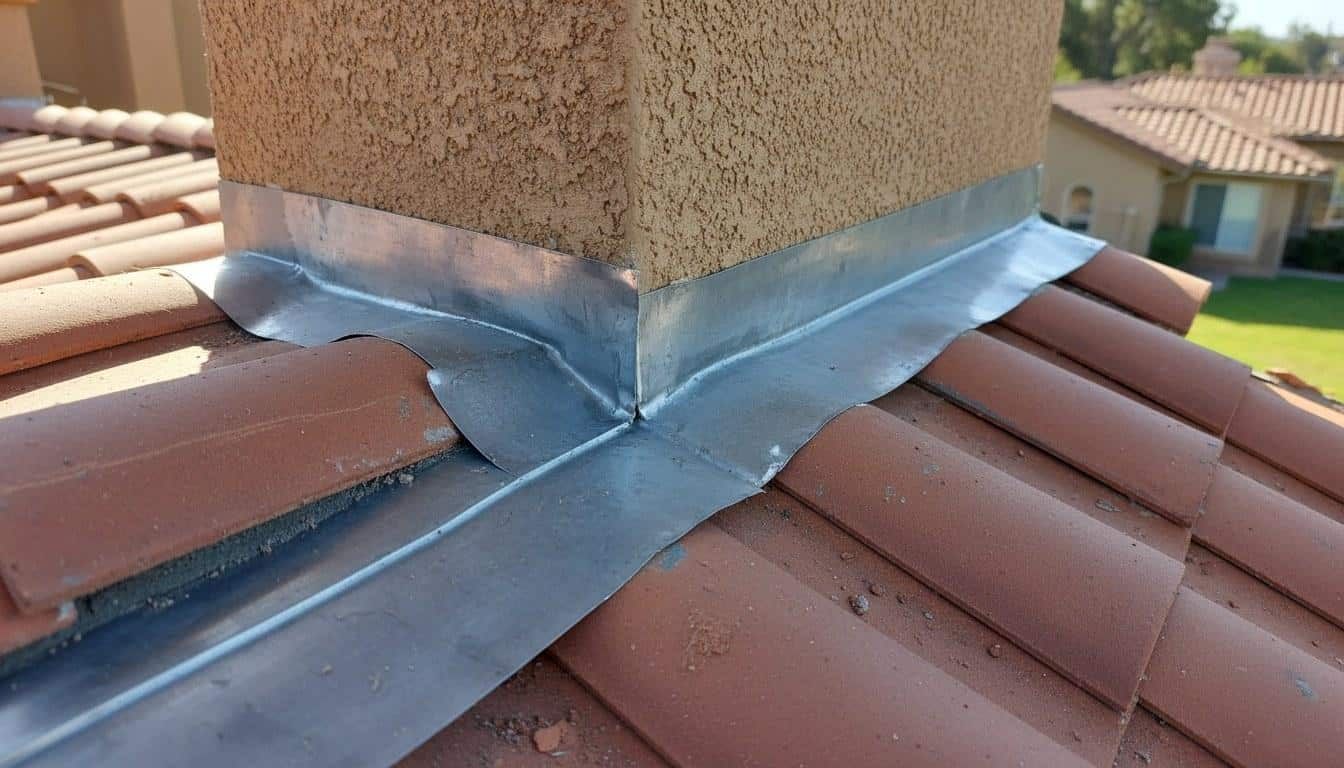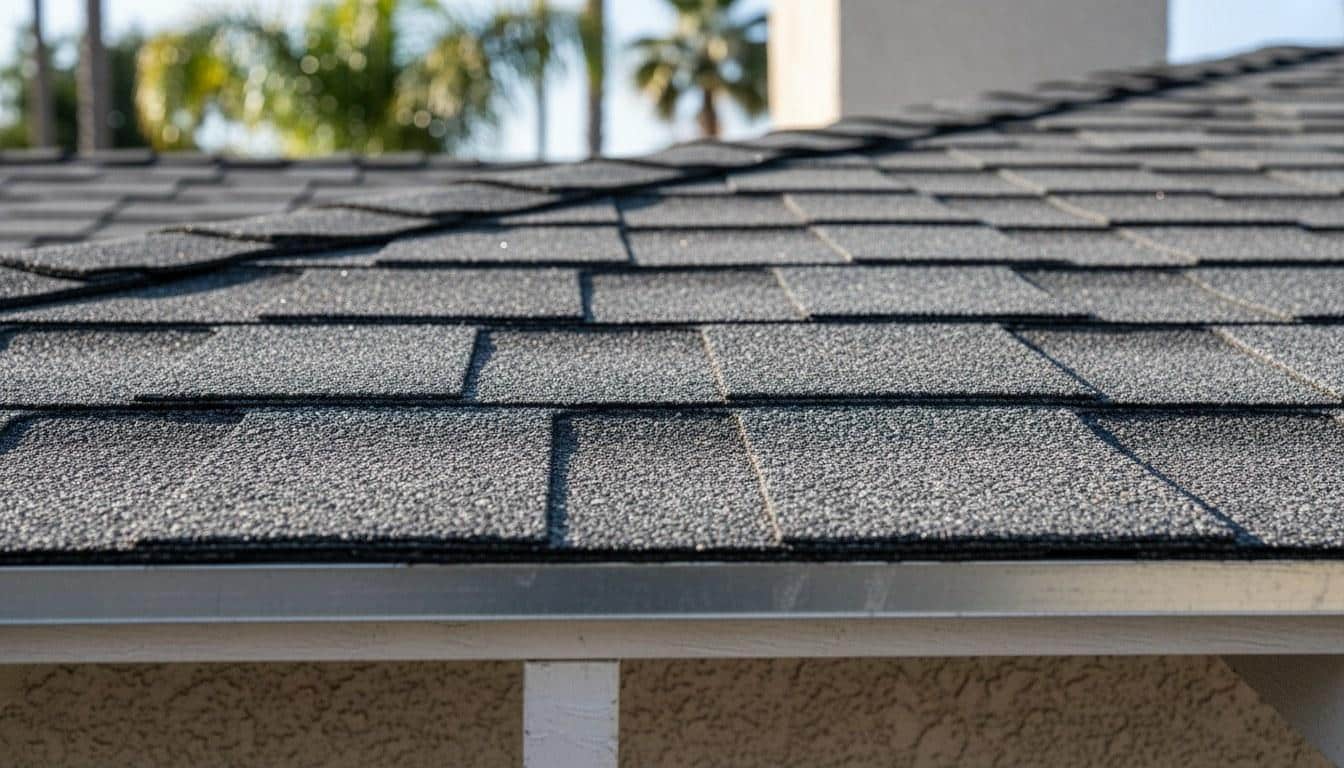
Roof flashing maintenance is one of the most overlooked parts of home upkeep, especially on mid-century homes with aging metal or asphalt systems. This guide covers what to inspect, when to act, and how to avoid costly water damage.
Need this done rather than diagnosed? See our roof flashing repair service, or browse all roofing services.
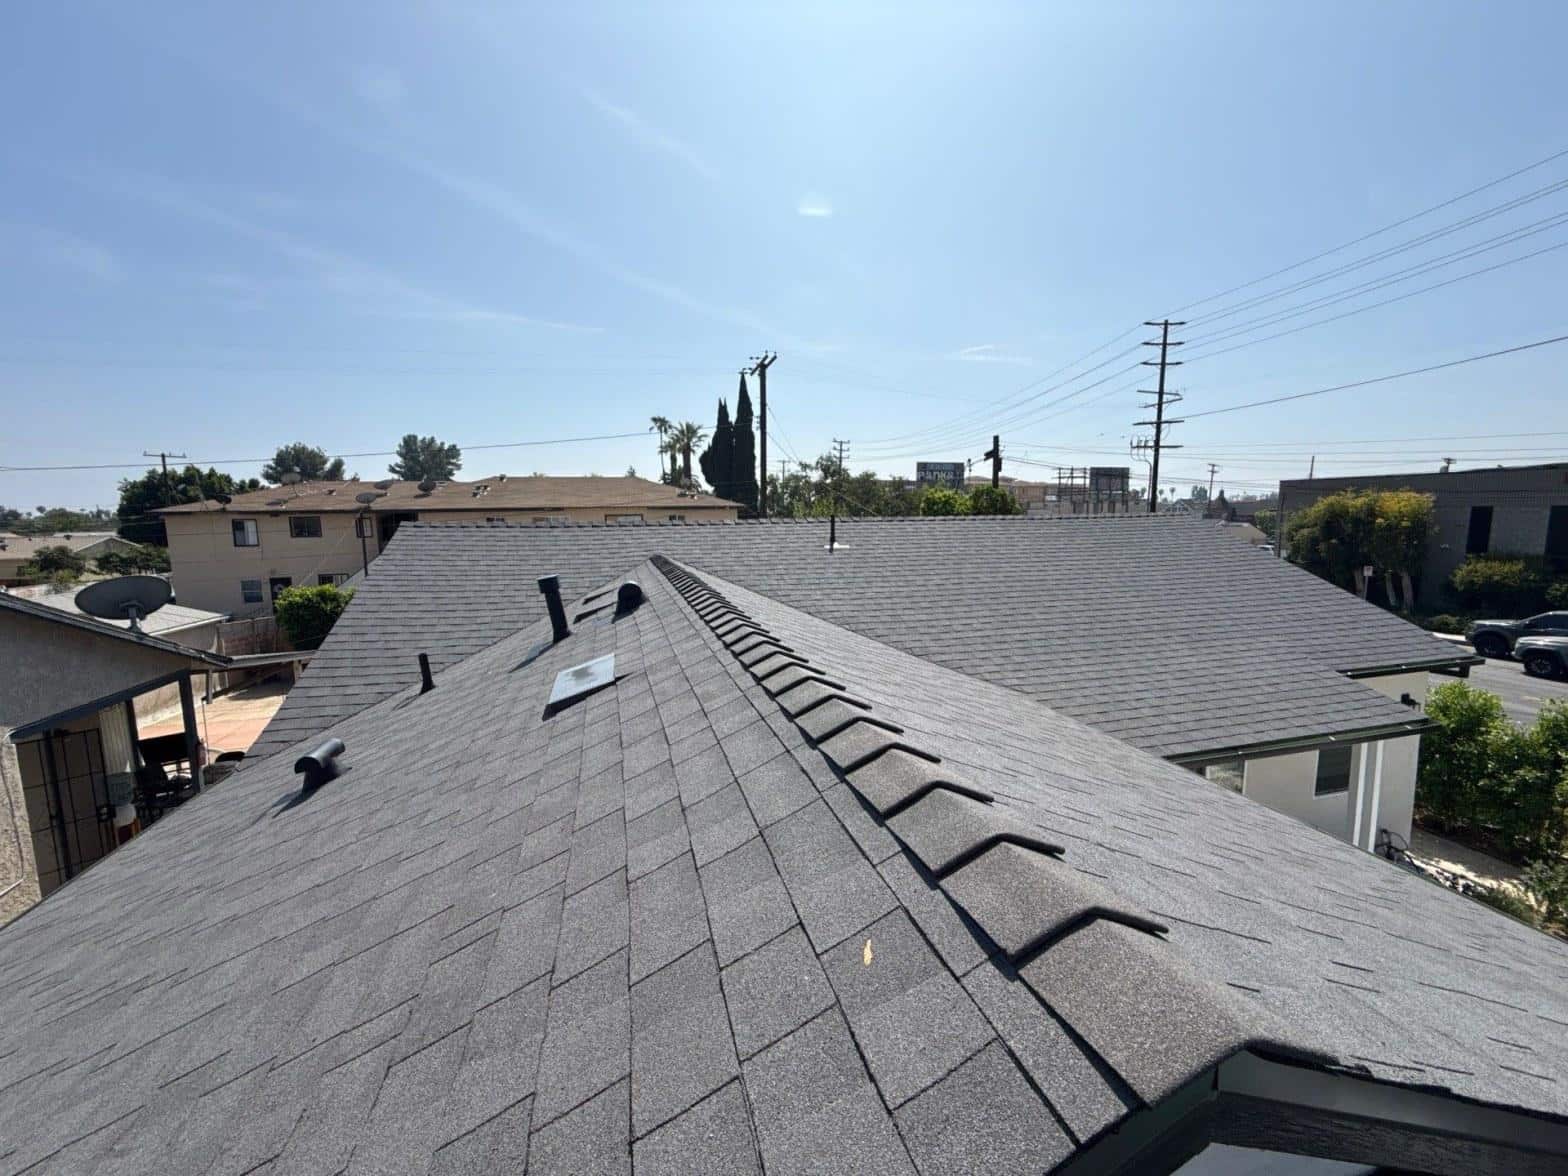
Roof flashing maintenance is the practice of regularly inspecting, cleaning, and resealing the metal strips that seal every joint and penetration on your roof, chimneys, vents, skylights, walls, and valleys. On mid-century homes throughout Southern California, original galvanized steel or aluminum flashing can be 40 to 70 years old, making it far more vulnerable to cracking and corrosion than the surrounding shingles. This guide gives you a practical, season-by-season plan for maintaining your flashing, a clear picture of what a professional inspection covers, and the warning signs that mean you need help now rather than later.
For a broader overview of flashing care across California climates, see the Roof Flashing Maintenance Checklist for California Homeowners and Roof Flashing Maintenance Tips Every California Homeowner Needs to Know. This guide goes deeper on the specific challenges of aging housing stock and gives you a step-by-step maintenance schedule.
Why Does Roof Flashing Fail Faster on Older California Homes?
Homes built between the 1940s and 1970s, a large share of the housing stock in communities across Los Angeles County, were typically installed with galvanized steel flashing that has a functional lifespan of 20 to 30 years. Many of those homes are now 50 to 80 years past their original installation date, meaning the flashing has already outlived its expected service life by decades.
Southern California’s climate adds stress that homeowners in wetter regions don’t always anticipate. Prolonged UV exposure causes sealant to dry and crack. Thermal cycling, the daily swing between cool mornings and hot afternoons, causes metal flashing to expand and contract repeatedly, loosening fasteners and opening gaps at seams. According to the National Weather Service, the Los Angeles Basin regularly sees temperature swings of 20 to 30°F within a single day, which accelerates metal fatigue over time.
Asphalt shingle roofing common across the region also plays a role. As shingles age, they lose granules and become more brittle, which changes how they interact with the flashing at valleys and eaves. When the shingle surface degrades, water is more likely to work its way under lifted flashing edges.
Our crews have found that on homes with original galvanized flashing installed before 1975, roughly 7 out of 10 show active rust staining or sealant failure at the chimney base, even when the surrounding shingles still look acceptable from the ground.
On homes with original galvanized flashing installed before 1975, roughly 7 out of 10 show active rust staining or sealant failure at the chimney base, even when the surrounding shingles still look acceptable from the ground.
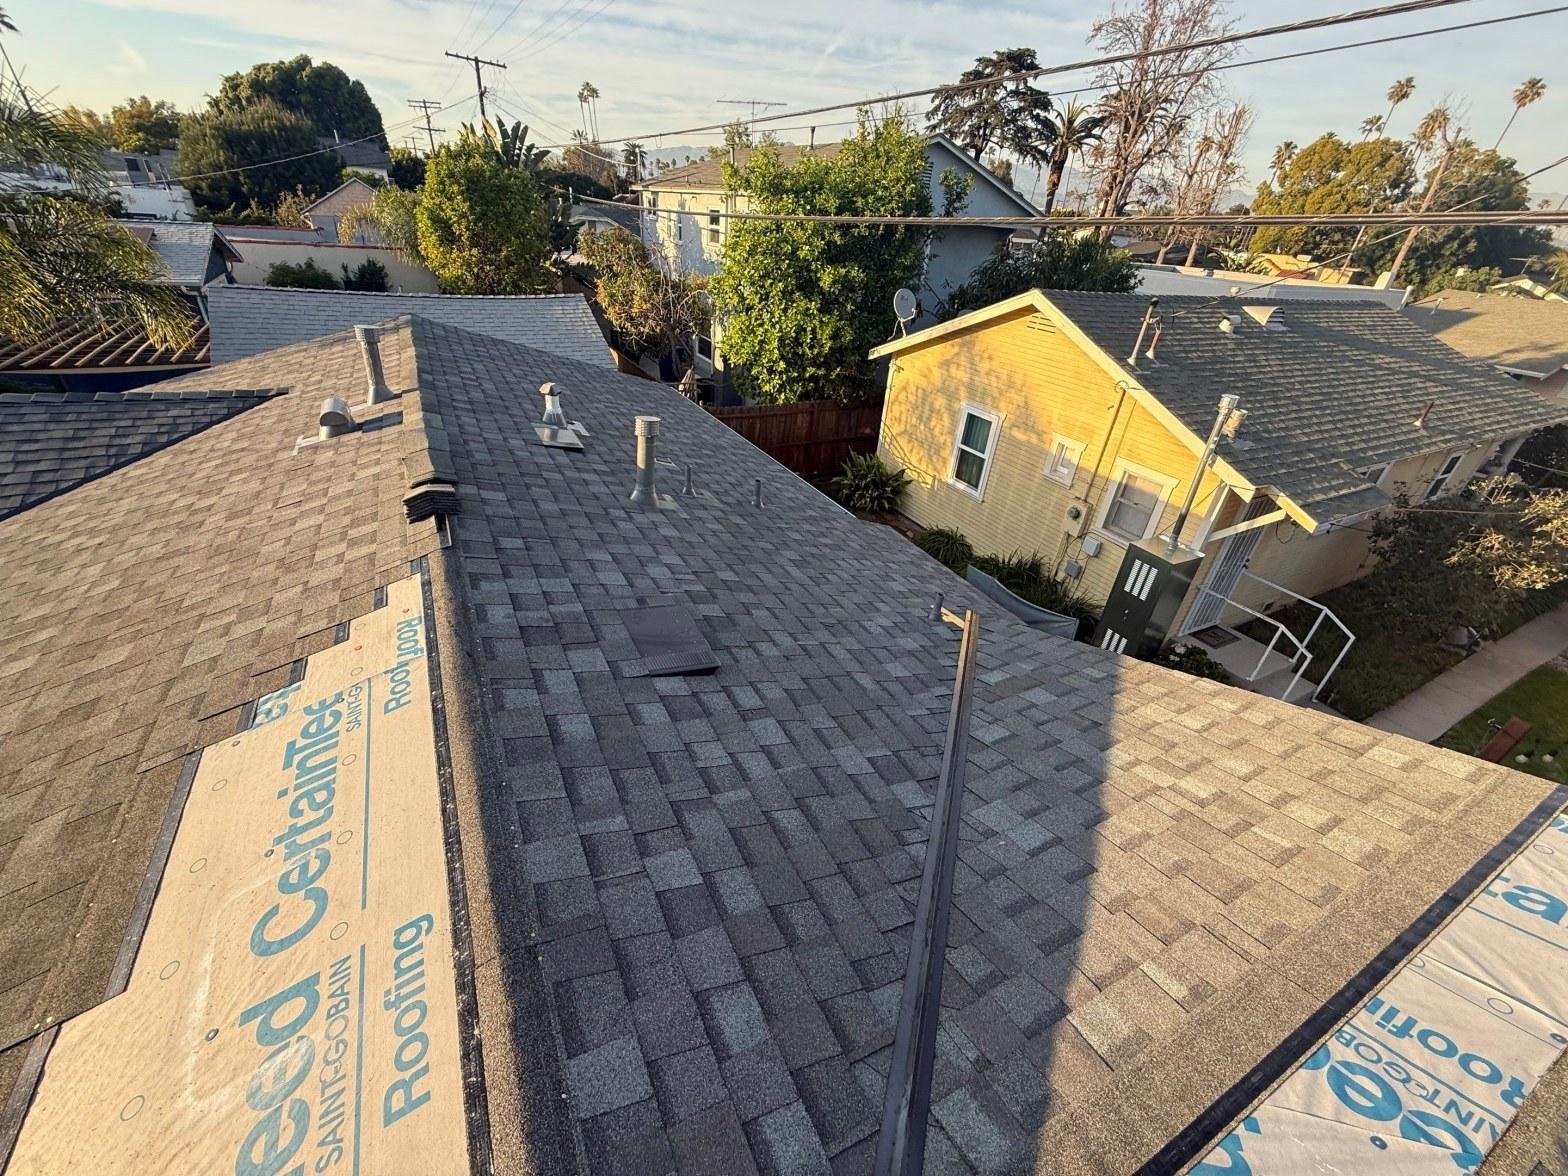
What Are the Different Types of Roof Flashing and Where Do They Go?
Metal flashing comes in several forms, and each one serves a specific location on the roof. Knowing the names helps you communicate clearly with a contractor and spot which piece is causing a problem.
- Step flashing: Individual L-shaped metal pieces installed in a stair-step pattern where a roof slope meets a vertical wall. Common at dormers and additions.
- Counter flashing: A second layer of flashing that overlaps step flashing, typically embedded into mortar joints on a chimney. It covers the top edge of the step flashing to block water from running behind it.
- Base flashing: The lower piece at a chimney or wall that directs water away from the joint. It works together with counter flashing as a two-part system.
- Valley flashing: A continuous strip of metal or pre-formed material running along the V-shaped valley where two roof slopes meet. It handles the highest volume of water on the roof.
- Vent pipe flashing: A pre-formed rubber or metal collar that seals around plumbing vent pipes. The rubber boot is often the first piece to crack on older homes.
- Drip edge flashing: A thin metal strip installed along the eaves and rakes to direct water off the roof edge and away from the fascia board.
- Skylight flashing: A factory-integrated or site-built system of flashing pieces that seals all four sides of a skylight frame to the roof deck.
Materials have also evolved. Older homes may have galvanized steel, which rusts. Aluminum is lightweight and corrosion-resistant but can react with certain masonry materials. Copper is the longest-lasting option, 50 or more years in most climates, and is often used on premium re-roofing projects. Lead flashing is still found on some pre-1980 chimneys and should be handled with appropriate precautions during any repair work.
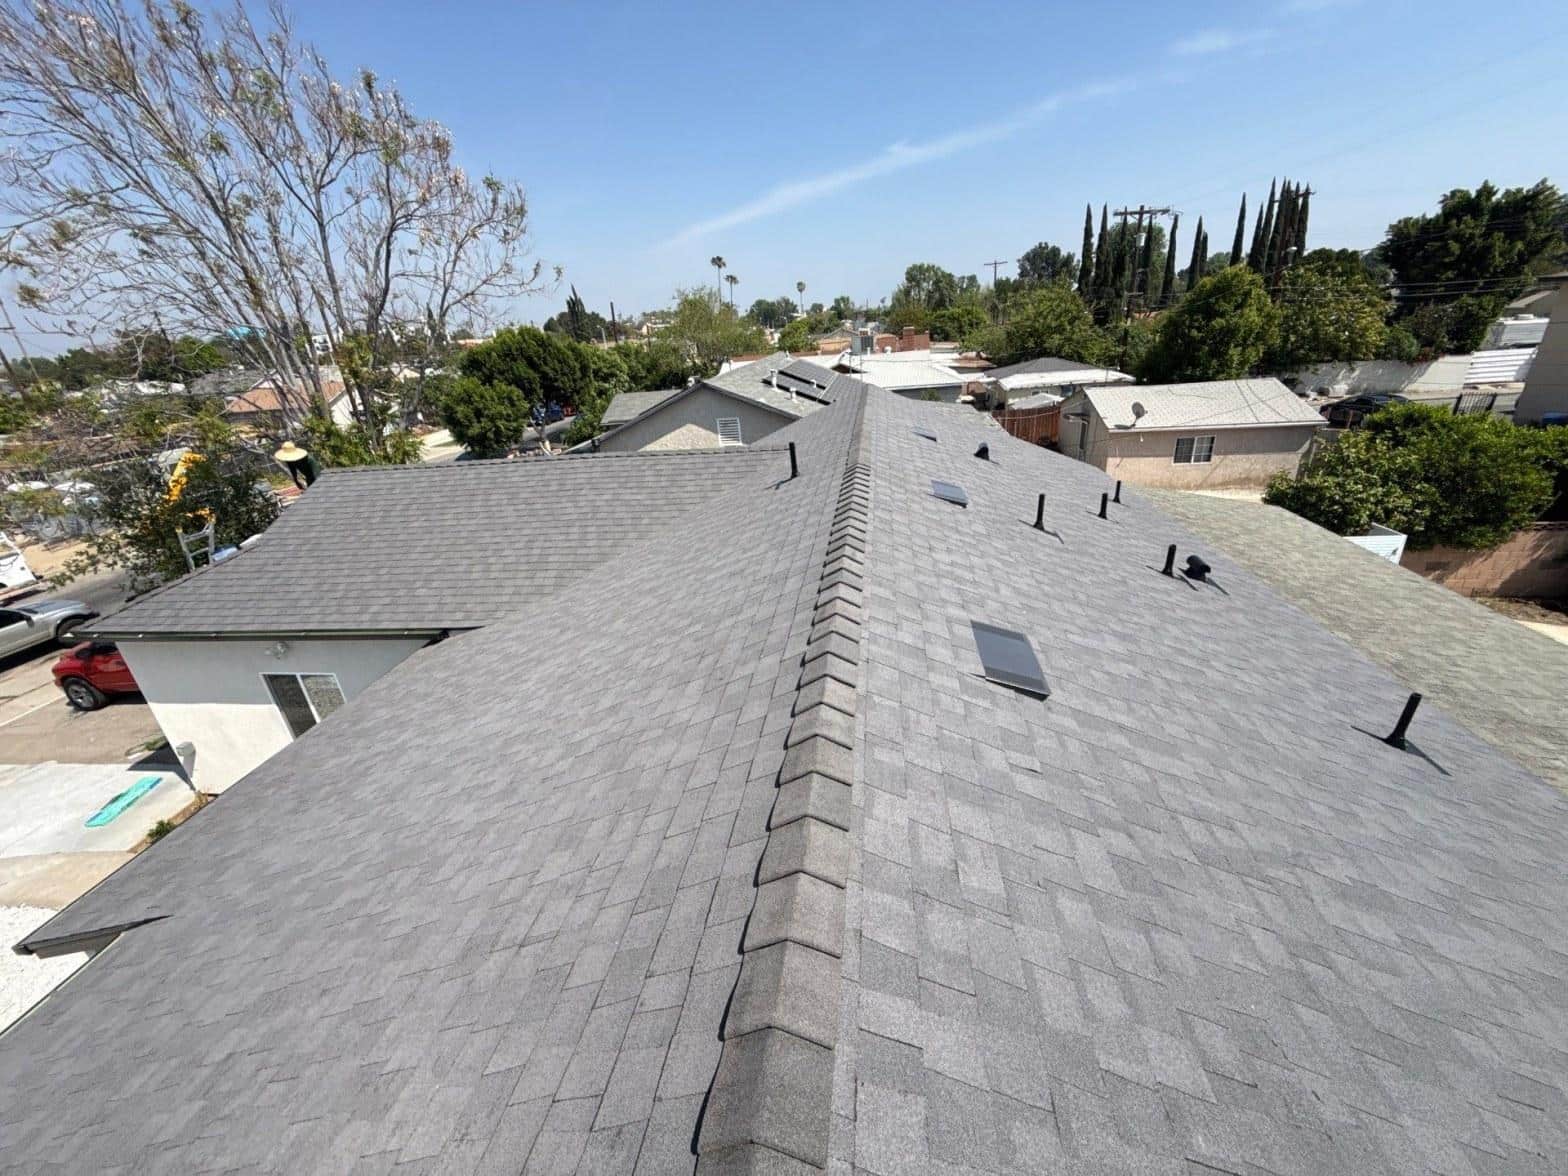
What Should Your Seasonal Roof Flashing Maintenance Routine Look Like?
A twice-yearly inspection schedule, once in late spring and once in early fall, is the minimum for homes with flashing older than 15 years. Homes with original mid-century flashing benefit from three checks per year.
Spring (March, May)
- Inspect all flashing seams and sealant lines for cracks that opened during winter temperature swings.
- Check chimney counter flashing for mortar joint separation: use binoculars from the ground or a ladder for a closer look.
- Clear any debris from roof valleys so water flows freely over valley flashing.
- Look for rust staining on fascia boards or soffits below flashing locations, a sign water has already been infiltrating.
- Test vent pipe rubber boots by pressing gently: if the rubber feels brittle or cracks under light pressure, schedule replacement.
Summer (June, August)
- After the first significant heat wave, check that sealant around skylights and vents hasn’t bubbled or pulled away from the metal edge.
- Inspect drip edge along eaves for lifted sections: heat causes expansion that can break the seal between drip edge and underlayment.
- Look for granule buildup in gutters at valley exits: heavy granule loss can indicate shingles are degrading where they meet the flashing.
Fall (September, November)
- Clear all debris from valleys and gutters before the rainy season begins, typically November through March in Southern California.
- Re-apply roofing sealant to any flashing seams that show hairline cracks, use a product rated for the temperature range of your area.
- Check step flashing at all wall-to-roof transitions for lifted or missing pieces before the first rain.
- Confirm that skylight flashing is tight on all four sides and that weep holes are clear.
Winter (December, February)
- After any significant rain event, inspect attic spaces for water staining on rafters or sheathing near chimney, vent, and valley locations.
- Check ceilings on the top floor for new water spots: these often appear directly below a flashing failure.
- Document any new staining with photos and dates to help a contractor pinpoint the source quickly.
| Maintenance Task | Frequency | DIY or Pro? |
|---|---|---|
| Visual inspection from ground level | Every 3 months | DIY |
| Clear debris from roof valleys and gutters | Twice yearly (spring and fall) | DIY (with ladder safety) |
| Re-apply sealant to exposed flashing seams | Annually or after cracking appears | DIY (accessible areas) / Pro (steep or high) |
| Check attic for water staining after rain | After each significant rain event | DIY |
| Inspect rubber vent pipe boots | Annually | Pro recommended |
| Probe chimney counter flashing and mortar joints | Every 2 years | Pro |
| Full flashing system inspection with lift-and-check | Every 3-5 years (or after major storm) | Pro |
| Replace corroded galvanized flashing sections | As needed, typically every 20-30 years | Pro |
What Does a Professional Roof Flashing Inspection Actually Cover?
A thorough professional flashing inspection goes well beyond what you can see from the ground. A qualified contractor will physically lift flashing edges, probe sealant with a tool, and check the underlayment beneath each flashing piece for signs of moisture intrusion, tasks that take 60 to 90 minutes on a typical single-story home.
Here is what a professional inspection should include:
- Visual survey of all roof penetrations: chimneys, vents, skylights, and pipe collars from the roof surface.
- Physical check of step flashing at every wall-to-roof junction, each individual piece should be secure and overlapping correctly.
- Mortar joint inspection on chimneys: counter flashing that has separated from deteriorating mortar is one of the most common sources of attic leaks on homes older than 30 years.
- Probe of all sealant beads for hardness and adhesion: sealant that has lost flexibility will crack under the next thermal cycle.
- Underlayment check at valley flashing: the roofer will look for staining, rot, or softness in the deck beneath the metal.
- Drip edge alignment check along all eaves and rakes.
- Attic walkthrough (if accessible) to look for daylight, staining, or mold near penetration points.
- Written report with photos documenting condition and any recommended repairs.
Contractors licensed by the California Contractors State License Board (CSLB) are required to carry the appropriate license classification for roofing work. Always verify a contractor’s CSLB license number before work begins; it takes less than two minutes on the CSLB website and protects you if a dispute arises.
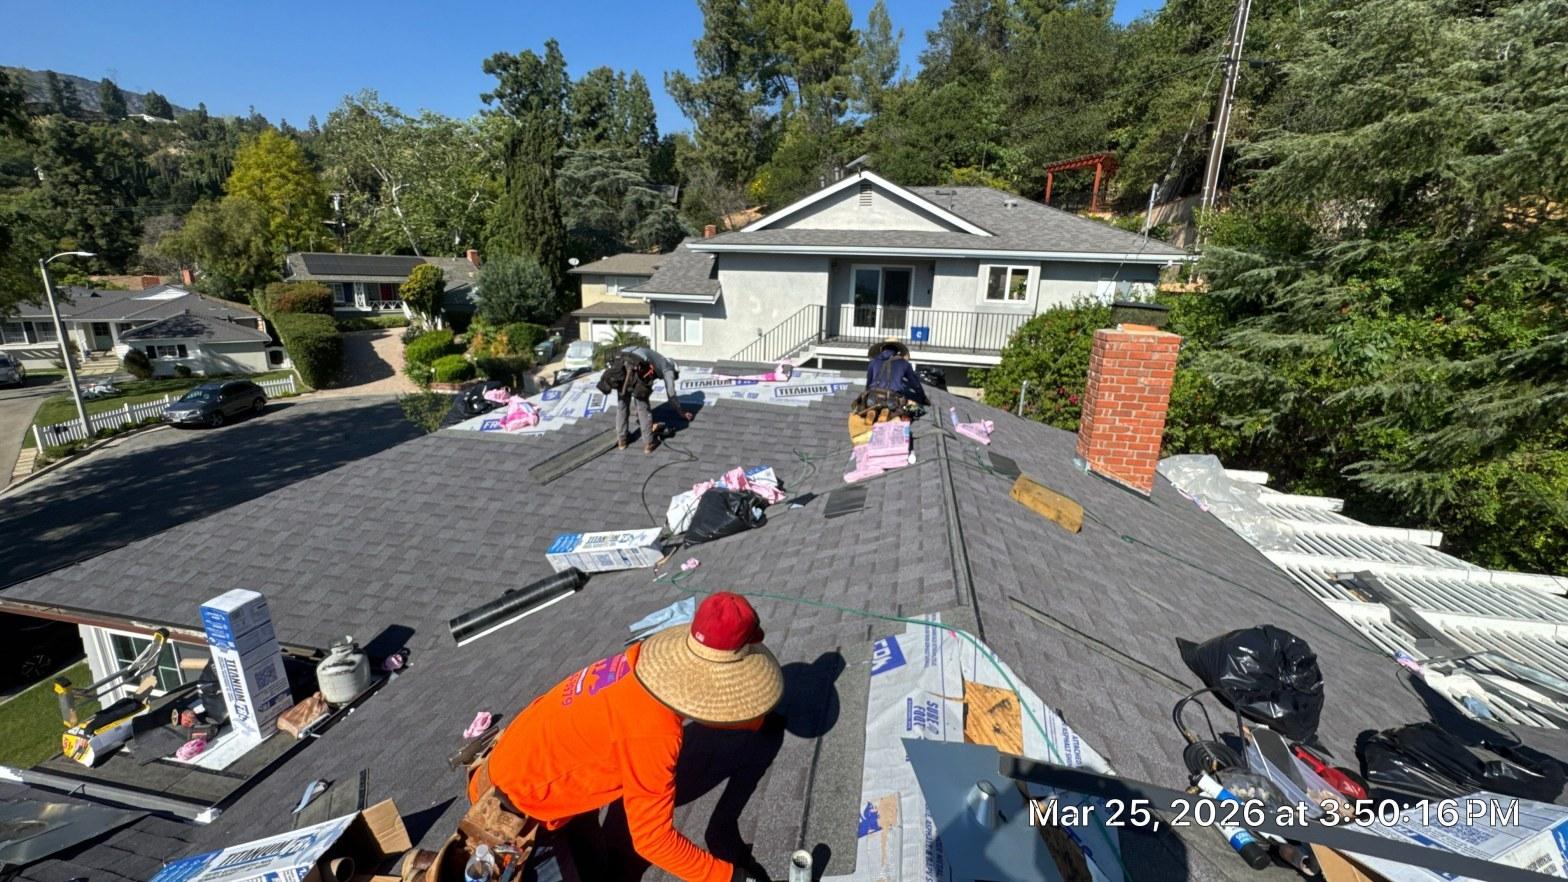
What Warning Signs Tell You Flashing Is Failing Between Inspections?
Most flashing failures give you at least one visible warning before water reaches your living space. Catching these signs early can mean the difference between a $200 reseal and a $3,000 or more interior repair.
- Water stains on ceilings or upper walls: Brownish rings or streaks near a chimney, skylight, or exterior wall are almost always traced to a flashing failure above.
- Rust streaks on exterior walls: Orange or brown streaks running down a wall below a roof-wall junction indicate corroding galvanized flashing.
- Visible gaps at chimney base: Any daylight visible between the flashing and the chimney masonry is an open path for water.
- Lifted or buckled flashing edges: Metal that is visibly curled, lifted, or separated from the surface it covers has lost its seal.
- Cracked or missing sealant: Sealant that has pulled away, crumbled, or is clearly absent at a joint is a near-certain leak source during the next rain.
- Granule deposits directly below a valley: Heavy granule accumulation in gutters at valley exits can mean shingles are eroding at the flashing edge.
- Mold or mildew smell in the attic: A musty odor in the attic during or after rain often points to a slow, ongoing leak at a flashing penetration.
- Soft or spongy roof deck: If you can safely access the roof and feel softness underfoot near a chimney or vent, the deck below may already have moisture damage.
Across our service calls in Los Angeles County, the most frequently missed warning sign is rust streaking on stucco walls just below a roof-wall step flashing line, homeowners often assume it is a paint or stucco issue rather than a roofing problem, delaying the repair by months.
How Much Does Roof Flashing Repair or Replacement Cost in This Market?
Flashing repair costs in the Southern California market typically range from around $150 to $500 for a single penetration reseal or minor section repair. Full flashing replacement at a chimney, which involves removing and reinstalling both step and counter flashing, generally runs $400 to $1,200 depending on chimney size and flashing material chosen. Upgrading from galvanized steel to copper flashing adds to the material cost but significantly extends the service life.
The factors that move the price most are:
- Roof pitch: Steep roofs (above a 6:12 pitch) require more safety equipment and time, which increases labor costs.
- Number of penetrations: A home with one chimney, two skylights, and six vent pipes will cost more to re-flash than a simple gable roof with no penetrations.
- Material choice: Aluminum is the most affordable option. Copper costs more upfront but typically lasts 3 to 5 times longer than galvanized steel.
- Deck condition: If the plywood or OSB sheathing beneath the flashing has rotted, deck repair adds $200 to $600 or more per affected section.
- Access difficulty: Two-story homes, tile roofs, and roofs with complex geometry require more labor time.
As of 2025, some energy-efficient roofing upgrades performed alongside flashing work may qualify for the Inflation Reduction Act federal tax credit if the project meets the qualifying criteria. Ask your contractor whether any planned work qualifies before the project begins.
California’s Title 24 building energy standards also apply to re-roofing projects that exceed a certain percentage of the total roof area. If your flashing replacement is part of a larger re-roof, your contractor should confirm compliance with the California Energy Commission’s current Title 24 requirements.
Schedule Your Flashing Inspection with Roof Repair & Construction Inc.
Roof flashing maintenance is not a once-and-done task; it is an ongoing commitment that protects everything inside your home from water damage. On aging homes across Southern California, staying ahead of flashing failures by even one season can prevent thousands of dollars in interior repairs.
Roof Repair & Construction Inc. serves homeowners across Southern California and specializes in the aging housing stock common throughout Los Angeles County. Whether you need a full flashing system inspection, a targeted chimney reseal, or a complete re-flash with upgraded copper material, our team delivers written assessments and clear repair recommendations before any work begins.
Call (323) 474-1088 to schedule your inspection or request a custom quote. Same-week appointments are available for homes showing active leak signs.
Frequently Asked Questions
How do I apply roof flashing sealant myself?
Clean the area thoroughly with a wire brush to remove old sealant, rust, and debris. Apply a roofing-grade polyurethane or rubberized asphalt sealant in a continuous bead along the flashing edge, pressing it firmly into the gap between the metal and the surrounding surface. Smooth it with a putty knife and allow it to cure for at least 24 hours before rain exposure. For chimney counter flashing or any area higher than one story, professional application is the safer choice.
How do you put flashing on a roof properly?
Flashing is installed in layers that direct water away from joints, each piece overlaps the one below it so water always flows over the top of the next piece, never behind it. Step flashing at walls is installed one piece per shingle course, alternating between shingle and flashing as the course rises. Counter flashing is then embedded into mortar joints or sealed over the top of step flashing. Getting the overlap sequence wrong is the most common DIY mistake and the main reason professional installation is recommended for anything beyond a simple vent pipe reseal.
How often should roof flashing be inspected on an older home?
Homes built before 1980 should have their flashing inspected at least twice a year, once in spring and once before the rainy season begins in fall. If the original galvanized flashing has never been replaced, a full professional inspection every two to three years is a smart investment. After any significant storm or earthquake, add an unscheduled check to the calendar.
What is the lifespan of roof flashing?
Galvanized steel flashing typically lasts 20 to 30 years before rust and sealant failure become serious problems. Aluminum flashing lasts 30 to 40 years in most climates. Copper flashing is the longest-lasting option, with a service life of 50 years or more. In Southern California, UV exposure and thermal cycling can shorten all of these ranges by 5 to 10 years compared to milder climates.
Can bad roof flashing cause mold inside my home?
Yes. A slow flashing leak that goes undetected for even one rainy season can introduce enough moisture into wall cavities and attic framing to trigger mold growth within 24 to 72 hours of sustained wetness. Because flashing leaks often drip onto insulation or run along rafters before appearing on a ceiling, the visible water stain you see inside may be several feet from the actual entry point. If you find mold in the attic near a chimney or vent, have the flashing at that location inspected immediately.