Coastal heat, salt air, and wildfire-season temperature swings put California roof flashing under stress that inland homes rarely face. This guide walks you through the specific warning signs, DIY checks, and when to call a licensed roofer.
Need this done rather than diagnosed? See our roof flashing repair service, or browse all roofing services.
Why Does Roof Flashing Fail Faster on California Coastal Homes?
Roof flashing on coastal California homes typically fails 30 to 50 percent sooner than on homes in drier, inland climates. Salt-laden marine air, wildfire-season heat spikes above 100°F, and rapid overnight temperature drops all attack the metal and sealant that keep flashing watertight.
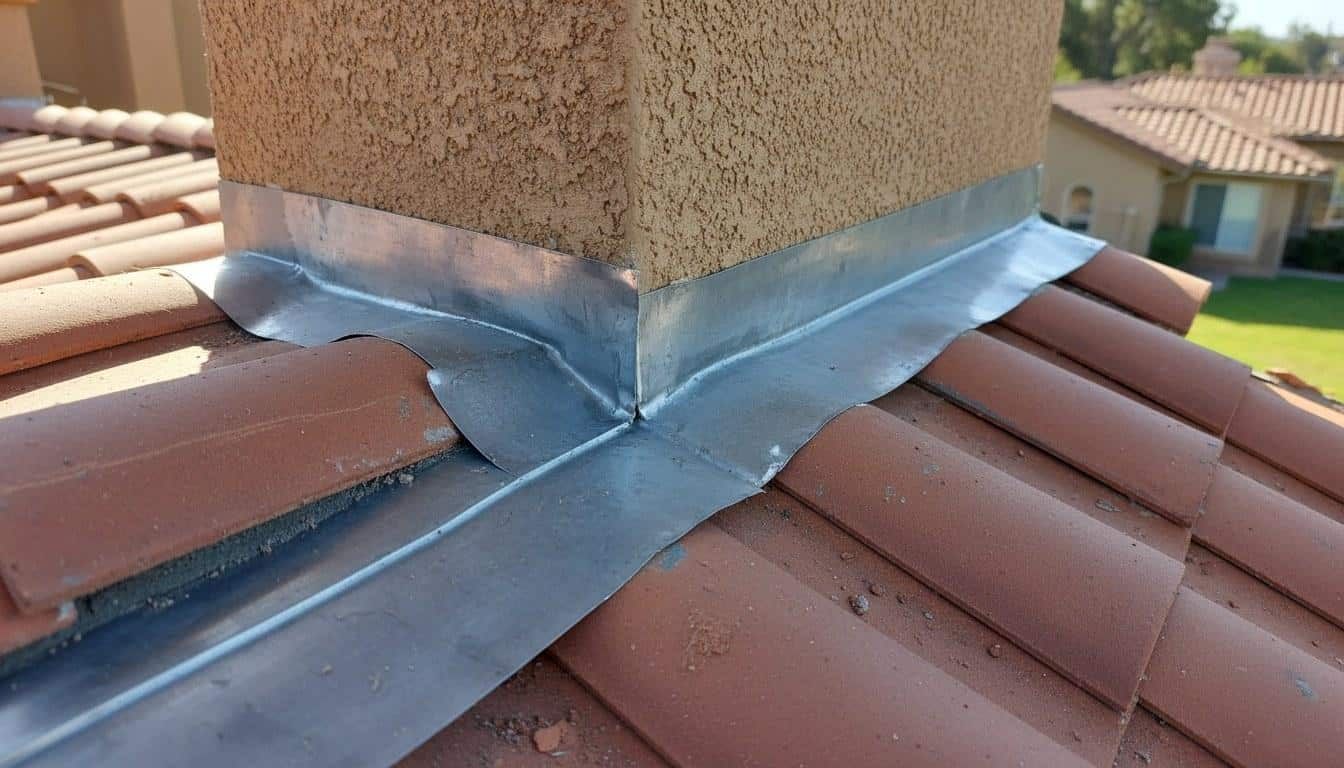
Flashing is the thin metal or composite material installed at every roof penetration and transition point, around chimneys, skylights, vents, dormers, and along valleys where two roof planes meet. Its job is to redirect water away from joints that shingles alone cannot seal. When it fails, water finds the fastest path into your home’s structure.
Homes near the Pacific coast face a specific combination of stressors. NOAA research confirms that airborne salt particles accelerate corrosion on exposed metals, including galvanized steel and aluminum flashing. During wildfire season, ambient temperatures can swing 40°F or more within a single day, causing metal flashing to expand and contract repeatedly, a process that loosens sealant bonds and opens gaps over time.
Older housing stock compounds the risk. Many California homes built before 1990 were originally fitted with galvanized steel flashings that carry a useful life of roughly 20 to 30 years under normal conditions, and considerably less under coastal stress. If your home is more than 20 years old and the flashings have never been inspected or replaced, the probability of hidden deterioration is high.
For a broader overview of how coastal conditions affect roof systems generally, the team at Roof Repair & Construction Inc. has published a related guide: Signs Your Roof Flashing Is Failing: A Coastal California Troubleshooting Guide. This article goes a step further, focusing on the specific diagnostic process, what to look for, how to check it safely, and when the damage crosses from a DIY patch into licensed-contractor territory.
What Are the Warning Signs You Need Roof Flashing Repair?
The clearest signs you need roof flashing attention are water stains on ceilings near chimneys or skylights, rust-colored streaks on interior walls, and visible gaps or lifted metal at roof edges, especially after the first significant rain of the season. Many homeowners first notice these symptoms indoors, long after the flashing has already begun to fail outdoors.
Our technicians respond to roughly three times more emergency leak calls in the first two weeks of November than during any other two-week window, almost always traced to flashing failures that went undetected through the dry summer months.
Our technicians respond to roughly three times more emergency leak calls in the first two weeks of November than during any other two-week window, almost always traced to flashing failures that went undetected through the dry summer months.
- Water stains on ceilings or upper walls: Brown or yellowish rings near chimneys, skylights, or dormers point directly to flashing failure at those penetrations rather than a general shingle problem.
- Rust-colored streaks on interior drywall: Oxidizing metal flashing transfers rust staining into the water it sheds. Seeing orange or brown streaks on a wall below a roof penetration is a near-certain indicator of corroding flashings.
- Visible gaps between flashing and the roof surface: From the ground or a ladder at eave height, look for metal that has lifted, buckled, or separated from the surrounding shingles or masonry.
- Missing or crumbling sealant at flashing edges: Dried, cracked, or absent caulk around step flashing, counter flashing, or pipe boots is a direct pathway for water intrusion.
- Granule buildup in gutters concentrated near valleys: When valley flashing deteriorates, it accelerates shingle wear at the contact edges. Excessive granule loss in one section of the gutter often traces back to failed valley metal flashing below.
- Daylight visible in the attic near penetrations: If you can see pinpoints of light around a chimney base or skylight curb from inside the attic, water can get in through those same gaps.
- Mold or mildew smell in upper rooms: Persistent musty odors in rooms directly below roof penetrations, without any visible plumbing leak, often signal slow flashing infiltration that has saturated insulation or sheathing.
- Efflorescence on chimney masonry: White chalky deposits on brick or stone near the roofline indicate water is repeatedly wetting and drying the masonry, a sign that chimney flashing is no longer keeping water out.
Symptom, Likely Cause, and DIY vs. Pro: A Quick-Reference Table
Use this table to match what you are seeing to the most likely flashing failure point, then decide whether a careful homeowner can address it or whether a licensed contractor is the safer call.
| Symptom | Likely Flashing Cause | DIY or Pro? |
|---|---|---|
| Ceiling stain near chimney | Failed counter flashing or step flashing at chimney base | Pro, requires removing courses of shingles and reseating metal |
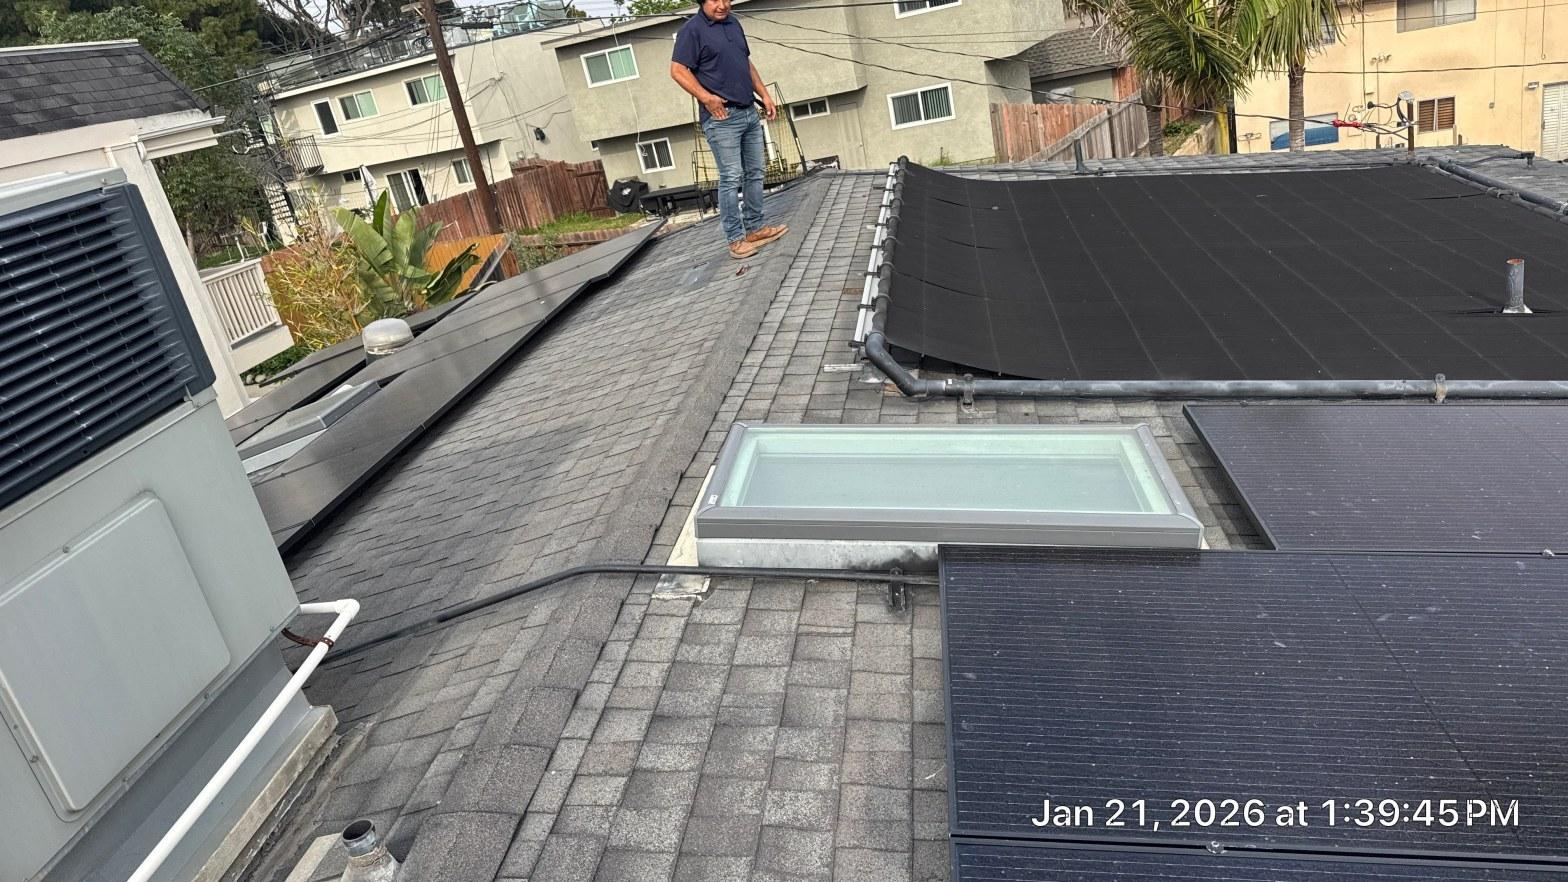
| Leak around skylight after rain | Deteriorated skylight curb flashing or dried sealant | Pro, skylight flashing kits require precise alignment to manufacturer specs |
| Rust streaks on interior wall | Corroded galvanized steel flashing shedding oxidation | Pro, corroded flashing needs full replacement, not patching |
| Cracked caulk at pipe boot | UV-degraded sealant on vent pipe boot flashing | DIY-possible, apply roofing-grade sealant if boot is otherwise intact |
| Lifted or buckled valley metal | Thermal expansion failure in valley flashing | Pro, valley flashing replacement involves significant shingle removal |
| Granule loss concentrated near valley | Deteriorating valley flashing abrading adjacent shingles | Pro, combined flashing and shingle repair needed |
| Attic daylight near chimney or vent | Gap in base flashing or missing kick-out flashing | Pro, structural inspection required before sealing |
| Mold smell in upper room, no plumbing leak | Slow flashing infiltration saturating insulation | Pro, insulation removal and moisture assessment needed |
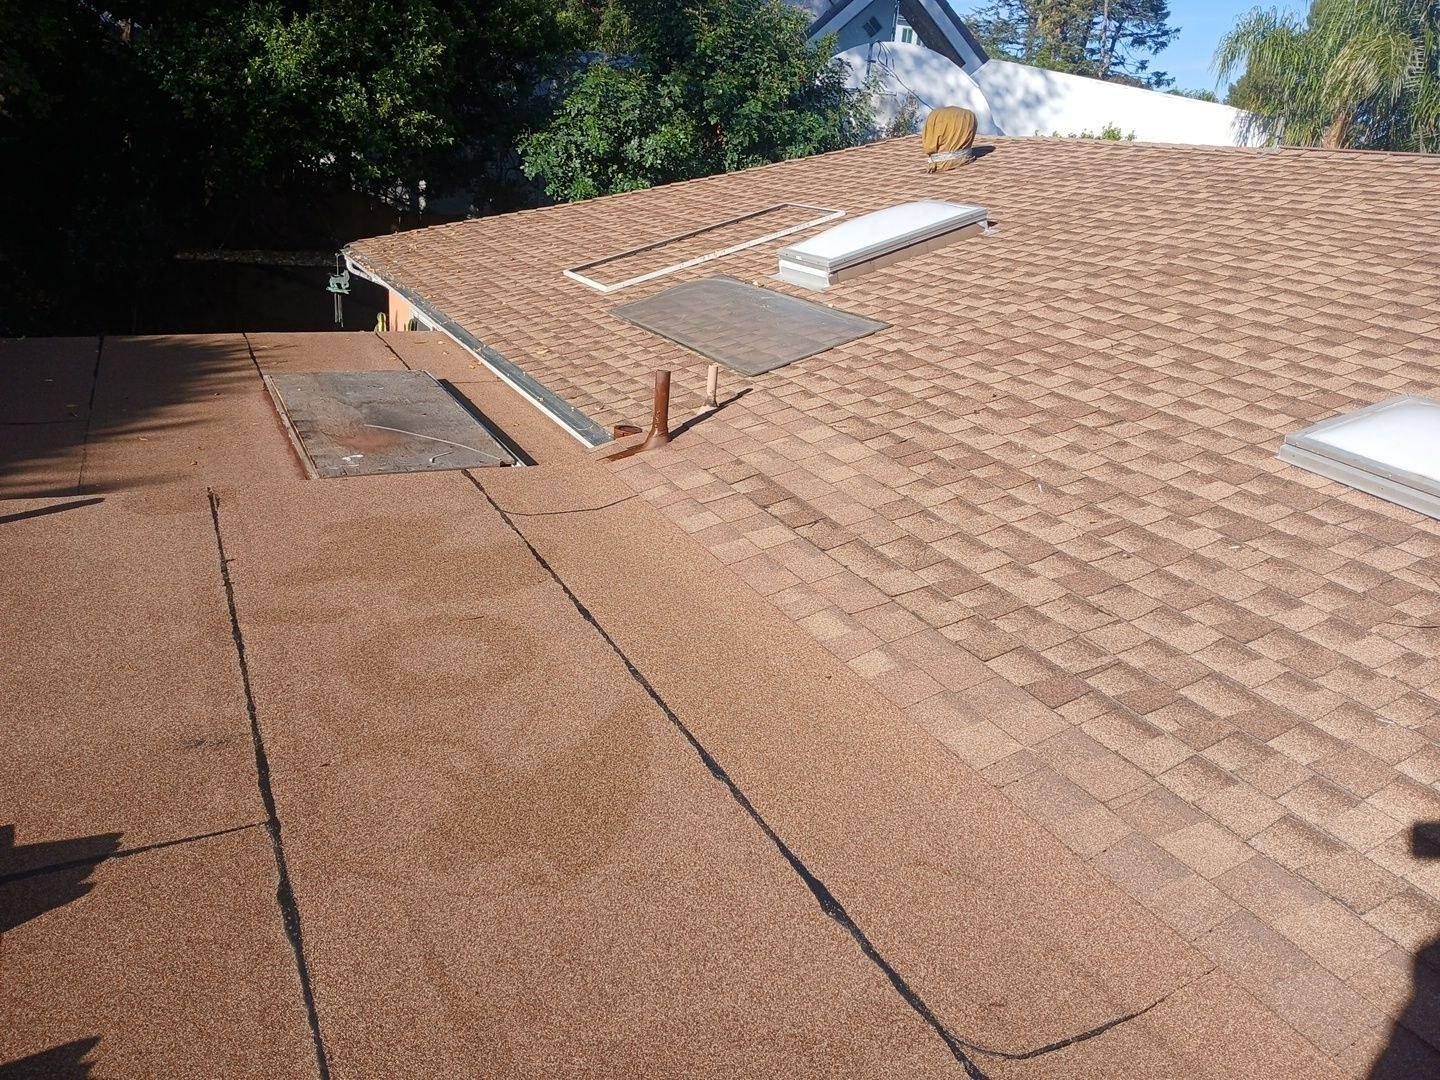
What Can You Safely Check Yourself?
A homeowner can perform a meaningful visual inspection from the ground, from a safely positioned ladder at eave height, and from inside the attic, without ever walking on the roof surface. Walking on a California roof during summer heat can crack brittle shingles, and coastal roofs with salt-weathered surfaces are especially unforgiving.
Step 1: Ground-Level Visual Scan
Stand at each corner of your home and use binoculars to scan the roofline. Look for metal that appears lifted, discolored, or missing entirely at valleys, rake edges, and any location where the roof meets a vertical wall. Rust-brown streaking on the roof surface below a penetration is visible from the ground on many homes.
Step 2: Ladder Check at the Eaves
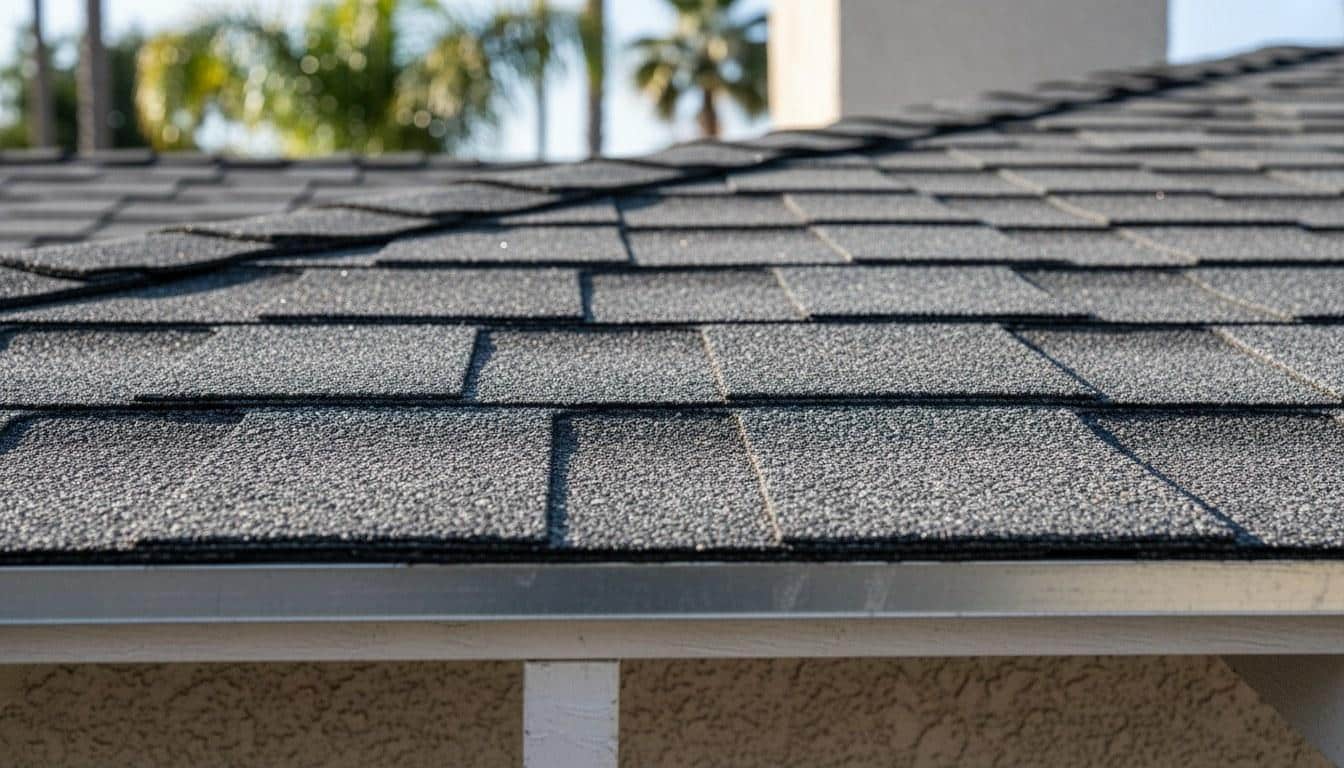
Position a ladder safely at the eave and examine the drip edge flashing, the metal strip running along the lower edge of the roof. Check that it overlaps the gutter by at least 1 inch and lies flat against the fascia. Look for sections that have lifted, corroded through, or separated. Do not step onto the roof surface from the ladder.
Step 3: Attic Inspection After Rain
Within 24 hours after a significant rain event, enter the attic with a flashlight. Look for active drips, wet insulation, or dark staining on the roof sheathing near chimney bases, skylight curbs, and vent pipe penetrations. Mark any wet spots with chalk so you can map them to exterior flashing locations. According to U.S. Department of Energy guidance, undetected moisture infiltration in attic spaces can degrade insulation R-values by 40 percent or more before any visible interior damage appears.
Step 4: Check Pipe Boot Sealant
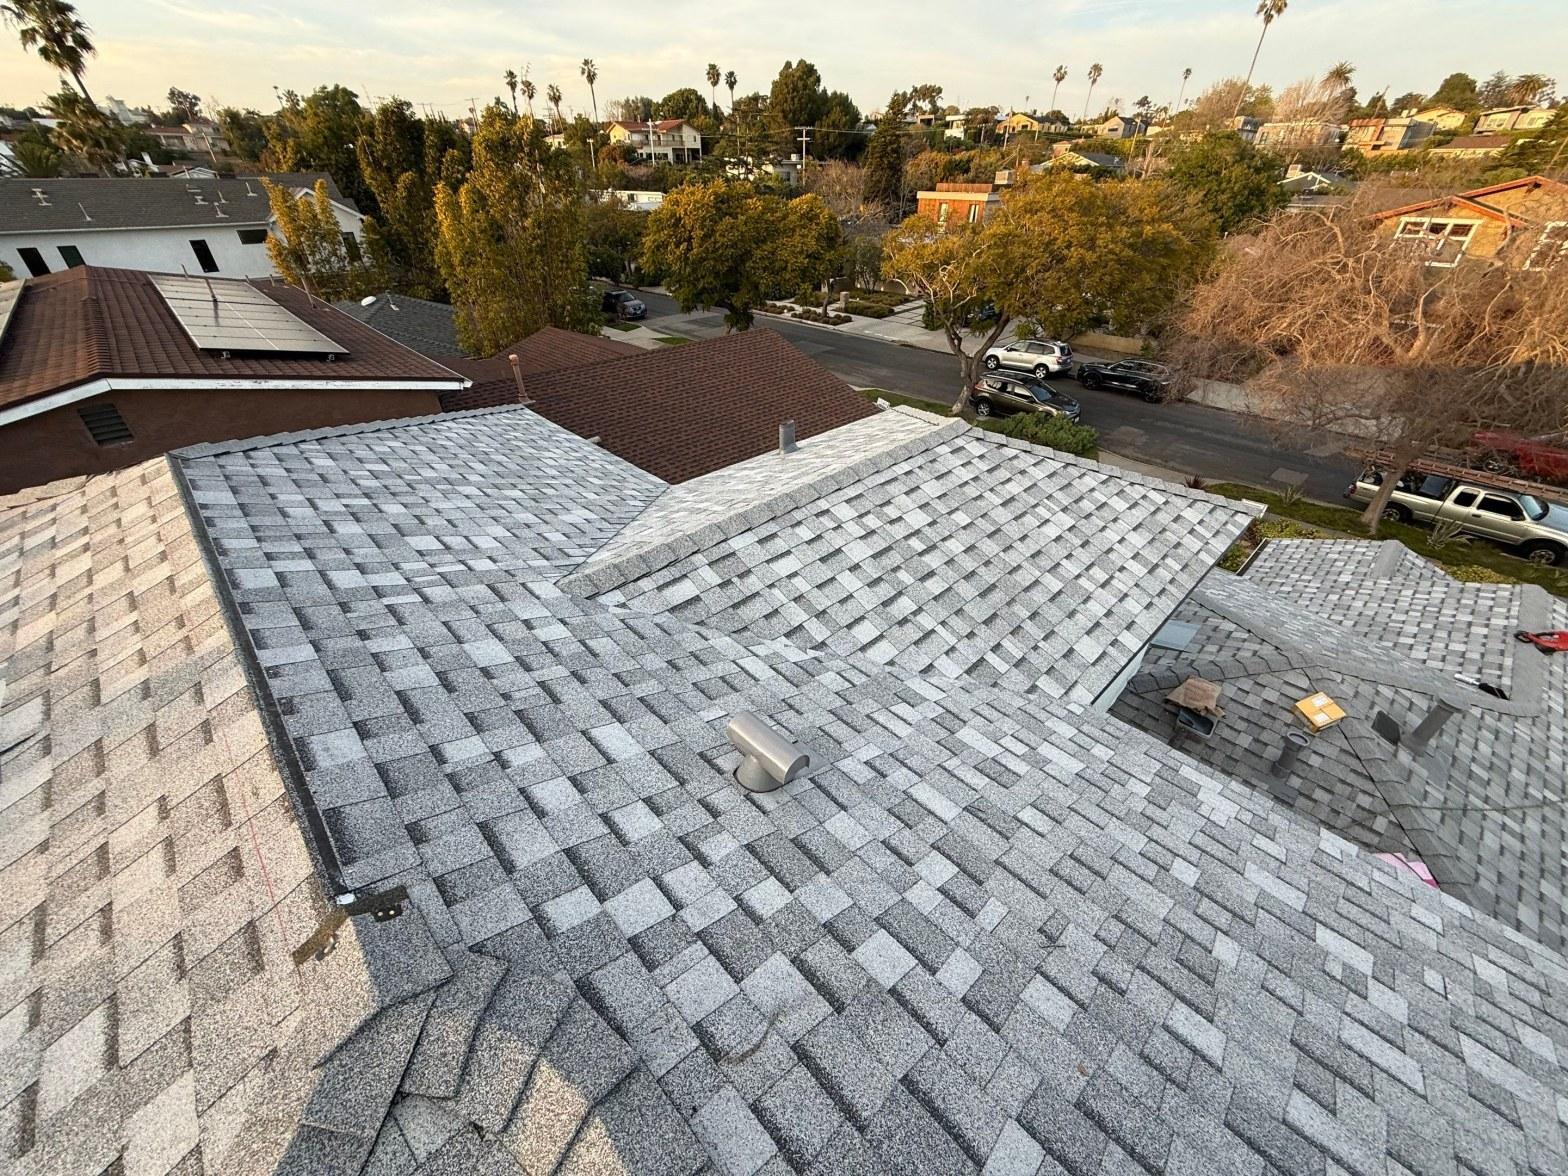
Pipe boot flashings, the rubber or metal collars around vent pipes, are the most DIY-accessible flashing type. From ladder height at the eave, or with a zoom lens from the ground, look for cracked, shrunk, or missing rubber collars. If the boot itself is intact and only the sealant bead at the base has dried out, a roofing-grade polyurethane sealant applied by a careful homeowner can restore the seal temporarily. This is a short-term fix; a failing boot should be replaced within one season.
Step 5: Gutter Inspection for Rust Flakes
After cleaning your gutters, look for small flakes of rust-colored metal mixed in with the debris. These flakes often originate from corroding galvanized step flashing or valley metal above. Finding them is a strong indicator that flashings on your roof are past their service life.
When Should You Call a Licensed Roofing Professional?
Call a licensed roofing contractor when you find active water intrusion in the attic, visible corrosion on metal flashing, any gap larger than 1/4 inch at a penetration, or when your home is more than 20 years old and flashings have never been replaced. These conditions go beyond what sealant alone can fix.
California requires roofing contractors to be Licensed by the California Contractors State License Board (CSLB), verify any contractor’s license number on the CSLB website before signing a contract. Licensed contractors carry the liability insurance and bonding that protect you if a repair causes secondary damage.
- Chimney flashing failure: Proper chimney flashing involves two-piece counter and step flashing systems that must be integrated with the masonry. Improper repairs here are one of the leading causes of recurring leaks.
- Valley flashing replacement: Open metal valley flashing or woven valley repairs require removing multiple courses of shingles and precisely fitting new metal. Mistakes create worse leak points than the original failure.
- Skylight curb flashing: Manufacturer-spec flashing kits for skylights must be installed in a specific sequence. Incorrect installation voids most skylight warranties.
- Kick-out flashing installation: Kick-out flashing, the angled piece that diverts water away from a wall at a roof-to-wall junction, is frequently missing on older California homes. Installing it correctly requires cutting into the wall cladding, which is contractor territory.
- Wildfire-season ember resistance: In high fire-hazard severity zones, California’s Title 24 building energy standards and CAL FIRE ember-resistance requirements may dictate specific flashing materials and details. A licensed contractor familiar with these codes ensures your repair meets current standards.
- Moisture damage to sheathing or framing: If the attic inspection reveals soft, dark, or visibly rotted sheathing near a penetration, structural repairs must precede any flashing work.
Across our service calls on homes older than 25 years, we find that roughly 6 in 10 have at least one flashing location where the original galvanized steel has corroded through entirely, a condition no sealant can address.
Across our service calls on homes older than 25 years, we find that roughly 6 in 10 have at least one flashing location where the original galvanized steel has corroded through entirely, a condition no sealant can address.
How Much Does Roof Flashing Repair or Replacement Cost in California?
In the Southern California regional market, targeted flashing repairs typically range from $200 to $600 for a single penetration such as a pipe boot or small wall junction. Full chimney flashing replacement generally runs $500 to $1,500 depending on chimney size and access. Valley flashing replacement on a standard residential roof typically falls between $800 and $2,500 per valley.
Several factors move costs within those ranges:
- Material choice: Galvanized steel is the most common and affordable option. Copper flashing, which resists coastal corrosion far longer, can cost two to three times as much in material alone but may last 50 or more years. Aluminum is lightweight and corrosion-resistant but requires compatible fasteners to avoid galvanic corrosion.
- Roof pitch and access difficulty: Steeper pitches require additional safety equipment and slow the work. Homes with limited attic access or complex rooflines carry higher labor costs.
- Extent of secondary damage: If water infiltration has rotted sheathing or fascia, that structural repair adds to the total. Replacing a 4×8 sheet of roof sheathing typically adds $150 to $350 to the project.
- Permit requirements: Some California jurisdictions require a permit for flashing replacement when it involves structural repairs or significant shingle removal. Your contractor should clarify this before work begins.
- Scope of the inspection: A thorough inspection that maps all flashing locations and their condition is time the contractor spends before any repair begins. Reputable roofing contractors in California provide written inspection reports and itemized estimates.
Affordable roof repair does not mean cutting corners on materials. Choosing the right flashing metal for your specific exposure, coastal salt air, wildfire-season heat, or both, is more important than finding the lowest per-square-foot price. Request a custom written quote from a licensed contractor before any work begins to understand exactly what is included.
Get Expert Roof Flashing Help Across Southern California
Schedule a professional flashing inspection before the rainy season begins, not after the first leak appears. Early detection keeps a $400 repair from becoming a $4,000 structural restoration.
Roof Repair & Construction Inc. provides licensed flashing inspections, targeted repairs, and full flashing replacement for homeowners across Southern California. Call (323) 474-1088 to schedule your inspection or request a written, itemized quote. Same-season appointments are available for urgent leak situations.
Frequently Asked Questions
How do I know if my roof flashing is the cause of a leak and not the shingles?
Leaks that appear specifically near chimneys, skylights, vents, or where a roof meets a wall almost always trace back to flashing rather than shingles. Shingle failures tend to cause more diffuse or widespread water intrusion. If the wet spot in your attic is directly below a penetration point, start your investigation at the flashing around it.
How do you apply roof flashing around a chimney?
Chimney flashing uses a two-piece system: step flashing that weaves between each shingle course up the chimney sides, and counter flashing that is cut into the mortar joints and laps over the step flashing. The pieces must overlap by at least 4 inches and be sealed with a roofing-grade polyurethane or rubberized asphalt sealant. This is a job most homeowners should leave to a licensed roofer because improper installation is the most common source of recurring chimney leaks.
How do you put flashing on a roof at a wall-to-roof junction?
Wall-to-roof junctions require step flashing, individual L-shaped metal pieces installed one per shingle course, combined with a continuous piece of counter flashing or a kickout diverter at the bottom. The kickout flashing is critical because it directs water away from the wall cladding. Missing kickout flashing is one of the most common code deficiencies found on California homes built before 2000.
What type of metal flashing lasts longest near the California coast?
Copper flashing offers the longest service life in coastal California environments, often lasting 50 years or more because it resists salt-air corrosion far better than galvanized steel or standard aluminum. The trade-off is a higher upfront material cost, typically two to three times that of galvanized steel. For homes within a few miles of the Pacific, the long-term cost savings of copper usually justify the investment.
Can I repair roof flashing myself or do I need a contractor?
A homeowner can safely reapply sealant to an intact pipe boot flashing or press down a slightly lifted drip edge from ladder height at the eave. Any repair that requires removing shingles, cutting into masonry, or replacing a full section of valley or chimney flashing should be handled by a licensed roofing contractor. In California, working on a roof without proper safety equipment on pitches above 4:12 carries real fall risk, and improper flashing repairs can void your roofing warranty.