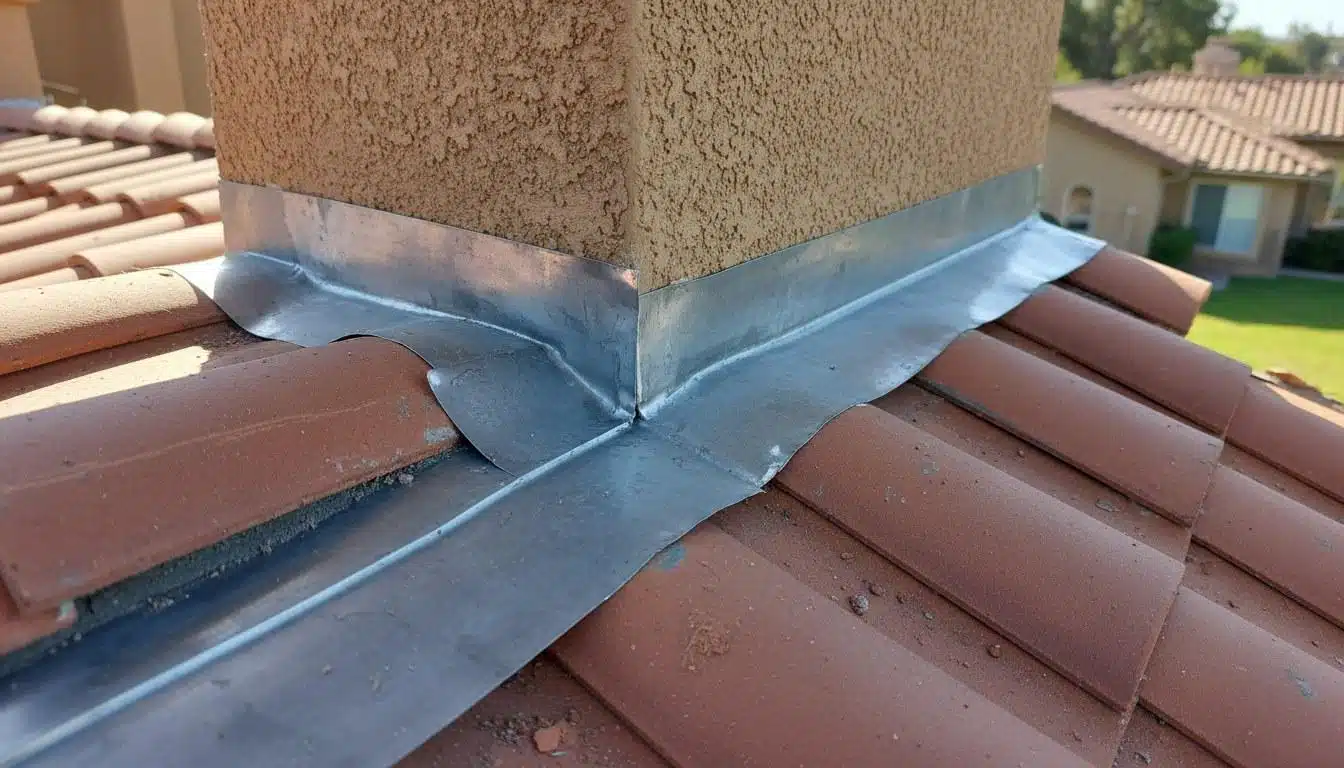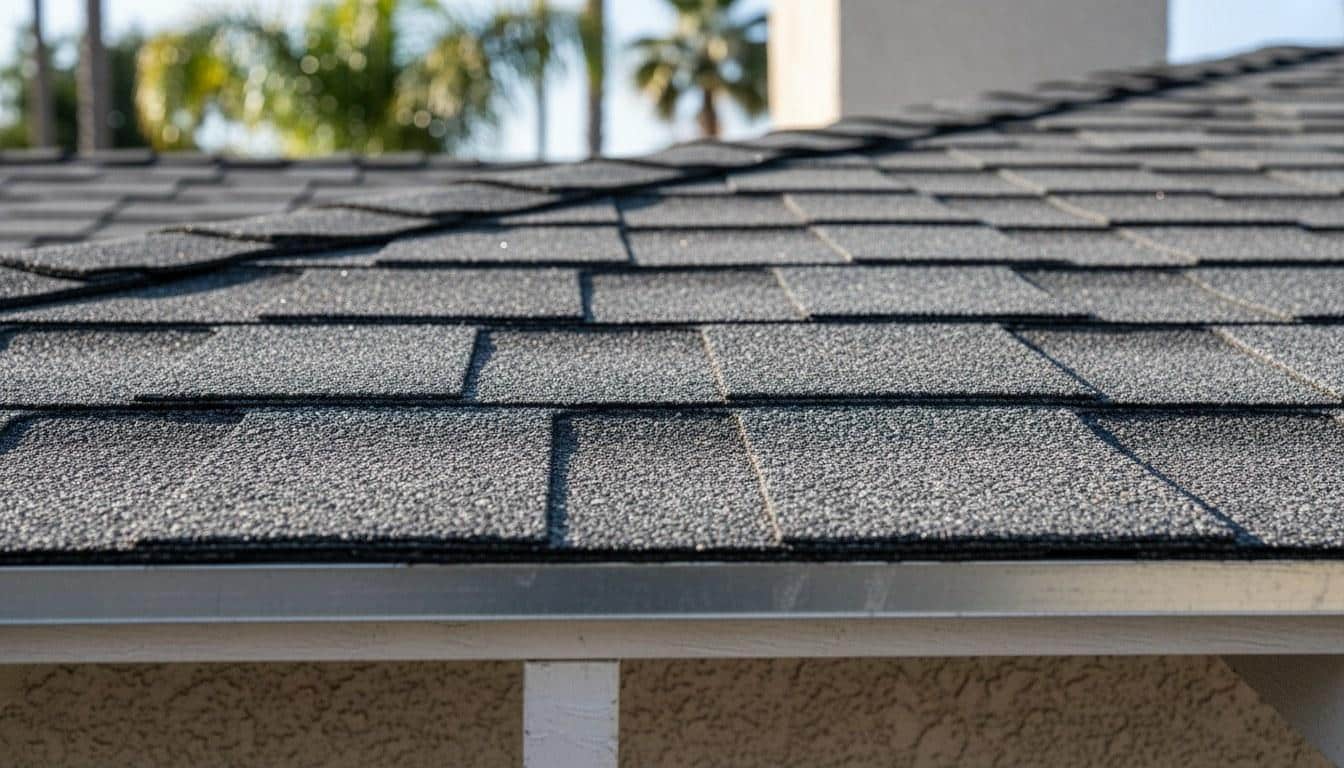
Roof flashing is one of the most overlooked parts of a home's waterproofing system, and one of the most costly to ignore. This seasonal guide covers everything California homeowners need to know to protect their roofs year-round.
Need this done rather than diagnosed? See our roof flashing repair service, or browse all roofing services.
Why Does Roof Flashing Fail Faster in California’s Climate?
California’s combination of intense summer UV exposure, wide daily temperature swings, and concentrated winter rainfall puts roof flashing under stress that homeowners in milder climates rarely face. Older homes, particularly those built in the 1950s through 1970s, often still have their original galvanized steel or lead flashing, which can degrade significantly after 20 to 30 years of this cycle.
Southern California regularly sees summer surface temperatures on rooftops exceed 150°F on dark-colored materials, according to NOAA climate data. That heat causes metal flashing to expand and contract daily, slowly working the sealant loose from chimney bases, skylights, and roof valleys. When the rainy season arrives, typically November through March, water finds every gap that summer opened up.
Homes in communities with older housing stock are especially vulnerable. Many were built with galvanized steel flashing that has long passed its useful service life, and the original caulking compounds used in that era harden and crack rather than flex with temperature changes. For a deeper look at flashing issues specific to mid-century homes, see our guide on flashing maintenance for aging Southern California homes.
The result is a silent failure mode. The shingles look fine from the street, but water is tracking along the flashing, into the sheathing, and eventually into the attic or ceiling, sometimes for months before any stain appears inside.
What Are the Different Types of Roof Flashing, and Which Fails First?
Most residential roofs use five to seven distinct pieces of flashing, each sealing a different vulnerable joint. Step flashing along sidewalls and chimney counter-flashing are the two most common failure points on homes older than 25 years.
Understanding which type covers which area helps you focus your inspections. Here is a breakdown of the most common types and their typical lifespan under California conditions:
- Step flashing: Small L-shaped pieces woven between shingles along a sidewall or dormer. Typically lasts 20 to 30 years in galvanized steel; copper step flashing can last 50 or more years.
- Counter-flashing (chimney): The upper piece that overlaps step or base flashing at a chimney. Mortar joints that hold it in place crack and allow it to lift, a very common failure on chimneys built before 1990.
- Valley flashing: Runs along the V-shaped channel where two roof slopes meet. Open-valley metal flashing is highly visible and easier to inspect; closed valleys hide the metal under shingles, making failures harder to spot.
- Drip edge: A thin metal strip along the eaves and rakes that directs water off the roof edge into the gutter. Improper installation or corrosion lets water wick back under the decking.
- Pipe boot / vent flashing: A rubber or metal collar around plumbing vents and exhaust pipes. Rubber boots are the shortest-lived component, neoprene boots typically crack or harden within 10 to 15 years in high-UV environments.
- Skylight flashing: A factory-integrated or site-built system sealing the skylight frame to the roof deck. Site-built flashing on older skylights is a frequent source of slow leaks.
- Kick-out (diverter) flashing: A small bent piece at the bottom of a sidewall-to-gutter transition. Missing kick-out flashing is one of the leading causes of wall rot and stucco damage on California homes.
Our crews find that rubber pipe boots are the single most replaced flashing component on roofs across Los Angeles County, on service calls involving homes built before 2000, roughly 6 out of 10 have at least one boot that is cracked or completely separated from the pipe.
What Should You Do Each Season for Roof Flashing Maintenance?
Effective roof flashing maintenance follows a two-inspection-per-year rhythm: one in late spring before peak heat, and one in October before the rainy season begins. Each season also has specific tasks that address the stresses that season brings.
Spring (April, May)
- Walk the perimeter and look up at all roof-to-wall transitions for lifted or buckled flashing.
- Check chimney counter-flashing for mortar joint cracks that opened during winter rain and temperature cycling.
- Clear all debris from valleys: leaves and organic matter hold moisture against metal and accelerate corrosion.
- Inspect pipe boots and skylight perimeters for cracks that may have formed during winter cold snaps.
- Re-seal any exposed lap joints with a compatible roofing sealant rated for UV exposure (look for products meeting California Energy Commission cool-roof compatibility standards if your roof is a cool-roof system).
Summer (June, September)
- Avoid walking on the roof during peak heat hours: asphalt shingles soften above 120°F and are easily damaged underfoot.
- After any strong Santa Ana wind event, do a visual inspection from the ground or ladder for lifted flashing edges.
- Check attic ventilation to ensure heat is escaping properly: trapped heat accelerates sealant degradation at every flashing joint.
- Note any new discoloration on interior ceilings, which can indicate flashing gaps that opened during summer expansion.
Fall (October, November)
- Schedule a professional flashing inspection before the first rain; this is the highest-value timing for a pro visit.
- Clear gutters and downspouts so water does not back up behind drip-edge flashing.
- Apply fresh sealant to any joints that look dry, cracked, or separated.
- Confirm kick-out flashing is present and properly directing water away from stucco walls.
Winter (December, March)
- After any significant rainstorm, check the attic with a flashlight for wet spots on the sheathing near penetrations.
- If you see active dripping, place a bucket and call a roofer promptly, delaying even two to three weeks can allow mold to establish in insulation.
- Document any interior stains with a photo and the date: this helps a roofer trace the water path when they inspect.
Roof Flashing Maintenance Task Table: Frequency and Who Does It
The table below maps the most important flashing maintenance tasks to a recommended frequency and whether a careful homeowner can handle them safely or whether a licensed roofer should be involved.
| Task | Recommended Frequency | DIY or Pro? |
|---|---|---|
| Ground-level visual inspection of all flashing edges | Every 3 months | DIY |
| Clear debris from valleys and gutters | Twice per year (spring and fall) | DIY (single-story) / Pro (multi-story) |
| Re-caulk exposed sealant joints | Annually or when cracking is visible | DIY with correct product / Pro recommended |
| Chimney counter-flashing and mortar joint check | Annually | Pro |
| Rubber pipe boot inspection and replacement | Every 10 years, or when cracking appears | Pro |
| Step flashing integrity check at all sidewalls | Annually | Pro |
| Skylight frame and flashing seal inspection | Annually | Pro |
| Attic check for moisture near penetrations | After each major rainstorm | DIY |
| Full professional flashing inspection | Every 2 years (every year for homes 30+ years old) | Pro |
| Kick-out diverter flashing verification | Once (install if missing); inspect annually | Pro for installation |
In the regional market, a professional flashing inspection typically ranges from $150 to $350 depending on roof complexity and access. Full step-flashing replacement on a chimney or dormer generally runs $400 to $900, while replacing all pipe boots on an average home typically costs $200 to $500. These ranges shift based on roof pitch, material type, and the number of penetrations involved. For a precise number, request a custom quote from a licensed contractor.
Roofing work in California must be performed by a contractor licensed by the California Contractors State License Board (CSLB). Always verify a roofer’s license number on the CSLB website before any work begins.
What Does a Professional Flashing Inspection Actually Cover?
A thorough professional flashing inspection takes 45 to 90 minutes and goes well beyond what is visible from the ground. A qualified roofer will walk the entire roof surface, probe sealant joints, lift shingle tabs near step flashing, and check the attic from below, all in a single visit.
Here is what a complete inspection should include:
- Roof-surface walk: The inspector checks every flashing type, valley, step, counter, drip edge, and all penetrations, for lifting, corrosion, gaps, and improper overlap.
- Sealant condition assessment: Dried, cracked, or missing sealant at lap joints is documented. The type of sealant matters, some products used in the 1980s and 1990s are no longer compatible with modern roofing materials.
- Shingle-tab probing near sidewalls: Step flashing failures are often hidden under the bottom edge of shingles. A pro will gently lift tabs to verify each L-shaped piece is properly embedded and not corroded through.
- Chimney mortar inspection: Counter-flashing embedded in mortar joints is checked for separation. Cracked mortar is repointed or the flashing is re-set with appropriate sealant.
- Attic moisture check: The inspector enters the attic and looks for water staining, wet insulation, or mold growth on sheathing directly below penetrations and valleys.
- Photographic documentation: Any reputable contractor will provide photos of problem areas so you have a record for insurance purposes and can compare conditions on future visits.
- Written findings and repair estimate: You should receive a written summary of what was found, what is recommended, and a cost range before any work is authorized.
For a comprehensive checklist you can use alongside a pro inspection, see our roof flashing maintenance checklist for California homeowners.
What Warning Signs Should You Watch for Between Services?
Most flashing failures give at least two to three warning signs before water damage becomes visible inside the home. Catching these early, ideally within the first season they appear, can cut repair costs by 50% or more compared to addressing them after interior damage has occurred.
Watch for these red flags between scheduled inspections:
- Brown or yellow ceiling stains: Any new water stain on an interior ceiling, especially near a chimney, skylight, or exterior wall, points to a flashing gap until proven otherwise.
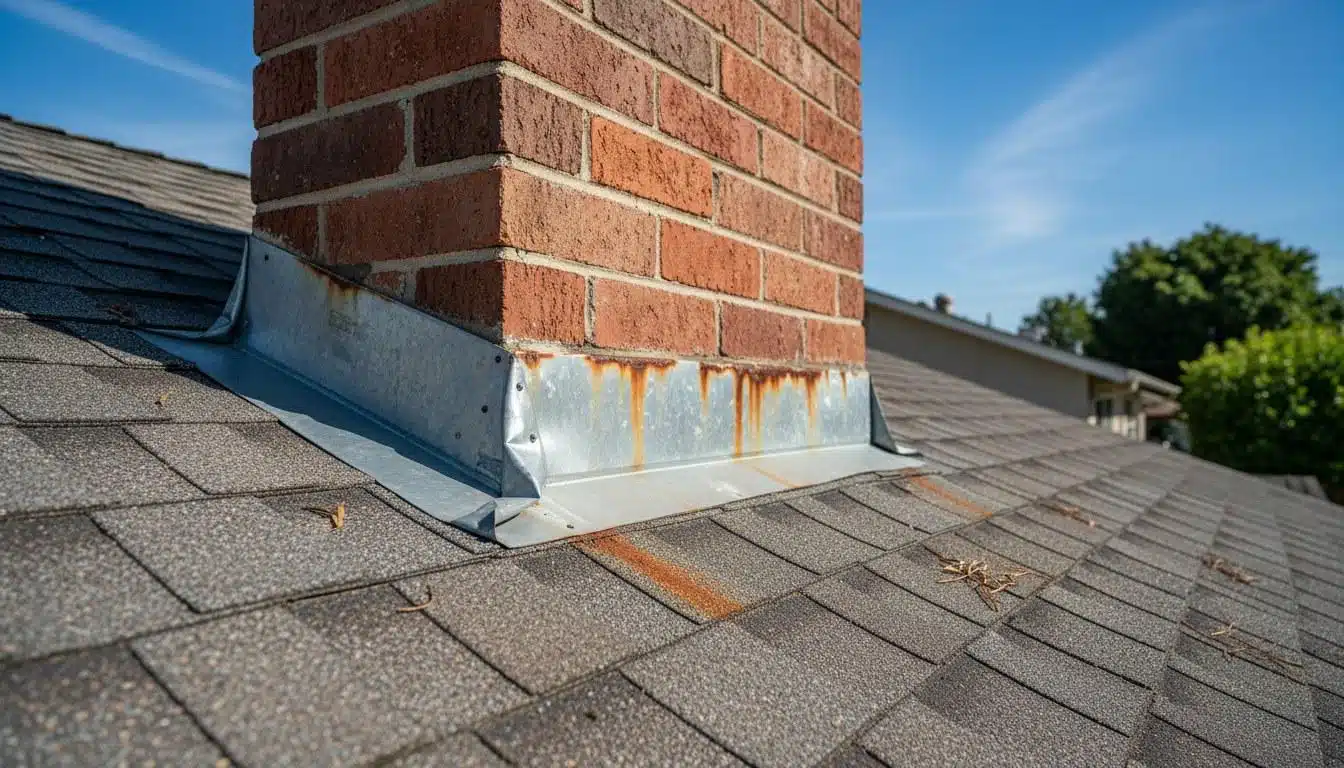
- Rust streaks on the roof surface: Orange or brown streaks running down from a chimney, vent, or valley are a sign that galvanized steel flashing is corroding through. Rust streaks typically appear 2 to 5 years before the metal fails completely.
- Lifted or bubbled shingles near a wall: When step flashing fails, water backs up under the shingles and causes them to lift or blister along the wall line.
- Cracked or missing caulk at pipe boots: Visible cracking around the collar of a plumbing vent or exhaust pipe is a direct path for water entry during even a moderate rainstorm.
- Efflorescence on chimney brick: White chalky deposits on brick below the roofline indicate water is moving through the masonry, often because counter-flashing has separated from the mortar joint.
- Musty odor in the attic: A persistent musty smell, even without visible staining, can indicate slow moisture accumulation in insulation below a compromised flashing joint.
- Granule buildup in gutters near valleys: Accelerated shingle granule loss in a specific area often signals that water is pooling or channeling incorrectly because valley flashing is misaligned or clogged.
- Stucco staining or bubbling near a roof-wall junction: This is a classic sign of missing or failed kick-out flashing, water is running behind the stucco instead of into the gutter.
In our experience on service calls across Los Angeles County, stucco wall damage from missing kick-out flashing accounts for roughly 30% of the water-intrusion calls we receive on homes built before 1985, and the wall repair typically costs two to four times more than the flashing correction itself would have.
Stucco wall damage from missing kick-out flashing accounts for roughly 30% of water-intrusion calls on homes built before 1985, and the wall repair typically costs two to four times more than the flashing fix would have.
Any of these signs warrants a professional inspection within 30 days. If you see active dripping or a rapidly spreading ceiling stain, treat it as an emergency and call the same week. California’s rainy season can deliver multiple storms within a single week, and each one adds to the cumulative damage.
Schedule Your Roof Flashing Inspection
Consistent roof flashing maintenance is the most cost-effective way to protect a California home from water damage. A $250 inspection that catches a failing pipe boot or lifted step flashing can prevent a $6,000 to $15,000 interior remediation job.
A $250 inspection that catches a failing pipe boot or lifted step flashing can prevent a $6,000 to $15,000 interior remediation job.
Roof Repair & Construction Inc. provides professional flashing inspections, repairs, and full replacement services for homeowners across Southern California. Whether your home is 15 years old or 60, our team can assess every flashing type, document what we find, and give you a written estimate before any work begins.
Schedule your inspection before the next rainy season arrives. Call (323) 474-1088 to book a visit, or reach out online for a custom quote. Roof Repair & Construction Inc. is licensed by the California Contractors State License Board (CSLB), verify our license at cslb.ca.gov before you call anyone.
Explore our full range of Roof Repair services across Southern California.
Frequently Asked Questions
How do I put flashing on a roof around a chimney?
Chimney flashing involves two layers: base flashing that lays flat on the roof surface and counter-flashing that overlaps it and is embedded into the mortar joints of the chimney. The base flashing is woven into the shingle courses, and the counter-flashing is bent down over it to create a water-shedding overlap. This is one of the more technically demanding flashing jobs on a residential roof, improper installation is a leading cause of chimney leaks, so most homeowners are better served by a licensed roofing contractor, especially on chimneys older than 20 years.
How do I apply roof flashing around a vent pipe?
Vent pipe flashing uses a pre-formed boot, a cone-shaped rubber or metal collar, that slides over the pipe and lays flat on the surrounding shingles. The shingles above the pipe overlap the top of the boot, and the shingles below it are cut around the base. The boot's base is secured with roofing nails and sealed with compatible roofing caulk. Rubber boots should be replaced every 10 to 15 years in high-UV climates like Southern California, as the neoprene hardens and cracks well before the surrounding shingles wear out.
How often should roof flashing be inspected?
Homeowners should do a visual inspection from the ground or a ladder every three months, and schedule a professional roof flashing inspection at least once a year, twice a year for homes older than 30 years or those with multiple penetrations like skylights and chimneys. The most valuable timing for a professional visit is October, just before California's rainy season, so any gaps can be sealed before the first storm.
How long does roof flashing typically last?
Lifespan depends heavily on material: galvanized steel flashing typically lasts 20 to 30 years, aluminum flashing 20 to 25 years, and copper flashing 50 years or more. Rubber pipe boots are the shortest-lived component, often cracking or separating within 10 to 15 years in Southern California's UV-intense climate. The sealant at every flashing joint generally needs refreshing every 5 to 10 years regardless of the metal's condition.
Can I do roof flashing repairs myself, or do I need a contractor?
Simple tasks like re-caulking an exposed joint or clearing debris from a valley are reasonable DIY jobs for a careful homeowner comfortable on a ladder. However, replacing step flashing, re-setting counter-flashing in chimney mortar, or installing a new pipe boot requires cutting into the shingle courses and working near the roof edge, mistakes create new leak paths. In California, any structural roofing work performed for compensation must be done by a contractor licensed by the California Contractors State License Board (CSLB). For anything beyond basic sealant touch-ups, a licensed roofer is the safer and more cost-effective choice.