Roof flashing problems are one of the leading causes of water damage on homes with complex rooflines. This guide walks you through how to identify, diagnose, and fix flashing failures before they become costly repairs.
Need this done rather than diagnosed? See our roof flashing repair service, or browse all roofing services.
Why Do Roof Flashing Problems Happen on Complex Rooflines?
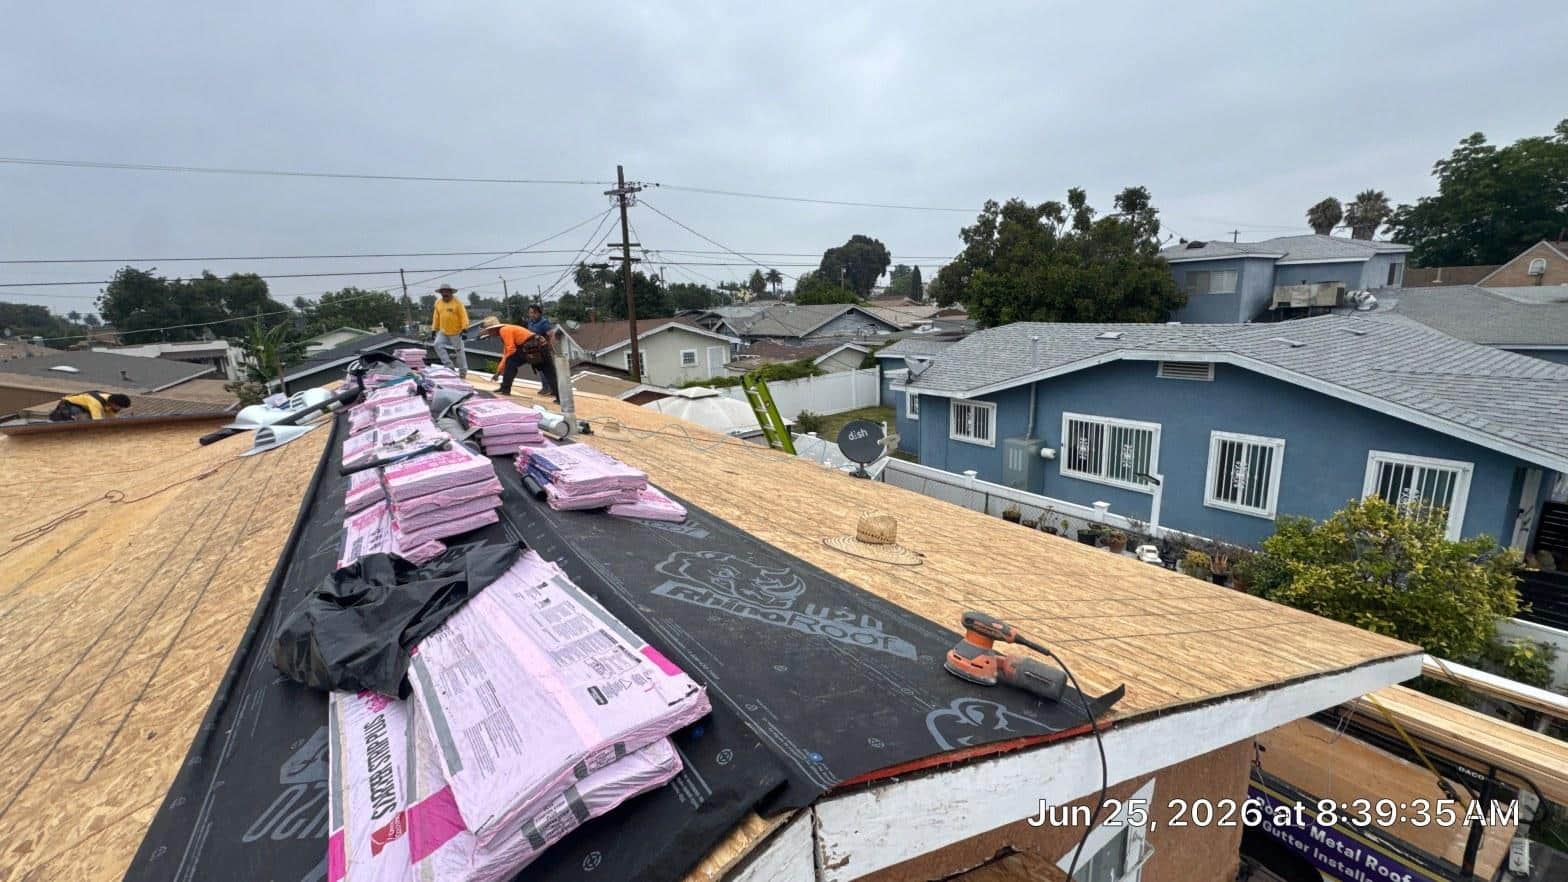
Roof flashing problems are most common where two roof surfaces meet, where a roof meets a wall, or wherever a pipe, chimney, or skylight punches through the roof deck. Every one of those transitions is a potential water entry point. Homes with steeply pitched roofs, multiple valleys, dormers, or second-story additions carry far more of these transitions than a simple gable design, which means far more opportunities for flashing to fail.
In the Los Angeles region, the climate adds its own pressure. Summers bring intense UV radiation that degrades sealants and causes metal to expand. Winter rains, sometimes arriving after months of drought, hit dried-out, contracted flashing seams hard. According to NOAA, Los Angeles County can see rainfall totals swing from under 5 inches in a dry year to over 20 inches in a wet one, and that variability stresses roofing materials in ways a consistently wet climate does not.
The most common flashing materials are galvanized steel, aluminum, and lead-coated copper. Each expands and contracts at a different rate. When incompatible metals are used at the same seam, a frequent shortcut on older homes, galvanic corrosion accelerates failure. Homes built before 1980 often have original flashing that is now 40 or more years old, well past the 20-to-30-year service life most metal flashing carries under normal conditions.
Our technicians have found that roughly 6 out of every 10 leak calls we receive on homes with multi-plane rooflines trace back to a flashing failure rather than damaged shingles. The shingles look fine from the street; the problem is hidden at a seam.
What Are the Warning Signs Your Flashing Is Failing?
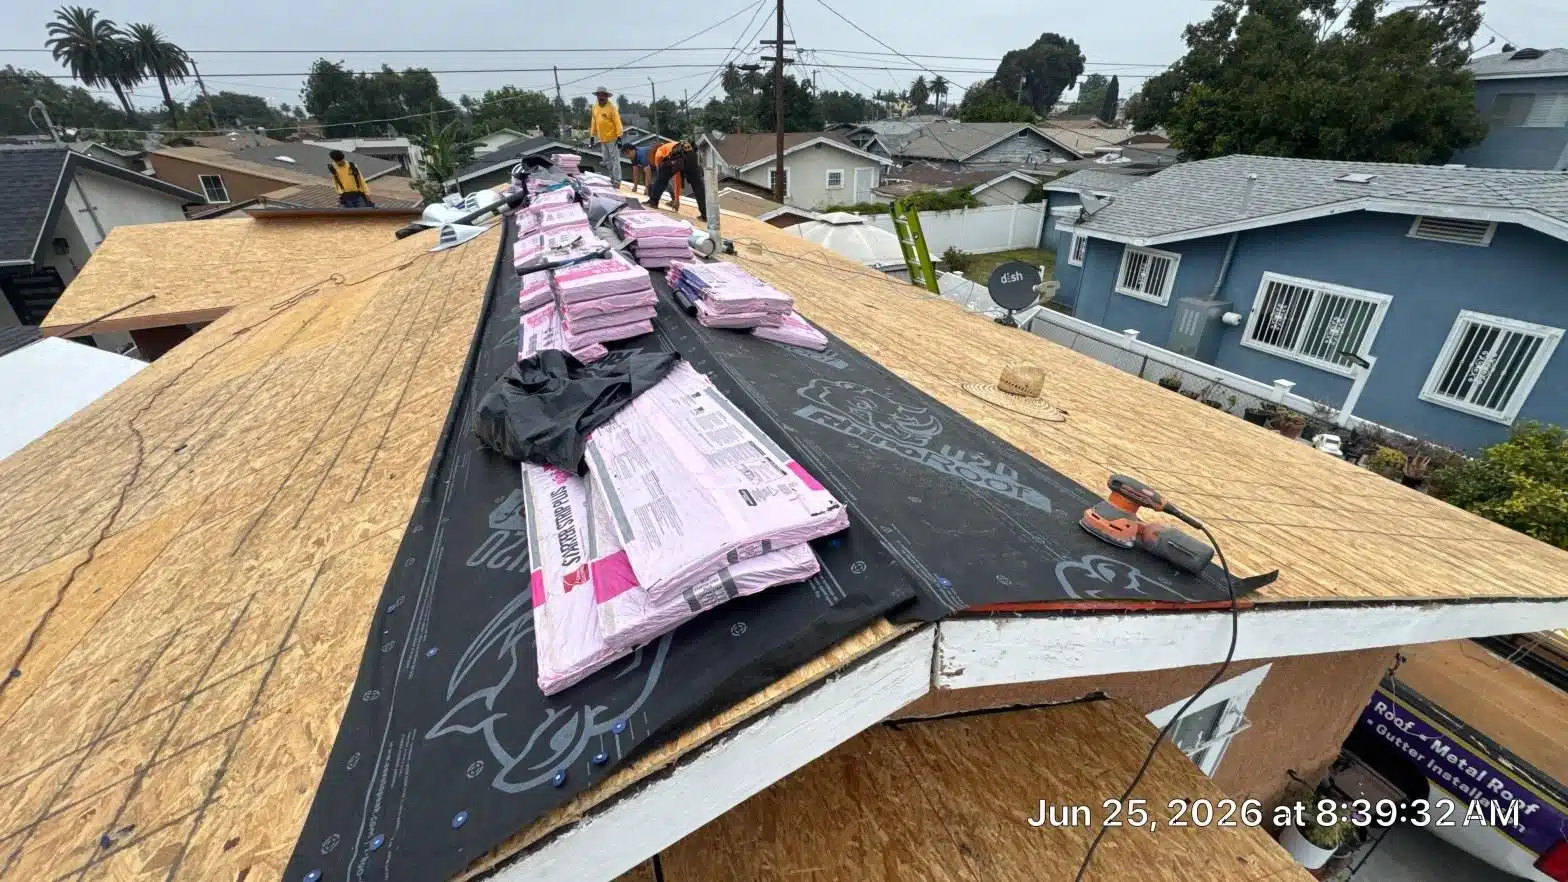
The clearest early sign of a flashing failure is a water stain on an interior ceiling or wall near a chimney, skylight, dormer, or roof valley, especially one that appears or worsens during or just after rain. But several other signs show up before water ever reaches the interior.
- Rust streaks on the roof surface: Orange or brown streaks running down shingles below a flashing seam mean the metal is corroding and water is tracking along it.
- Lifted or separated flashing edges: Metal that has pulled away from a wall, chimney, or skylight curb by even a quarter inch creates an open channel for water.
- Cracked or missing sealant: Caulk and roofing mastic shrink over time. Gaps, bubbles, or a chalky white residue where sealant used to be are reliable failure indicators.
- Buckling or rippling metal: Flashing that was installed without enough room for thermal expansion will buckle as temperatures climb, breaking its seal with the surrounding roofing material.
- Staining around chimney bases: A dark ring or efflorescence (white salt deposits) at the base of a chimney on the interior side of the attic is a near-certain sign of step or counter flashing failure.
- Granule loss directly below a valley: Water channeling through a failed valley flashing carries abrasive grit and strips granules from shingles faster than normal weathering.
- Peeling paint or swollen drywall near a roofline wall: Moisture wicking through a failed apron or kick-out flashing often shows up on interior walls before the ceiling shows any stain.
For a deeper look at how these symptoms progress through the seasons, see the companion resource Roof Flashing Problems: Signs Your Flashing Is Failing This Summer on this site.
Symptom, Cause, and Action: A Quick-Reference Table
Use this table to match what you are seeing to its most likely cause and decide whether it is safe to address yourself or requires a licensed roofer. When in doubt, err on the side of calling a pro, a misdiagnosed flashing repair can drive water deeper into the structure.
| Symptom | Most Likely Cause | DIY or Pro? |
|---|---|---|
| Interior ceiling stain near chimney | Failed step flashing or counter flashing at chimney base | Pro, requires lifting or replacing integrated flashing |
| Water at skylight frame | Cracked or separated skylight curb flashing or dried-out sealant | DIY sealant patch if sealant only; Pro if metal is lifted or curb is cracked |
| Rust streaks below a valley | Corroded galvanized valley flashing, often 20+ years old | Pro, valley flashing replacement requires removing overlying shingles |
| Lifted flashing edge at a sidewall | Fastener failure or thermal expansion without expansion gaps | DIY re-sealing if edge is minor; Pro if metal is buckled or fasteners have pulled through |
| Peeling interior wall paint near roofline | Missing or undersized kick-out flashing diverting water into wall cavity | Pro, kick-out flashing installation often requires opening the wall |
| Granule loss below valley | Concentrated water flow from failed or undersized valley flashing | Pro, shingle and flashing replacement needed |
| Cracked sealant at pipe boot | UV degradation of rubber or caulk collar around plumbing vent | DIY sealant replacement if collar is intact; Pro if collar is cracked or missing |
What Can You Safely Check Yourself?
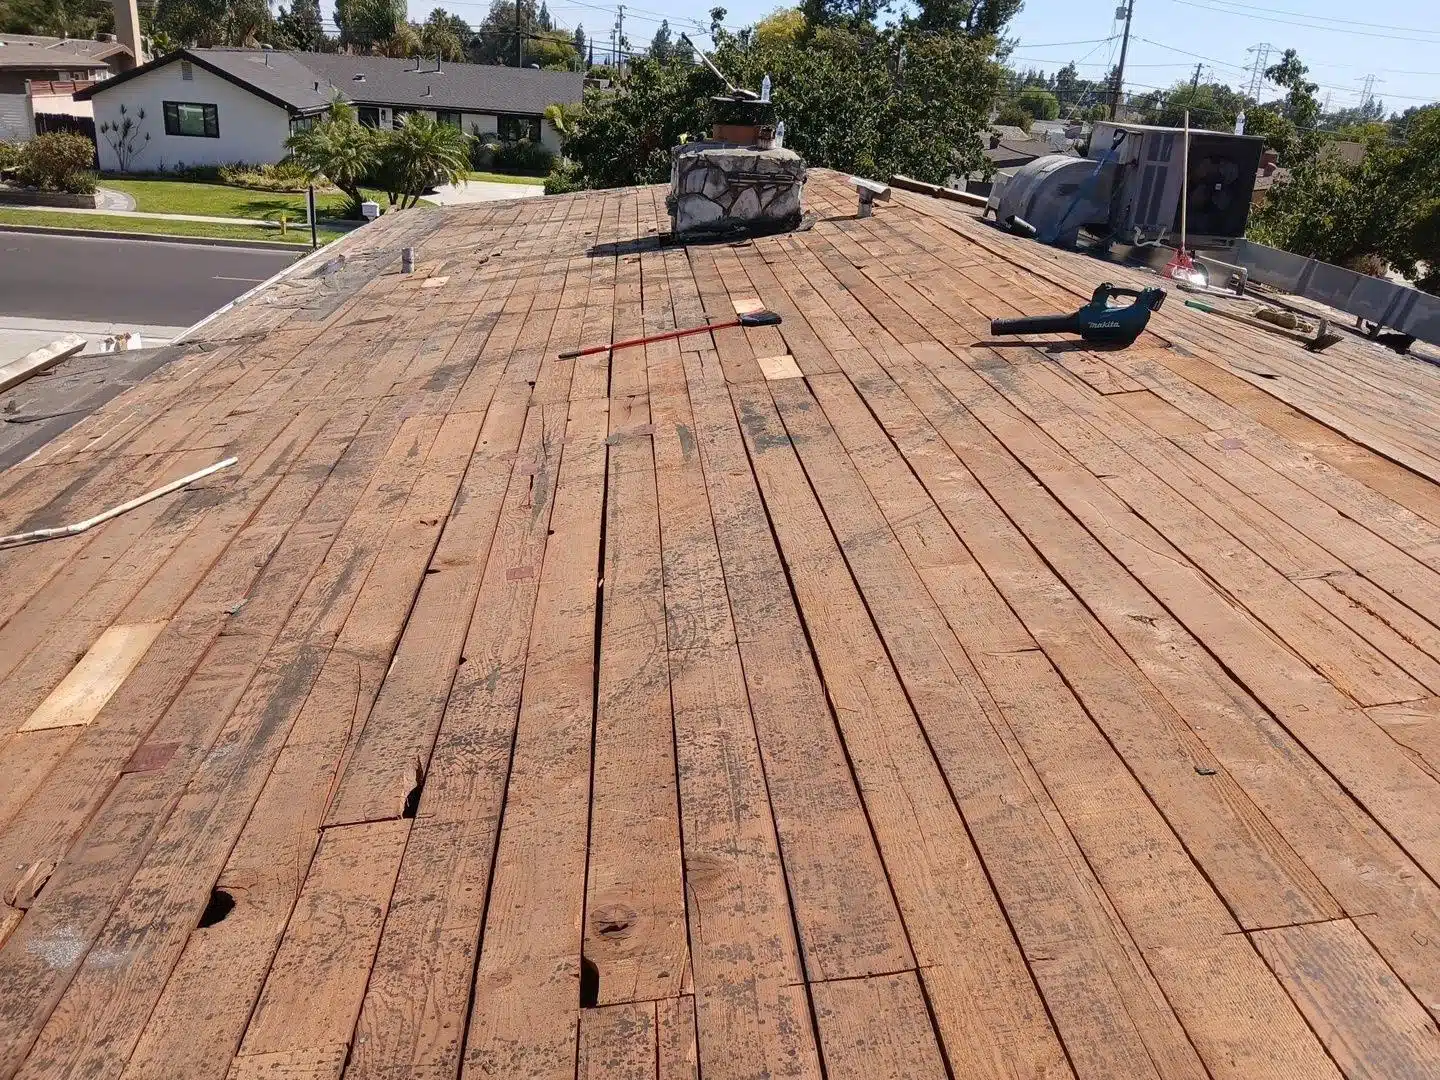
A careful visual inspection from the ground and from inside the attic can identify most flashing problems without putting you on the roof. Reserve actual roof-surface work for a licensed contractor unless you are confident with ladder safety and have non-slip footwear and a stable anchor point.
Step 1: Attic Inspection After Rain
Within 24 hours of a rain event, go into the attic with a bright flashlight. Look for wet insulation, water stains on the sheathing, or drip trails on the rafters. Trace the trail upward; it almost always leads to a flashing seam. Mark the location with painter’s tape so a roofer can find it quickly from above.
Step 2: Ground-Level Visual Scan
From the ground, use binoculars to scan every roof transition: chimney base, skylight perimeter, dormer sides, and roof-to-wall joints. Look for lifted edges, rust streaks, and any gap wider than about one-eighth of an inch between the flashing and the adjacent surface. California’s California Energy Commission recommends annual roof inspections as part of home energy maintenance; this is a good time to fold in a flashing check.
Step 3: Gutter and Downspout Check
Inspect your gutters for rust-colored sediment or small flakes of metal. These often come from corroding valley or drip-edge flashing. A large accumulation after a single rain event suggests the flashing above is deteriorating rapidly.
Step 4: Safe Sealant Touch-Up
If you can safely reach a pipe boot or a skylight curb from a stable ladder without stepping onto the roof surface, cracked sealant around those penetrations can be patched with a roofing-grade polyurethane sealant rated for exterior UV exposure. Clean the area with a wire brush, apply the sealant in a continuous bead, and smooth it with a gloved finger. This is a temporary measure, if the underlying metal is lifted or corroded, the patch will not hold through a full rainy season.
Step 5: Document Everything
Photograph every suspect area with your phone before any work is done. Date-stamped photos are valuable for insurance claims and help a contractor prioritize the most urgent repairs without a lengthy exploratory visit.
When Should You Call a Professional Roofer?
Call a licensed roofing contractor any time the flashing failure involves lifted or corroded metal, water has already reached interior framing or drywall, or the problem is at a chimney, dormer, or valley, areas where improper repair can void a manufacturer’s shingle warranty.
Homes with complex rooflines, multiple valleys, steep pitches above 6:12, or second-story dormers, present serious fall hazards. OSHA data consistently shows falls as the leading cause of fatalities in residential construction, and roofing ranks among the highest-risk trades. If any part of the inspection or repair requires stepping onto a pitched surface, the risk-to-reward calculation strongly favors hiring a professional.
You should also call a pro when:
- Water stains have been present for more than one rain season: sheathing rot or mold may already be present beneath the surface.
- The flashing is original to a home built before 1990, meaning it is likely 35 or more years old and past its service life.
- You can see daylight through any gap at a roof-to-wall or roof-to-chimney joint when viewed from the attic.
- The home has had a solar panel installation, HVAC penetration, or addition in the past 10 years; these retrofits frequently disturb existing flashing and create new failure points.
- Your home is in a hillside or canyon-adjacent area where wind-driven rain hits the roof at angles that standard flashing details do not account for.
A contractor who is licensed by the California Contractors State License Board (CSLB) is required to carry liability insurance and follow California’s building code requirements for roofing work, including proper flashing integration under California’s Title 24 building energy standards. Always verify a contractor’s CSLB license number before work begins at cslb.ca.gov.
How Is Roof Flashing Repaired or Replaced?
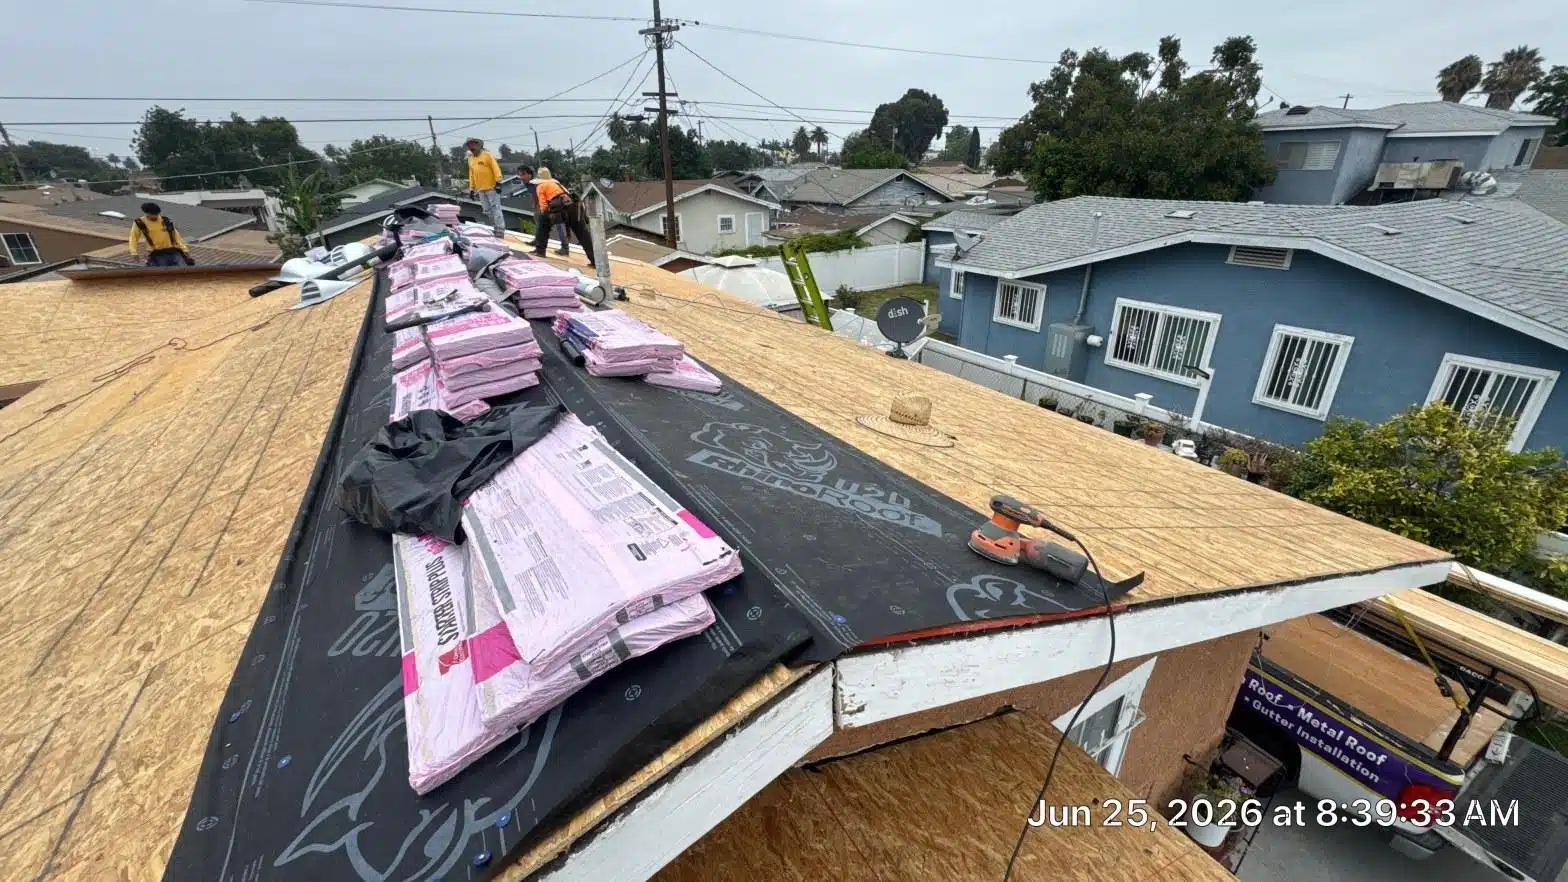
Flashing repair ranges from a targeted sealant application taking under an hour to a full valley or chimney flashing replacement that requires removing and reinstalling surrounding shingles over one to two days. The scope depends on the type of flashing, the extent of corrosion or separation, and whether secondary damage to the sheathing or framing must also be addressed.
Here is how a professional typically approaches the most common repair types:
Step Flashing and Counter Flashing at Chimneys
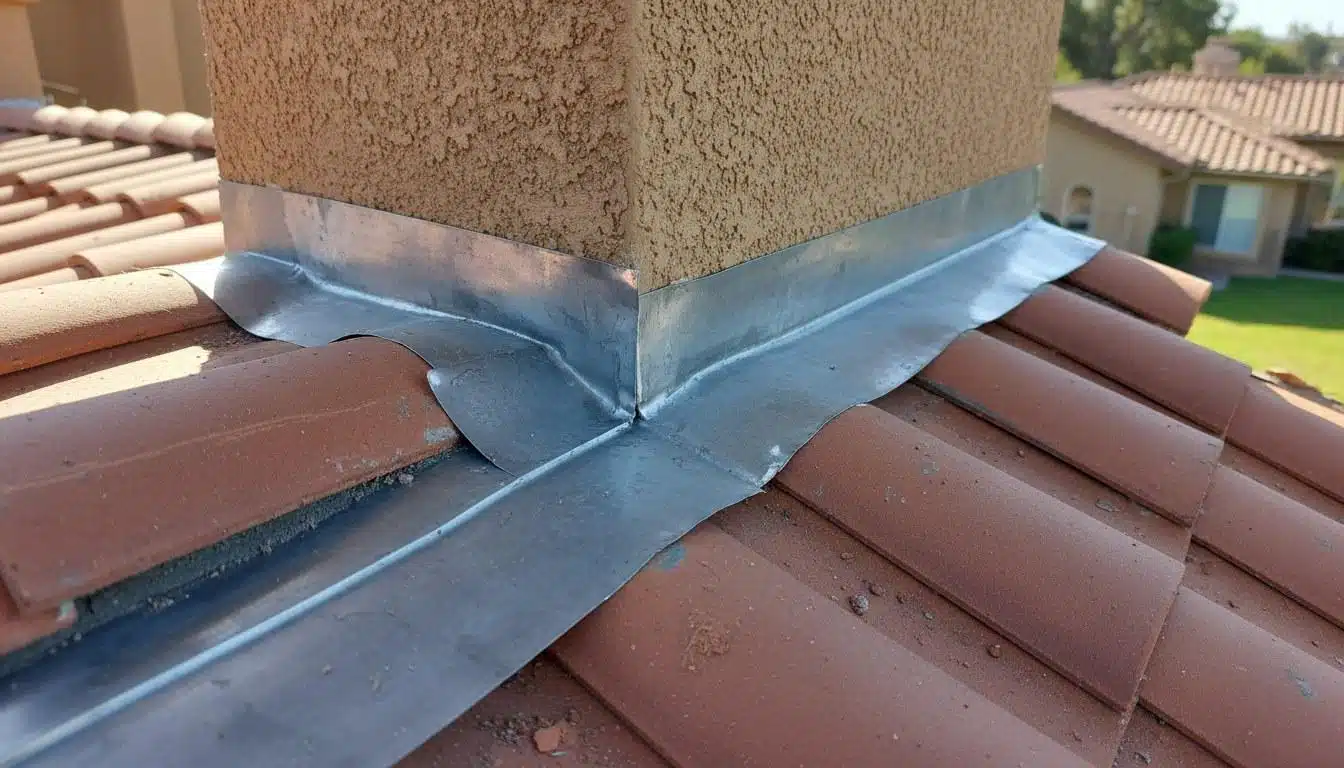
Step flashing consists of individual L-shaped pieces woven between each course of shingles along a chimney side. Counter flashing is the overlapping cap piece embedded into the chimney mortar. Replacing both requires removing the top course of shingles, cutting new reglets (slots) in the mortar, installing new step pieces, and then re-laying the shingles. This is a multi-trade job when the chimney mortar is also deteriorated. In the Southern California market, chimney flashing replacement on a single chimney typically ranges from around $400 to $1,200 depending on chimney size and whether the mortar requires tuck-pointing.
Valley Flashing
Open metal valleys use a continuous strip of metal, usually 24-inch-wide aluminum or galvanized steel, running the full length of the valley. Closed-cut valleys use shingles woven or cut over the valley with no exposed metal. Replacing an open valley means removing all shingles on both sides of the valley for at least 6 to 12 inches, pulling the old flashing, installing new underlayment, and laying new metal before re-shingling. Projects in this category typically range from $300 to $900 per valley in the regional market, depending on valley length and roof pitch.
Skylight Flashing
Manufacturer-supplied integrated flashing kits are the code-preferred solution for skylights as of the 2022 California Residential Code update. Retrofit flashing kits are available for existing skylights whose original flashing has failed. A full skylight re-flash without replacing the skylight unit itself typically takes three to five hours and ranges from $250 to $600 in this market.
Kick-Out Flashing
Kick-out flashing is a small but critical diverter piece installed where a roof slope meets a vertical wall at the eave. Without it, water runs directly behind the siding and into the wall cavity. Installing kick-out flashing on an existing home often requires removing a section of siding, which adds to the labor cost. This repair is frequently overlooked during routine maintenance but is one of the most cost-effective ways to prevent wall rot on homes with roof-to-wall intersections.
For guidance on deciding whether a repair or a full replacement is the right call for your specific situation, the existing resource Roof Flashing Troubleshooting: When to Repair vs. Replace covers that decision in detail.
Across our service calls on multi-plane rooflines in Los Angeles County, we find that kick-out flashing is missing entirely on approximately 4 out of 10 homes built before 1995, a gap that California’s updated building code now requires to be corrected whenever a roof is substantially re-roofed.
Kick-out flashing is missing entirely on approximately 4 out of 10 homes built before 1995 in Los Angeles County, a gap that current California building code now requires to be corrected during re-roofing.
Get Expert Flashing Repair Across Southern California
Roof flashing problems on complex rooflines rarely stay small. A gap that lets in a tablespoon of water per rain event can saturate insulation, rot sheathing, and feed mold growth over a single wet season, turning a few-hundred-dollar repair into a multi-thousand-dollar remediation project. The best time to address a suspected flashing failure is before the next rain arrives.
Roof Repair & Construction Inc. handles flashing repair and replacement on all roof types across Southern California, from straightforward pipe boot re-seals to full chimney and valley flashing replacements on steep, multi-plane residential roofs. Get a written, itemized quote before any work begins.
Call (323) 474-1088 to schedule your inspection. Same-week appointments are typically available, and all work is performed by contractors licensed by the California Contractors State License Board (CSLB).
Frequently Asked Questions
How do I apply roof flashing around a chimney myself?
Applying chimney flashing yourself involves installing L-shaped step flashing pieces woven between each shingle course along the chimney sides, then overlapping them with counter flashing embedded into the mortar joints. This is one of the more technically demanding DIY roofing tasks because it requires cutting reglets into mortar, working at height on a pitched surface, and integrating the flashing correctly with the shingle courses. Most homeowners are better served having a licensed roofer handle chimney flashing to avoid warranty issues and water infiltration from improper lapping.
How do you put flashing on a roof where it meets a wall?
Where a roof slope meets a vertical wall, you need step flashing along the slope and a kick-out diverter at the bottom where the slope ends at the eave. Each step flashing piece is an L-shaped metal strip laid over each shingle course and tucked behind the siding or wall cladding above. The kick-out piece redirects water away from the wall and into the gutter. If the wall cladding must be removed to install the flashing correctly, that step is critical, skipping it leaves the wall cavity exposed to water intrusion.
How long does roof flashing last before it needs to be replaced?
Most galvanized steel and aluminum flashing lasts between 20 and 30 years under normal conditions. Lead-coated copper flashing can last 50 years or more. In Southern California, UV exposure and thermal cycling tend to degrade sealants faster than the metal itself, so flashing may need re-sealing every 5 to 10 years even when the metal is still structurally sound. Any flashing original to a home built before 1995 should be inspected by a professional.
Can I use regular caulk to fix roof flashing problems?
Standard interior or paintable caulk is not suitable for roof flashing repairs. You need a roofing-grade polyurethane or rubberized asphalt sealant rated for exterior UV exposure and temperature swings. Even the right sealant is only a temporary fix if the underlying metal is corroded, lifted, or improperly lapped. A sealant patch on a structurally failed flashing typically lasts one to two rain seasons at most before the failure reappears.
How much does it cost to repair roof flashing in the Los Angeles area?
In the Los Angeles regional market, simple flashing sealant repairs typically range from $150 to $350. Chimney step and counter flashing replacement generally runs from $400 to $1,200 depending on chimney size and mortar condition. Valley flashing replacement typically ranges from $300 to $900 per valley. These ranges shift based on roof pitch, access difficulty, and whether secondary damage to sheathing or framing must also be repaired. Contact Roof Repair & Construction Inc. at (323) 474-1088 for a written quote specific to your roof.