Roof flashing problems are one of the top causes of water intrusion in California homes. This guide helps you diagnose the issue and decide whether a repair or full replacement is the smarter fix.
Need this done rather than diagnosed? See our roof flashing repair service, or browse all roofing services.
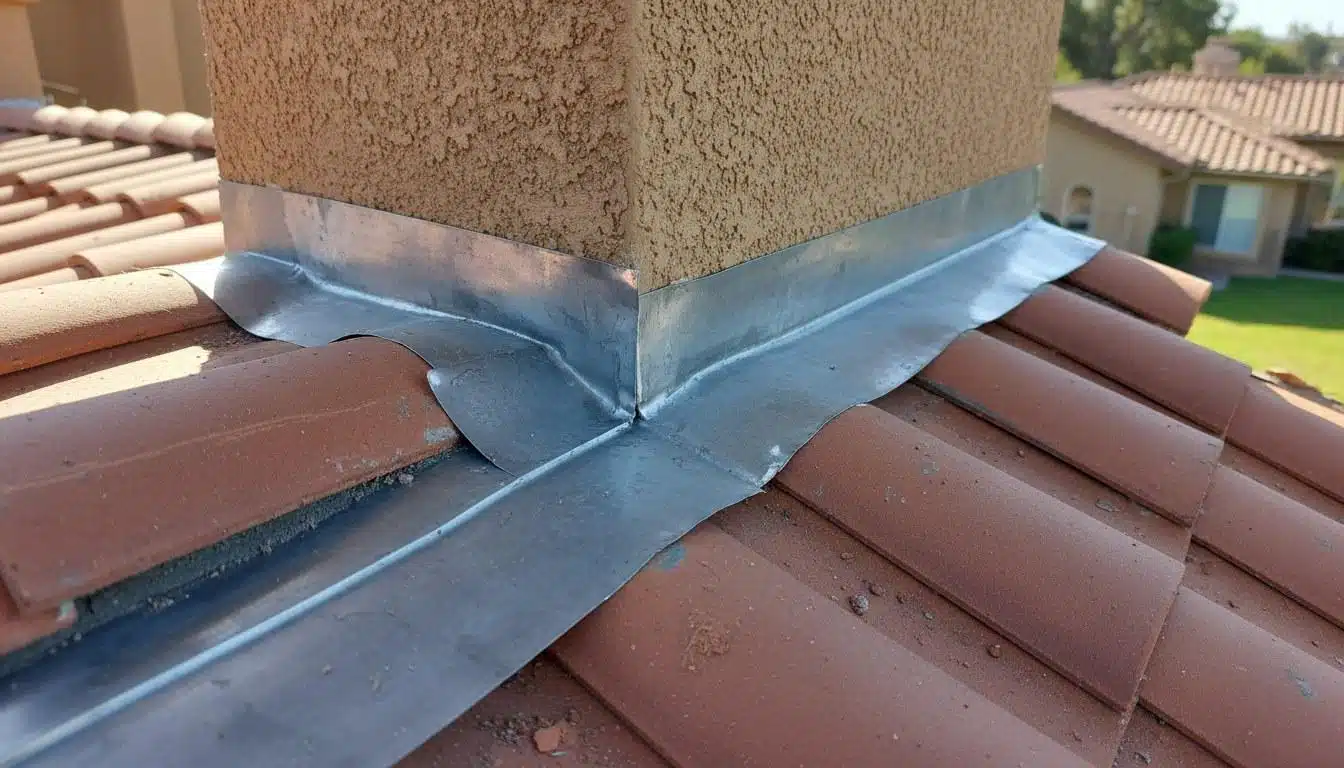
Roof flashing problems are among the most common, and most misdiagnosed, sources of water damage in California homes. Flashing is the thin sheet metal (usually galvanized steel, aluminum, or copper) installed wherever your roof meets a vertical surface: chimneys, skylights, dormers, vents, and roof valleys. When it fails, water finds its way in fast. This guide walks you through how to spot failing flashing, map each symptom to its likely cause, and make a clear repair-or-replace decision before a small problem becomes a major structural repair. For a broader look at causes and symptoms, see our related guide: Roof Flashing Problems: Causes, Symptoms, and How to Fix Them.
Why Do Roof Flashing Problems Happen in the First Place?
Flashing fails for three main reasons: thermal movement, age-related material breakdown, and poor original installation. In California’s climate, all three accelerate faster than homeowners expect. Southern California’s wide daily temperature swings, often 30°F to 40°F between morning and afternoon, cause metal flashing to expand and contract repeatedly. Over years, that movement breaks the seal between the flashing and the roofing material.
Hillside neighborhoods across Los Angeles County face an added challenge. Homes built on slopes channel rainwater along rooflines and into valleys where flashing is under constant hydraulic pressure during storms. The National Weather Service Los Angeles office documents that the region receives most of its annual rainfall in intense, short bursts between November and March, exactly the kind of event that exposes even minor flashing gaps instantly.
Housing age matters too. A large share of California’s hillside residential stock was built between the 1940s and 1970s, when galvanized steel flashing was standard. Galvanized steel has a typical service life of 20 to 30 years before corrosion becomes structurally significant. Homes in that age range are statistically overdue for a flashing inspection.
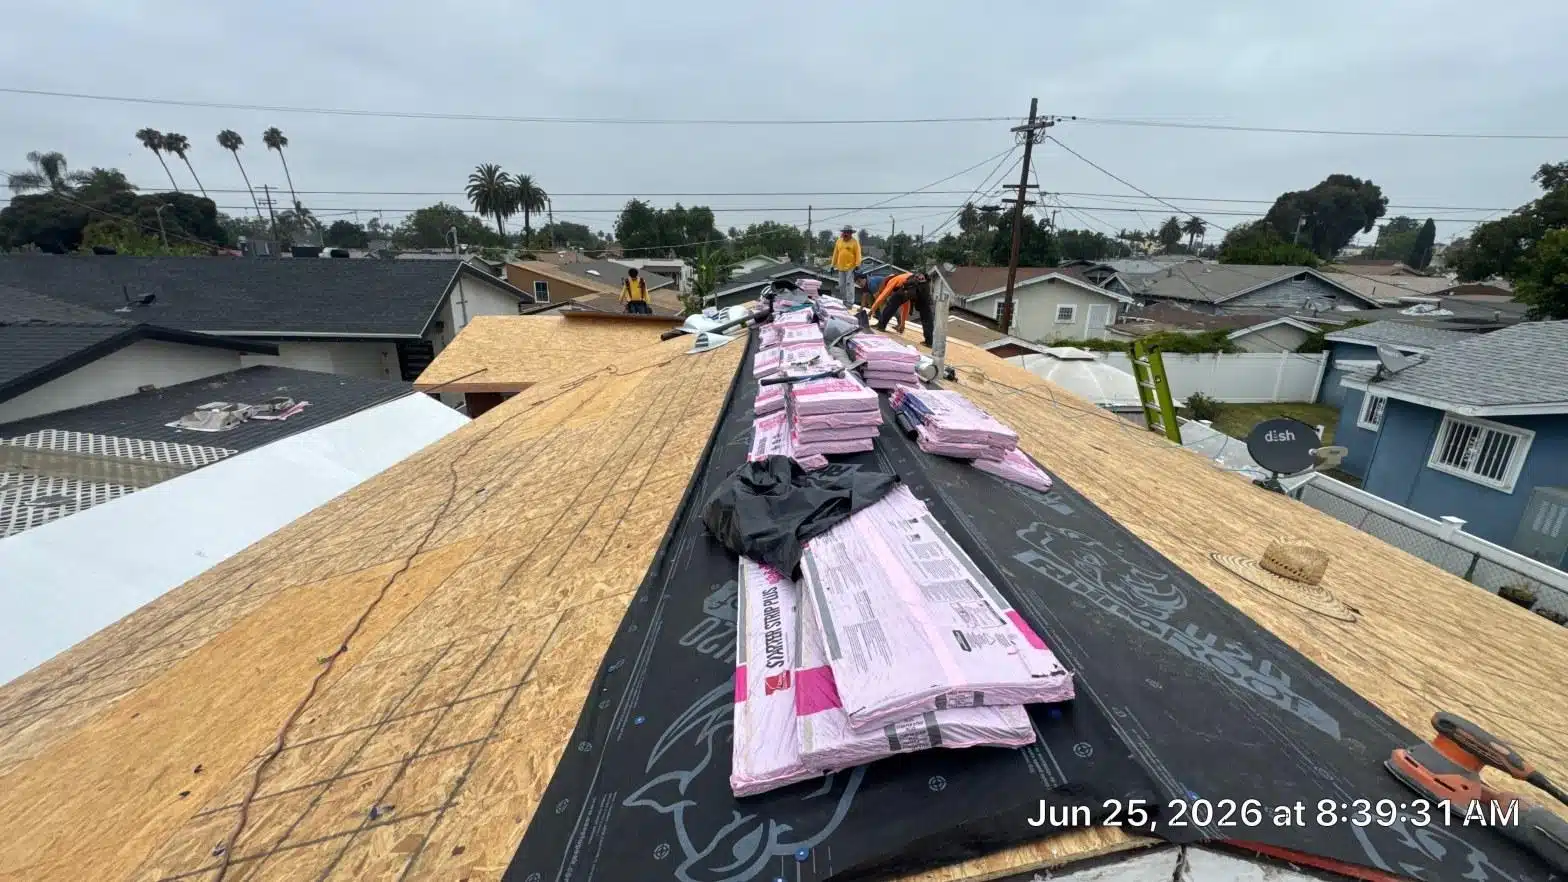
Our crews see this pattern consistently: on re-roofing jobs in Los Angeles County, roughly 6 out of every 10 homes built before 1980 have at least one section of flashing that was never properly sealed at the original installation, a defect hidden for decades until the underlying caulk finally gives out.
What Are the Warning Signs Your Flashing Is Failing?
The clearest early sign of a flashing failure is a water stain on your ceiling or wall that appears or worsens only during or shortly after rain. Unlike a plumbing leak, which can drip any time, a flashing leak almost always tracks directly with rainfall events. Here are the specific symptoms to look for:
- Water stains on ceilings or upper walls: Brown or yellow rings that appear after rain, especially near a chimney, skylight, or roof valley directly above.
- Lifted or buckled metal at roof edges: Flashing that has pulled away from the surface it was sealing, visible from the ground or a ladder at the eave line.
- Cracked or missing caulk at seams: The sealant around step flashing, counter flashing, or vent pipe boots has dried, cracked, or fallen away entirely.
- Rust streaks on the roof surface or fascia: Orange or brown streaking running down from a flashing joint signals active corrosion of galvanized steel flashing.
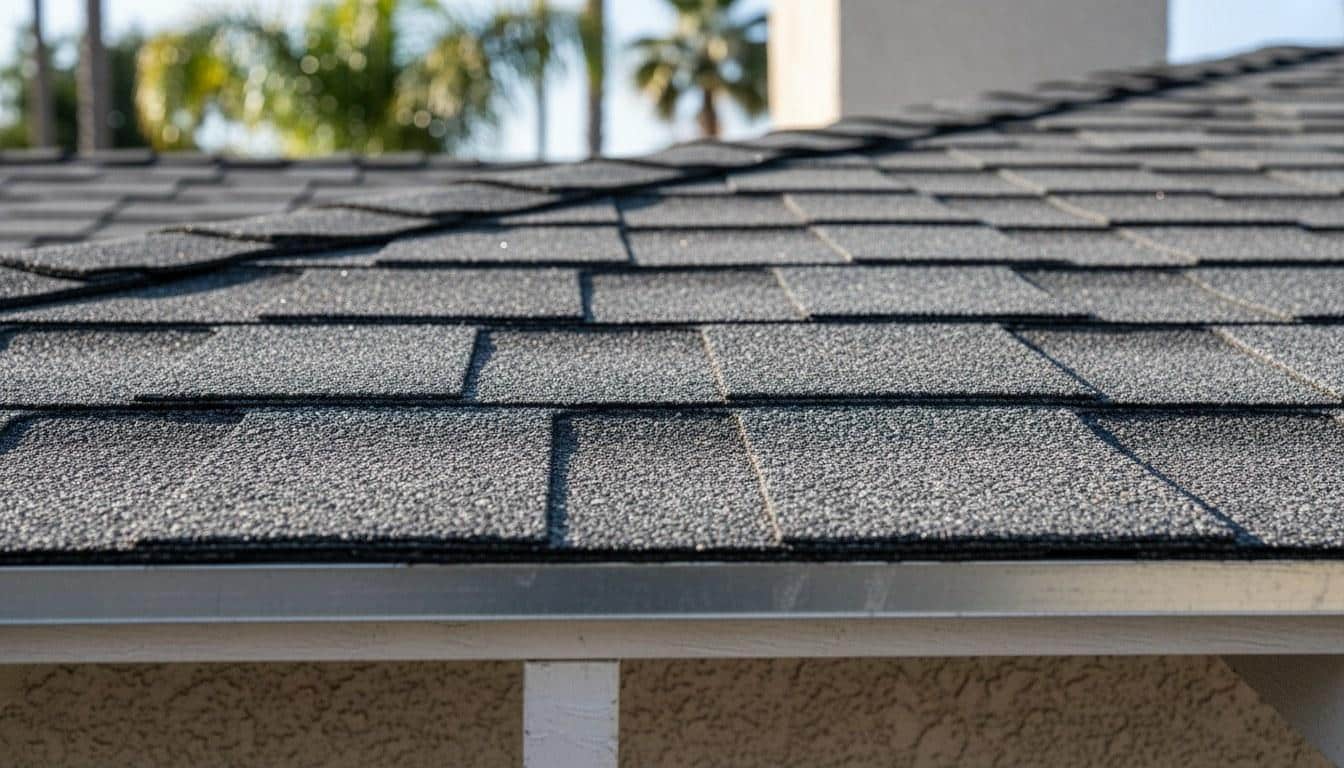
- Granule loss on shingles adjacent to flashing: Water redirected by failing flashing erodes the protective granule layer on nearby asphalt shingles faster than the rest of the roof.
- Daylight visible in the attic near a penetration: During daylight inspection of the attic, any light visible around a chimney base, vent, or skylight frame points to a gap in the flashing seal.
- Mold or musty odor in attic insulation: Slow, intermittent flashing leaks often saturate insulation long before ceiling damage appears, mold growth is the first sign.
- Separated counter flashing on a chimney: The upper piece of chimney flashing (counter flashing) is mortared into the masonry. If it has pulled free, water runs directly behind both layers.
Symptom, Likely Cause, and Repair vs. Replace: A Quick Reference
Use this table to match what you are seeing to its most likely cause and decide whether a targeted repair or full flashing replacement is the right response. Minor sealant failures are almost always repairable; metal that is corroded through or structurally separated typically requires replacement.
| Symptom | Likely Cause | Repair or Replace? |
|---|---|---|
| Cracked or missing caulk at one seam | Sealant age or thermal movement | Repair, reseal with roofing-grade polyurethane caulk |
| Single lifted flashing tab at a valley | Wind uplift or fastener backing out | Repair, re-secure and reseal the tab |
| Surface rust on galvanized steel flashing | Zinc coating worn through (20+ year flashing) | Repair if surface-only; Replace if metal is pitted or thin |
| Rust holes or perforations in flashing | Full corrosion through the metal | Replace, patching corroded-through metal is temporary at best |
| Counter flashing pulled from chimney mortar | Mortar joint failure or improper original install | Replace, requires re-cutting mortar joint and resetting flashing |
| Repeated leak in same spot after two repairs | Underlying flashing geometry wrong or substrate damaged | Replace, the root cause is structural, not sealant |
| Skylight frame leak at all four corners | Flashing kit failed or was never installed correctly | Replace, manufacturer skylight flashing kits are the correct fix |
| Vent pipe boot cracked or split | UV degradation of rubber or neoprene collar | Replace boot, rubber boots typically last 10 to 15 years |
What Can You Safely Check Yourself?
Homeowners can safely perform a ground-level visual inspection and an attic inspection without getting on the roof. These two checks will confirm whether flashing is the likely source of a leak before you call a contractor or attempt any repair.
Step 1: Attic Inspection After Rain
Within 24 hours of a rain event, enter the attic with a flashlight. Look for wet insulation, water trails on the underside of the roof deck, or daylight showing around any penetration (chimney, vent, skylight curb). Mark the wet spot with chalk or tape so you can measure its location from the ridge and eave; this lets a roofer find it from the outside quickly.
Step 2: Ground-Level Visual Scan
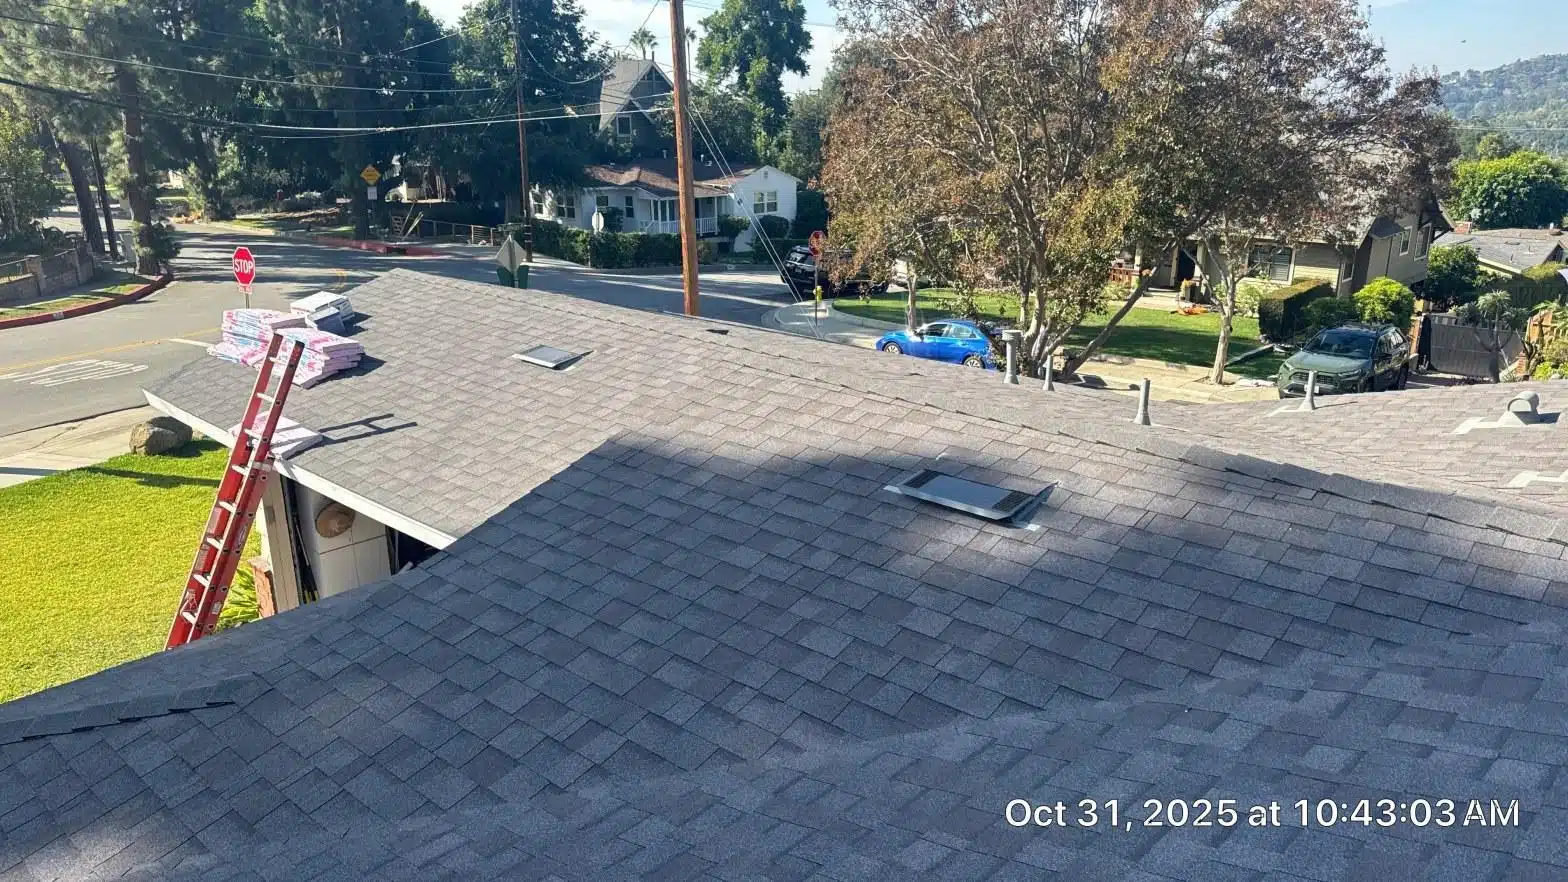
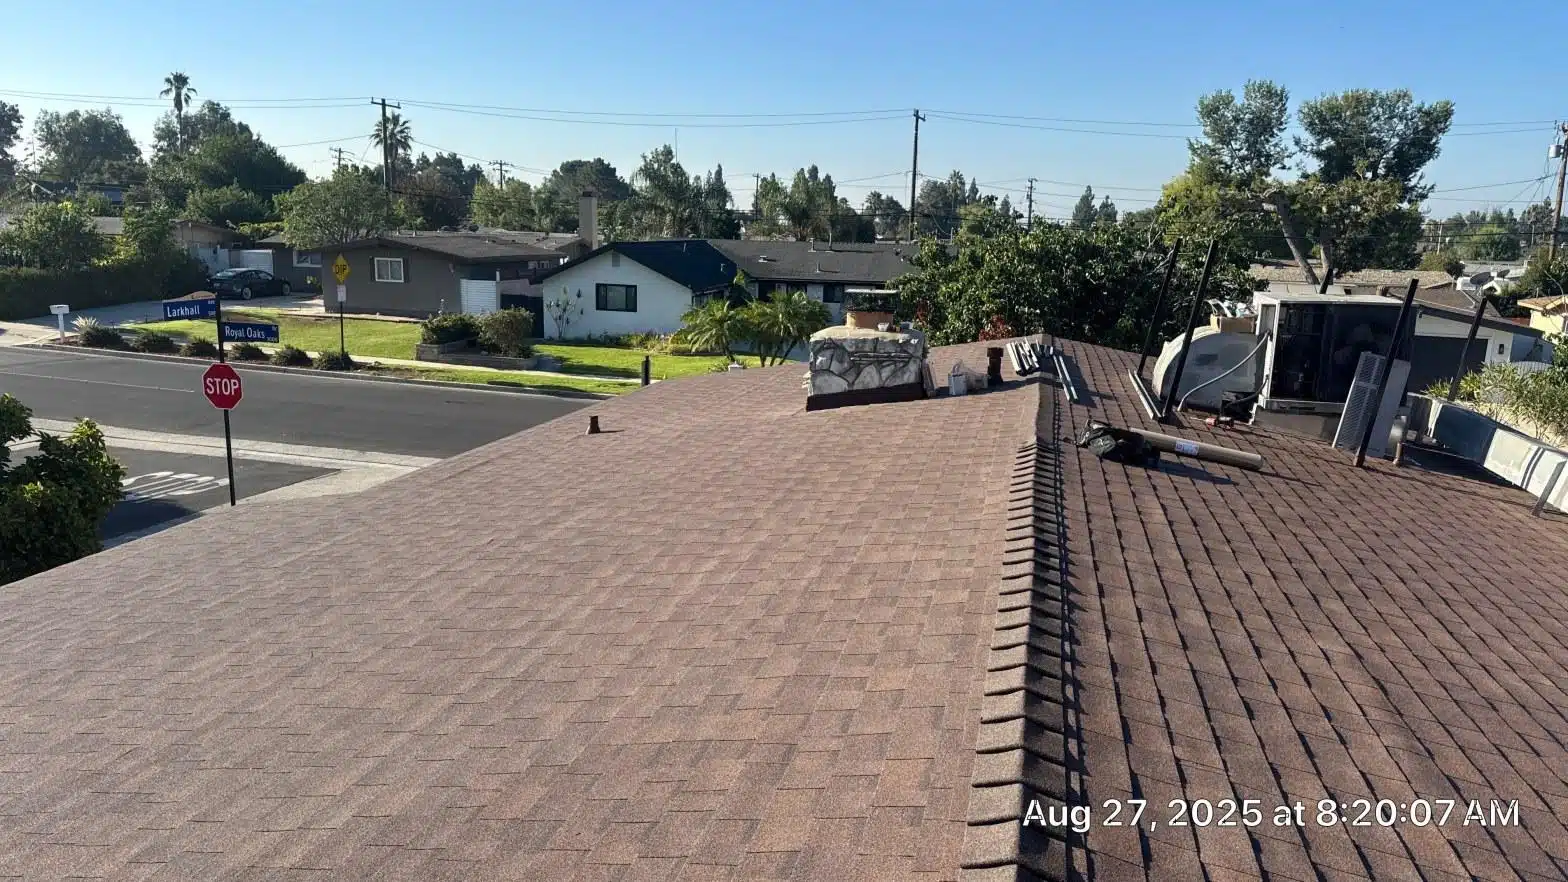
From the ground, use binoculars to scan all the places where your roof meets a vertical surface. Look for lifted metal edges, visible gaps, rust streaking, or sections where the flashing appears to have separated from the shingles. Pay particular attention to roof valleys, the angled channels where two roof planes meet, since valley flashing handles the highest water volume of any flashing location.
Step 3: Gutter and Downspout Check
Check your gutters for rust-colored debris or small metal fragments after a storm. Flaking galvanized steel flashing often sheds material that collects in gutters. Finding it there tells you the flashing is actively deteriorating even if you cannot see the damaged section from the ground.
Step 4: Ceiling and Wall Interior Scan
Walk every room on your top floor and look at the ceiling corners near exterior walls. Use a moisture meter (available at hardware stores for under $30) to probe any discolored area. A reading above 16% moisture content in drywall indicates active or recent wetting, a strong indicator of a roof or flashing leak rather than condensation.
- Check the attic within 24 hours of rain: mark any wet spots.
- Scan all roof-to-wall transitions from the ground with binoculars.
- Inspect gutters for rust debris after storms.
- Probe ceiling discoloration with an inexpensive moisture meter.
- Document everything with photos before calling a contractor: it speeds up the diagnosis and quote process significantly.
When Should You Call a Professional Roofer?
Call a licensed roofing contractor when the leak has recurred after a DIY repair, when the flashing involves a chimney or skylight, or when you find any rot in the roof deck beneath the flashing. These situations require material removal, substrate assessment, and proper flashing geometry, work that goes beyond sealant application.
California law requires roofing contractors to hold a valid C-39 Roofing license issued by the California Contractors State License Board (CSLB). Always verify a contractor’s license number on the CSLB website before signing any contract. An unlicensed roofer’s work is not covered by California’s contractor bond requirements, which means you have limited recourse if the repair fails.
Chimney flashing is the most technically demanding repair on a residential roof. It involves at least two separate flashing layers, base flashing and counter flashing, and requires cutting into the mortar joints of the chimney to seat the counter flashing correctly. Improper chimney flashing is the single most common cause of repeated interior leaks in older California hillside homes. Our team has documented that chimney-related calls account for more than 40% of all flashing service requests we receive on homes built before 1975.
Chimney-related calls account for more than 40% of all flashing service requests we receive on homes built before 1975.
You should also call a professional if your roof is steeper than a 4:12 pitch (4 inches of rise for every 12 inches of horizontal run). Working on a steep slope without fall protection is dangerous, and California’s Division of Occupational Safety and Health (Cal/OSHA) regulations require fall protection for work at heights above 6 feet on residential roofs.
How Much Does Flashing Repair or Replacement Cost in California?
In the California regional market, targeted flashing repairs typically range from $150 to $500 depending on the location and scope, while full flashing replacement at a chimney or skylight generally runs $400 to $1,500 or more. Several factors push costs toward the higher end of that range.
- Flashing material: Galvanized steel is the most affordable option. Aluminum costs slightly more but resists corrosion better in coastal or high-humidity microclimates. Copper flashing, the longest-lasting option at 50 to 70 years, carries a significant material premium but is often the right call for high-value or historic homes.
- Location on the roof: Valley flashing and vent pipe boots are relatively straightforward. Chimney flashing and skylight flashing involve more labor, more material layers, and often require mortar work or curb modification.
- Deck condition beneath the flashing: If the roof deck (typically 5/8-inch plywood or OSB) has rotted from years of slow leaking, that substrate must be replaced before new flashing is installed. Deck repair adds $200 to $600 or more per section, depending on the size of the damaged area.
- Roof pitch and access: Steeper roofs require more safety equipment and take longer to work on safely, which increases labor costs.
- Number of penetrations: A roof with multiple skylights, two chimneys, and a solar mounting system will cost significantly more to re-flash than a simple gable roof with a single vent stack.
Affordable roof repairs are possible when problems are caught early, a $200 sealant repair on a single seam can prevent a $3,000 deck and drywall repair if addressed before the next rainy season. Waiting until after visible interior damage appears almost always doubles the total project cost. For a custom quote on your specific situation, contact a qualified roofing contractor before making any repair-or-replace decision.
A $200 sealant repair on a single seam can prevent a $3,000 deck and drywall repair if addressed before the next rainy season.
Note that flashing work is generally not covered by federal incentive programs like the Inflation Reduction Act federal tax credit, which applies to energy-efficiency improvements like insulation and qualifying roofing products, but if your flashing replacement is part of a broader re-roofing project using ENERGY STAR-rated materials, the roofing portion may qualify. Ask your contractor to confirm eligibility before the project begins.
Get Expert Help with Your Roof Flashing
Roof flashing problems do not fix themselves, and California’s rainy season does not wait. If you have spotted any of the warning signs in this guide, stained ceilings, lifted metal, rust streaks, or a recurring leak that has already been patched once, the smartest move is a professional inspection before the next storm arrives.
Roof Repair & Construction Inc. handles flashing repairs and full flashing replacements for homeowners across Southern California, from single-seam sealant repairs to complete chimney and skylight re-flashing. Every project is assessed by a licensed contractor and quoted in writing before any work begins. Call (323) 474-1088 to schedule your inspection or request a custom quote. Same-day assessments are available for active leaks.
Frequently Asked Questions
How do I know if my roof flashing is the cause of my leak?
If your ceiling stain appears or gets worse only during or right after rain, and it is located near a chimney, skylight, roof valley, or vent pipe, flashing is the most likely culprit. Check your attic within 24 hours of a rain event and look for wet insulation or water trails near any roof penetration. A moisture meter reading above 16% in the ceiling drywall below that area confirms active wetting. A licensed roofing contractor can pinpoint the exact failure point with a visual inspection.
How do you apply roof flashing correctly on a chimney?
Chimney flashing requires two separate layers: base flashing that lays against the roof surface and counter flashing that is set into a cut mortar joint in the chimney masonry. The counter flashing overlaps the base flashing by at least 3 inches and is sealed into the mortar with a flexible roofing-grade sealant. The base flashing is stepped along each course of shingles on the sides of the chimney. Getting the geometry wrong, especially at the back of the chimney where a saddle or cricket is often needed, is the most common installation error and leads to repeated leaks.
How do you put flashing on a roof valley?
Valley flashing is installed before the shingles are laid in that section. An underlayment layer goes down first, then the metal valley flashing, typically an 18-inch to 24-inch wide strip of aluminum or galvanized steel, is centered in the valley and nailed along its outer edges only, never through the center channel. Shingles are then trimmed and laid over the outer edges of the flashing, leaving the metal channel exposed to carry water. Open valleys are the most durable approach; woven or closed-cut valleys use shingles across the valley but still require a metal liner underneath.
Can I repair roof flashing myself, or do I need a contractor?
Simple sealant repairs on a low-slope, accessible section of flashing are within reach for a careful homeowner, clean the area, apply a roofing-grade polyurethane or butyl caulk, and press the flashing back into contact. However, chimney flashing, skylight flashing, and any repair that requires removing shingles or cutting mortar joints should be handled by a licensed contractor. Working on a steep roof without proper fall protection is also dangerous and is regulated under California safety codes.
How long does roof flashing last before it needs to be replaced?
The lifespan depends heavily on the material. Galvanized steel flashing typically lasts 20 to 30 years before corrosion becomes a structural concern. Aluminum flashing lasts 30 to 40 years in most climates but can corrode faster in coastal or high-humidity environments. Copper flashing is the longest-lasting option at 50 to 70 years or more. Rubber vent pipe boots, technically a type of flashing, typically need replacement every 10 to 15 years due to UV degradation. If your home's flashing has never been replaced and the roof is more than 25 years old, an inspection is strongly recommended.