Damaged or missing roof flashing is one of the most common causes of interior water damage in California homes. Learn the warning signs before a small leak becomes a costly repair.
Need this done rather than diagnosed? See our roof flashing repair service, or browse all roofing services.
Why Does Roof Flashing Fail in the First Place?
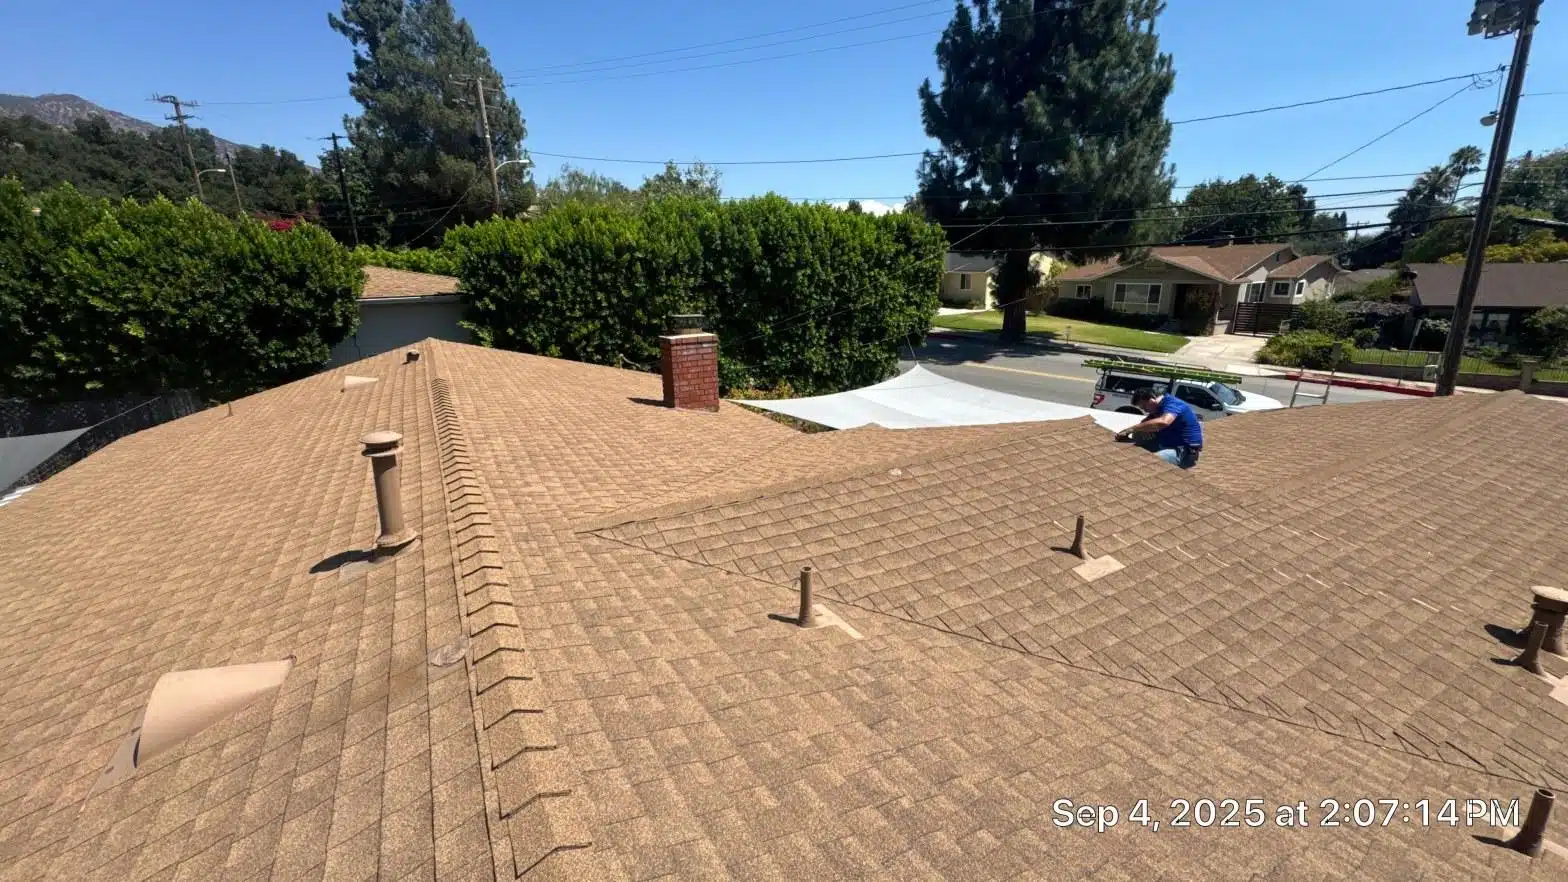
Roof flashing fails because of age, thermal movement, poor installation, and weather exposure. In California, the combination of intense summer heat, occasional heavy winter rain, and seasonal temperature swings accelerates these failures faster than many homeowners expect.
Metal flashing, typically made from galvanized steel, aluminum, or lead-free copper, expands and contracts with temperature changes. NOAA climate data shows Southern California can swing 40°F or more between a summer afternoon and a winter night. Over years of this daily movement, sealants crack, fasteners loosen, and the metal itself can buckle or separate from the roof surface.
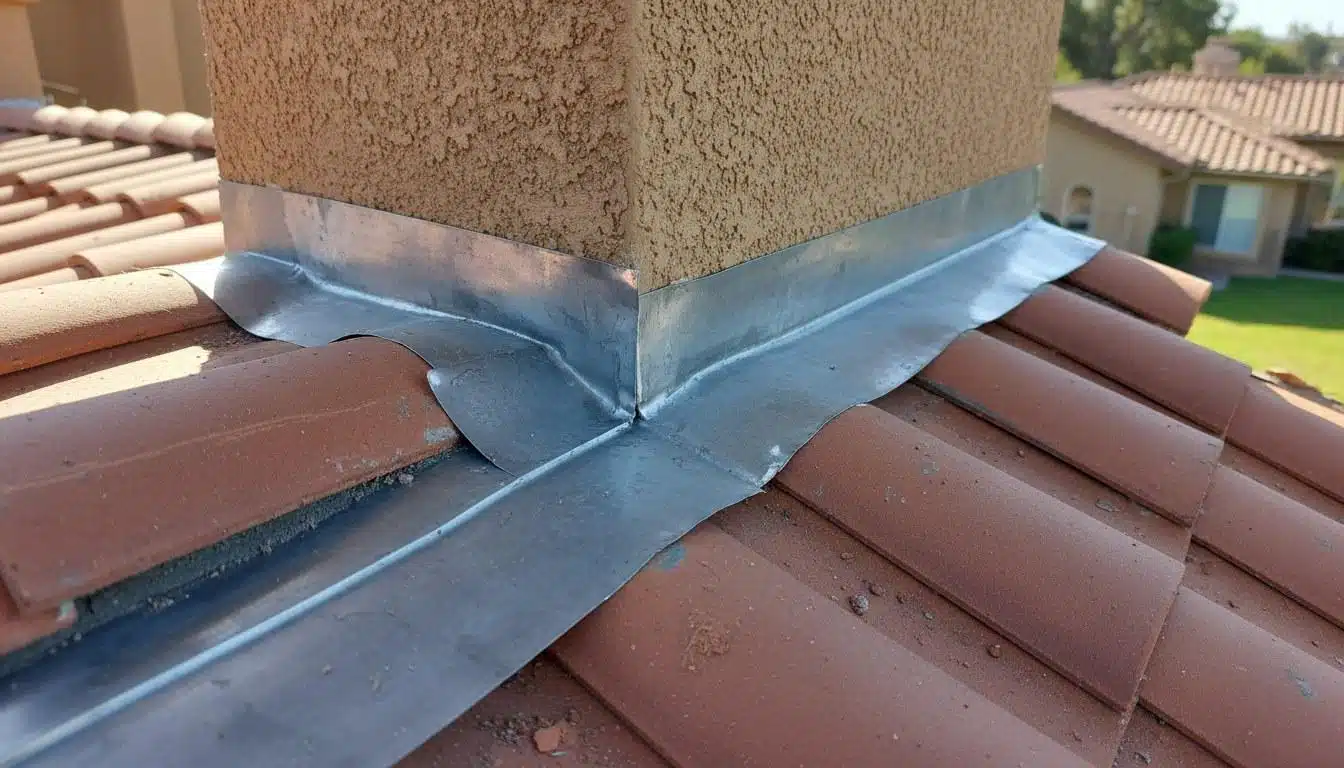
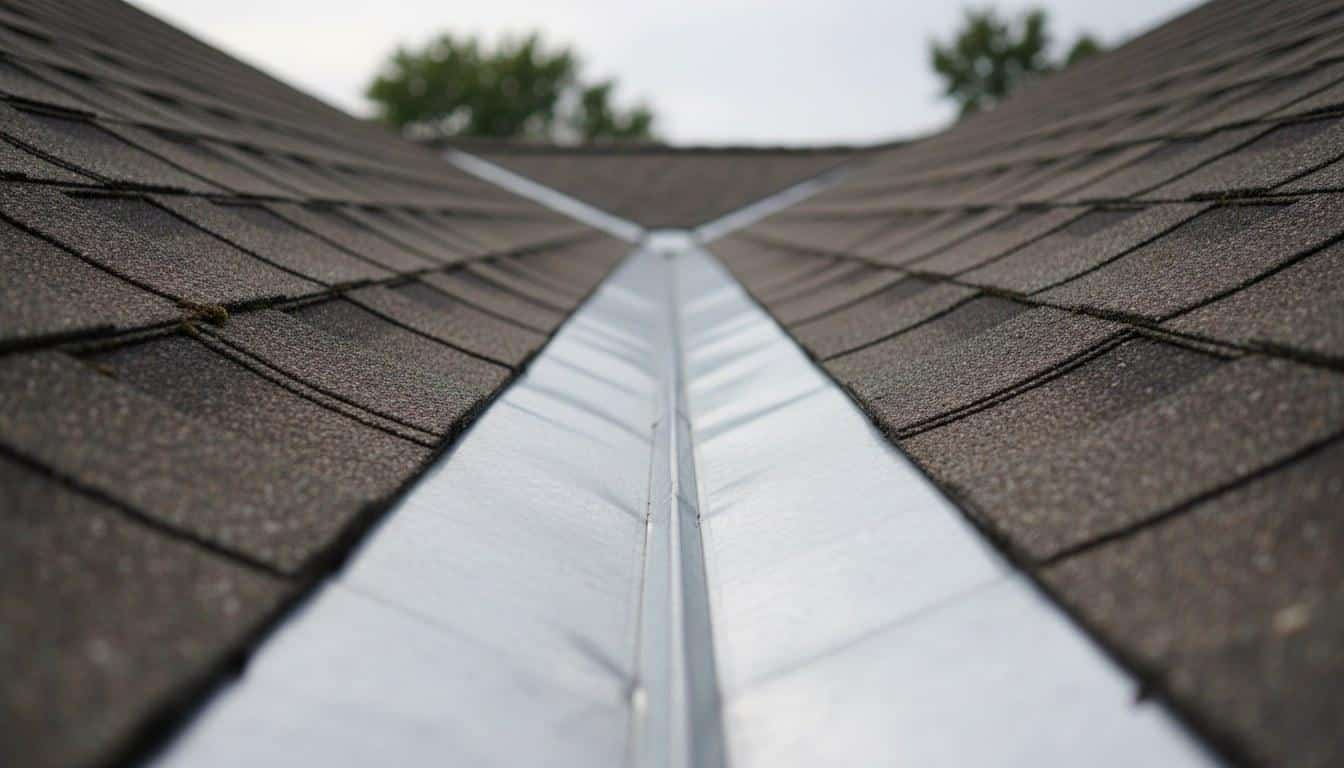
Flashing is the thin metal or composite material installed wherever your roof meets a vertical surface, chimneys, skylights, dormers, vent pipes, and valleys where two roof planes meet. It channels water away from these vulnerable joints. When it fails, water finds a direct path into your home’s structure.
Most residential flashing lasts 20 to 30 years under normal conditions, but improper installation can cut that lifespan to under 10 years. California homes built before 1990 are especially likely to have original flashing that is overdue for inspection.
What Are the Warning Signs You Need Roof Flashing Repair?
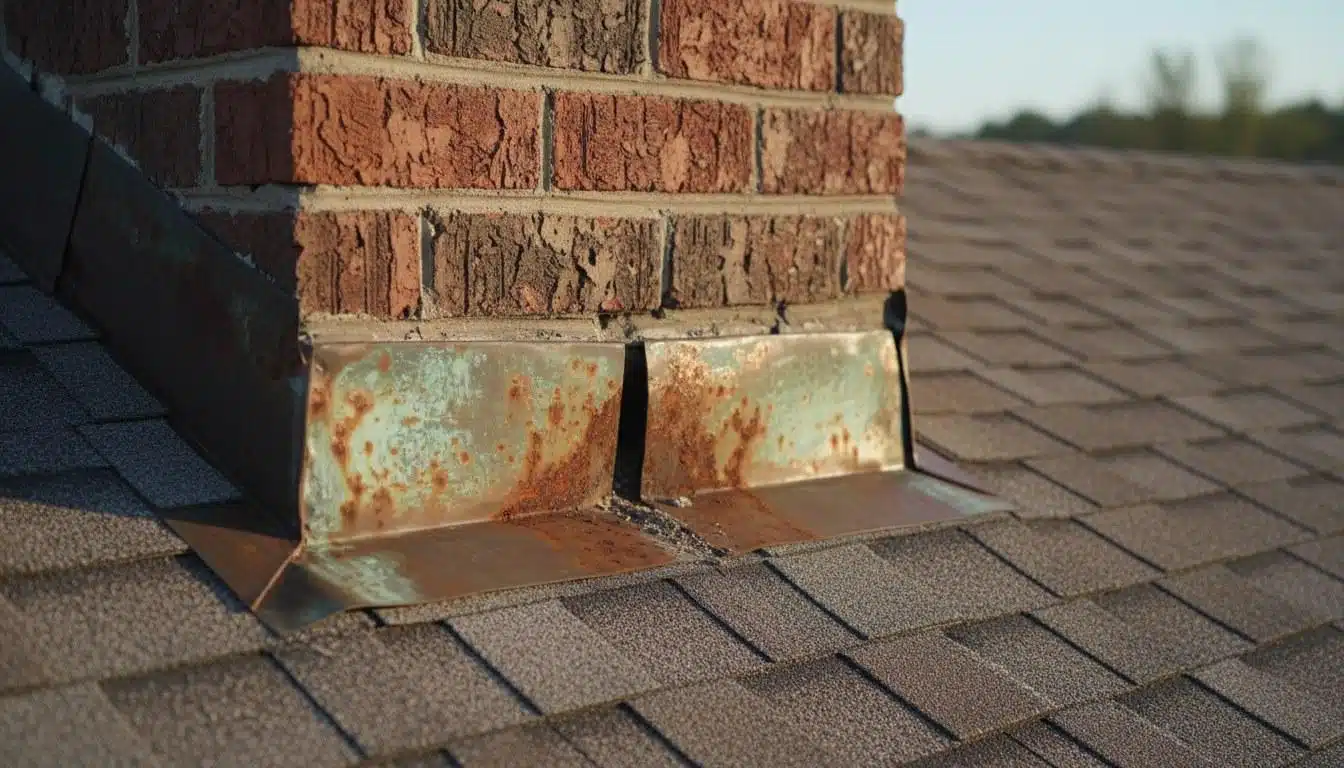
The clearest signs you need roof flashing repair are water stains inside the home near roof penetrations, visible rust or gaps on the metal strips themselves, and peeling paint or soft drywall directly below a chimney, skylight, or roof valley. Many of these signs appear inside before any damage is visible from the roof.
Our technicians have found that roughly 6 in 10 interior leak calls traced back to failed flashing rather than damaged shingles, the flashing joint is simply the most vulnerable point on any roof.
Roughly 6 in 10 interior leak calls traced back to failed flashing rather than damaged shingles, the flashing joint is simply the most vulnerable point on any roof.
- Brown or yellow ceiling stains: Water stains near a chimney, skylight, or exterior wall often point directly to failed step flashing or cap flashing above that area.
- Rust streaks on exterior walls: Rust running down siding below a roof line means the metal flashing above is corroding and water is tracking down the wall.
- Visible gaps or lifted flashing edges: Sections of metal flashing that have pulled away from the roof surface or chimney mortar create an open channel for rainwater.
- Missing sealant or cracked caulk: Dried, cracked, or absent sealant along flashing seams is one of the earliest failure signs and is often visible from a ladder at the eave level.
- Soft or spongy roof decking near a valley: If the plywood under your shingles feels soft when walked on near a valley, water has been entering through the valley flashing for some time.
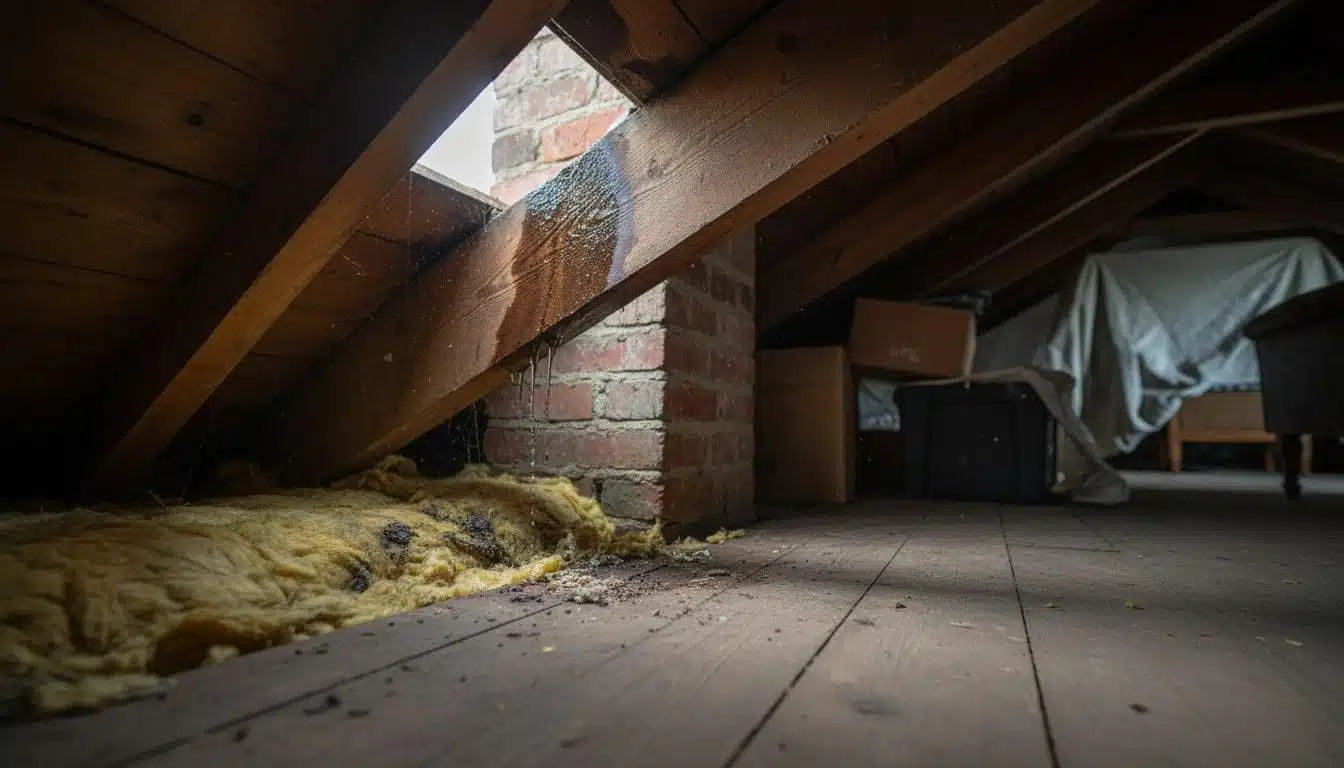
- Mold or mildew in the attic: Persistent moisture from a flashing leak creates ideal conditions for mold growth in attic insulation and on rafters, often before any ceiling stain appears.
- Granules in gutters near a valley: Excessive shingle granule loss concentrated near a roof valley can indicate water is pooling there due to failed valley flashing, accelerating shingle wear.
- Daylight visible in the attic: Any point where outdoor light enters the attic through a gap near a penetration is a confirmed flashing failure and an active leak risk.
Symptom Diagnosis: What Each Sign Usually Means
Each flashing symptom points to a specific location and failure type on your roof. Matching the symptom to its cause helps a contractor target the repair precisely, rather than replacing large sections of roofing unnecessarily.
| Symptom | Likely Cause | DIY or Pro? |
|---|---|---|
| Ceiling stain near chimney | Failed cap or step flashing at chimney base | Pro, requires safe roof access and mortar work |
| Ceiling stain near skylight | Cracked skylight flashing or failed sealant at skylight curb | Pro, skylight resealing requires precise product match |
| Rust streaks on siding | Corroding galvanized steel flashing at roof-wall junction | Pro, flashing replacement needed, not just paint |
| Lifted or buckled flashing edge | Thermal expansion, loose fasteners, or improper installation | Pro, refastening requires correct fastener type and sealant |
| Cracked caulk at flashing seam | UV degradation and thermal cycling of sealant | DIY possible if safely reachable, use roofing-grade sealant |
| Soft roof decking near valley | Long-term water intrusion through valley metal flashing | Pro, decking replacement likely required |
| Mold in attic insulation | Chronic moisture from undetected flashing leak | Pro, mold remediation plus flashing repair both needed |
| Daylight visible through attic gap | Missing or completely separated flashing section | Pro, active leak risk, urgent repair needed |
What Can You Check Yourself From the Ground or Attic?
You can safely inspect several flashing indicators without ever stepping onto the roof. A ground-level visual check with binoculars and an attic inspection with a flashlight will reveal most active problems.
Ground-Level Visual Inspection
- Stand back from your home at a safe distance and use binoculars to scan the roof line where it meets the chimney, any skylights, and the points where the roof meets a vertical wall or dormer.
- Look for metal strips that appear lifted, bent, or missing entirely. Flashing should lie flat against both the roof surface and the vertical surface it seals.
- Check for rust-colored streaks running down the exterior wall below any roof penetration. Even faint staining indicates active corrosion in the flashing above.
- Inspect gutters after the next rainfall. Rust-colored water or debris flushing from a valley section can confirm flashing corrosion upstream.
Attic Inspection (Safe and Highly Effective)
- On a sunny day, enter the attic with a bright flashlight and turn it off once your eyes adjust. Any pinpoints of daylight near chimney bases, vent pipes, or the roof ridge confirm open gaps in flashing or underlayment.
- After a rain, enter the attic within 24 hours and look for wet insulation, water trails on rafters, or damp wood near any roof penetration. Water travels along framing members, so trace it upward to its entry point.
- Press gently on roof decking near valleys and penetrations. Decking that feels soft or spongy has absorbed moisture, a sign the flashing above has been leaking for at least several weeks.
- Check for dark staining or discoloration on rafters and sheathing, which indicates past or ongoing moisture exposure even when the wood feels dry to the touch.
Do not walk on the roof surface unless you have fall-protection equipment and are comfortable working at height. OSHA fall-protection guidelines apply to homeowners as much as workers, falls from residential roofs cause serious injuries every year.
When Should You Call a Professional Roofer?
Call a licensed roofing contractor any time you find daylight in the attic, soft decking, active ceiling stains, or missing sections of flashing. These conditions mean water is already entering your home’s structure and every rain event extends the damage.
A licensed contractor, ideally one credentialed by the California Contractors State License Board (CSLB), can safely access the roof, identify the exact failure point, and make repairs that meet California’s building standards. Unlicensed work on flashing often voids homeowner’s insurance claims related to subsequent water damage.
Professional intervention is specifically required when:
- Chimney flashing has failed: Chimney step flashing and cap flashing require tuckpointing mortar joints and integrating new metal with existing masonry, work that needs both roofing and masonry knowledge.
- Valley flashing is damaged: Open valley metal flashing handles the highest water volume on the roof. Improper repair creates concentrated leak points that damage decking and interior framing.
- Decking is soft or rotted: Replacing rotted plywood sheathing requires removing shingles, installing new decking, and re-flashing the area, a multi-step job that must meet California’s Title 24 building energy standards for moisture control in the building envelope.
- The home is older than 25 years: Homes built before 2000 often have original flashing that is at or past the end of its service life. A full roof inspection, not just a spot repair, is the right starting point.
- Mold is present in the attic: Active mold requires remediation before flashing repair, otherwise new moisture will re-seed the colony. A contractor can coordinate the sequencing of both scopes.
Across our service calls in Southern California, we see step flashing failures at chimney bases account for more than 40% of all flashing-related leak repairs, and in nearly every case, the homeowner had noticed a faint ceiling stain for at least one rainy season before calling.
Step flashing failures at chimney bases account for more than 40% of all flashing-related leak repairs, and in nearly every case the homeowner had noticed a faint ceiling stain for at least one rainy season before calling.
How Much Does Roof Flashing Repair Cost in California?
Roof flashing repair in California typically ranges from $200 to $1,500 depending on the location of the failure, the material used, and whether any decking or underlayment needs replacement. Isolated sealant re-application at a single vent pipe sits at the low end; full chimney flashing replacement with new copper or galvanized steel sits at the high end.
The factors that move the price most significantly are:
- Flashing location: Chimney and skylight flashing require more labor and material than simple pipe boot replacements. Valley flashing on a steep-pitch roof adds difficulty and time.
- Material choice: Aluminum is the most affordable metal option. Copper lasts 50 or more years but costs roughly 3 to 4 times more per linear foot than galvanized steel. Most California re-roofing projects use galvanized steel or aluminum as the standard.
- Extent of secondary damage: If the flashing leak has rotted decking or soaked insulation, those repairs add $300 to $800 or more to the total scope depending on the area affected.
- Roof pitch and access: Steeper roofs require more fall-protection setup time, which adds labor cost. Roofs above two stories follow the same rule.
- Number of penetrations: A home with one chimney and two skylights will cost more to re-flash than a simple gable roof with only pipe boots.
As of 2025, roofing labor rates across Los Angeles County and the surrounding region have risen alongside general construction costs. Projects in the $400 to $900 range cover the most common single-location flashing repairs on standard-pitch residential roofs. Always request a written, itemized quote before any work begins so you can compare scope clearly across contractors.
Frequently Asked Questions
How do I know if my roof flashing is leaking?
The most reliable signs are brown or yellow ceiling stains near a chimney, skylight, or exterior wall, and visible rust streaks running down your siding below a roof line. In the attic, look for wet insulation, dark staining on rafters, or any point where daylight enters near a roof penetration. If you notice any of these after a rain, have a licensed roofing contractor inspect the flashing before the next storm.
How do you apply roof flashing on a chimney or skylight?
Chimney flashing involves cutting and bending step flashing pieces that interweave with each course of shingles along the chimney sides, then adding a continuous cap or counter flashing that embeds into the mortar joint above. Skylight flashing uses a factory-made kit or custom-bent metal that wraps the curb and integrates with the underlayment beneath the surrounding shingles. Both applications require removing shingles in the affected area, setting new metal, and sealing all overlaps with roofing-grade sealant, work that is best handled by a licensed contractor to ensure a watertight result.
How long does roof flashing typically last?
Most galvanized steel or aluminum flashing lasts 20 to 30 years under normal conditions in California. Copper flashing can last 50 years or more. Sealants and caulk at flashing seams degrade faster, typically every 5 to 10 years, and should be inspected after any season with heavy rain or temperature extremes.
Can I repair roof flashing myself?
Minor sealant touch-ups at a reachable vent pipe or drip edge can be a DIY task if you can safely access the area without stepping on the roof. However, chimney flashing, valley flashing, and skylight flashing repairs involve integrating metal with underlayment and masonry in ways that require precise technique. Improper DIY flashing repair is a common cause of recurring leaks and can void homeowner's insurance coverage for related water damage.
What type of metal is best for roof flashing in California?
Copper is the longest-lasting option and is highly resistant to corrosion, but it costs significantly more than other metals. Galvanized steel is the most common choice for California residential roofing; it balances cost and durability well in the region's climate. Aluminum is lightweight and affordable but can react with certain types of mortar and concrete, so it is less suitable for chimney applications. Your roofing contractor can recommend the right material based on your roof type and budget.