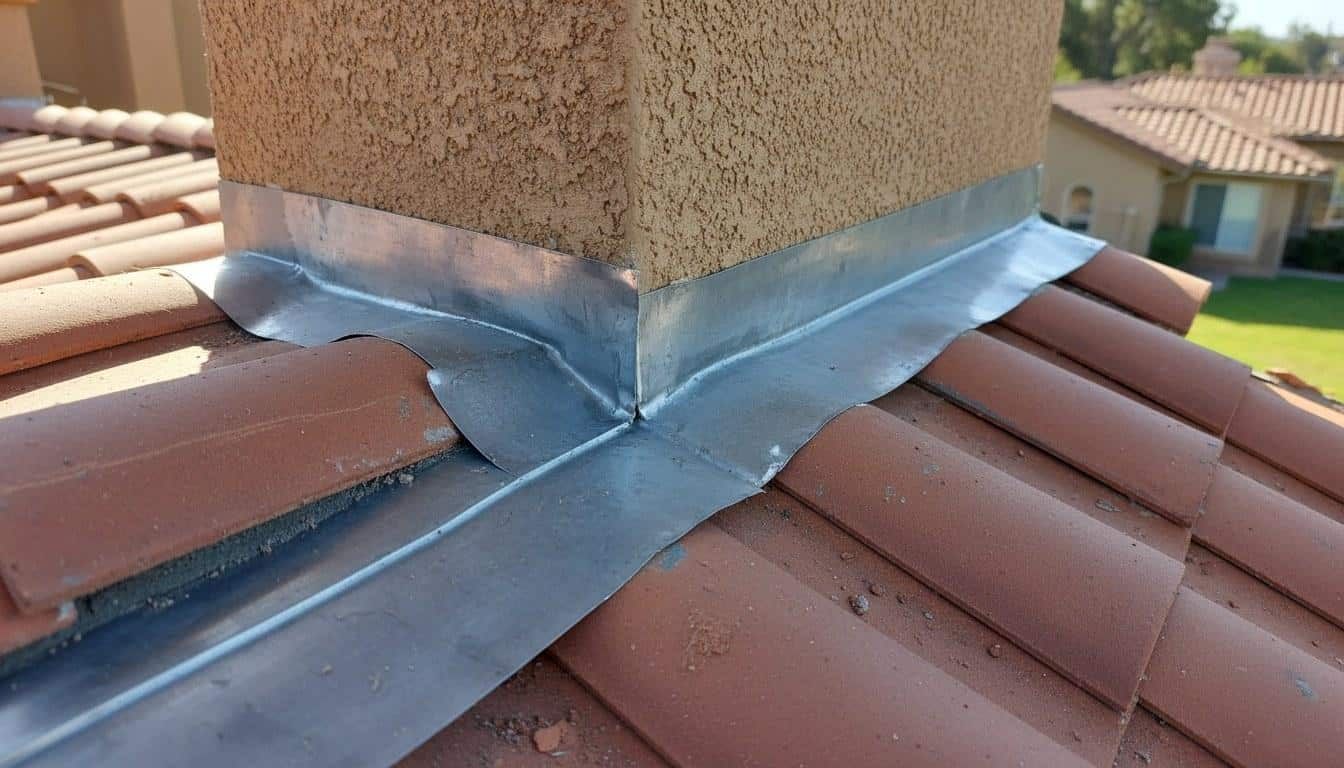
Roof flashing failures often hide in plain sight until water damage is already underway. This guide helps you spot the warning signs early and decide when to call a pro.
Need this done rather than diagnosed? See our roof flashing repair service, or browse all roofing services.
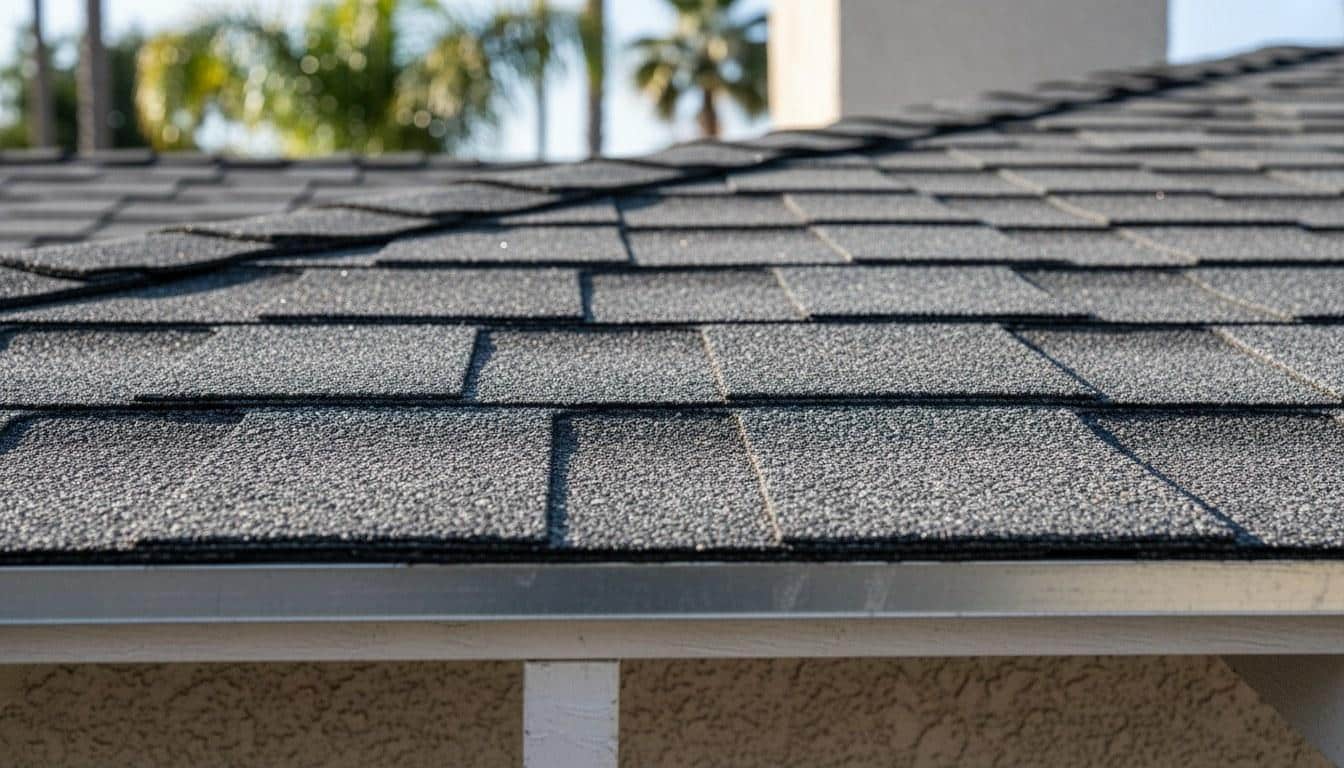
Why Does Roof Flashing Fail Faster in Coastal California?
Roof flashing, the thin strips of metal or rubber that seal joints where your roof meets walls, chimneys, skylights, and valleys, degrades faster in coastal climates because salt-laden marine air corrodes metal and breaks down sealants far more aggressively than dry inland air. Neighborhoods along the Southern California coast experience daily marine-layer fog cycles that keep metal surfaces damp for hours at a time, even when no rain falls.
California’s climate also creates a unique stress cycle. Daytime temperatures can swing 20 to 30 degrees Fahrenheit between morning fog and afternoon sun, causing metal flashing to expand and contract repeatedly. Over months and years, that movement works fasteners loose, cracks sealant beads, and opens gaps that let water in.
According to NOAA climate data, coastal Southern California averages 280 or more days of marine-layer influence annually. That persistent moisture exposure is why flashing that might last 25 years in a dry inland climate can show serious deterioration in 10 to 15 years on a coastal roofline. Understanding this context is the first step toward catching problems before they become expensive repairs.
What Are the Warning Signs You Need Roof Flashing Repair?
The clearest signs you need roof flashing attention are water stains on interior ceilings or walls near a chimney, skylight, or roof valley, especially stains that appear or grow after a rain event. Flashing is the most common entry point for water intrusion that is not caused by missing or broken shingles.
Watch for these specific symptoms:
- Water stains on ceilings or upper walls: Brown or yellow rings that appear near a chimney, skylight, dormer, or roof valley are a strong indicator that flashing has failed at one of those joints.
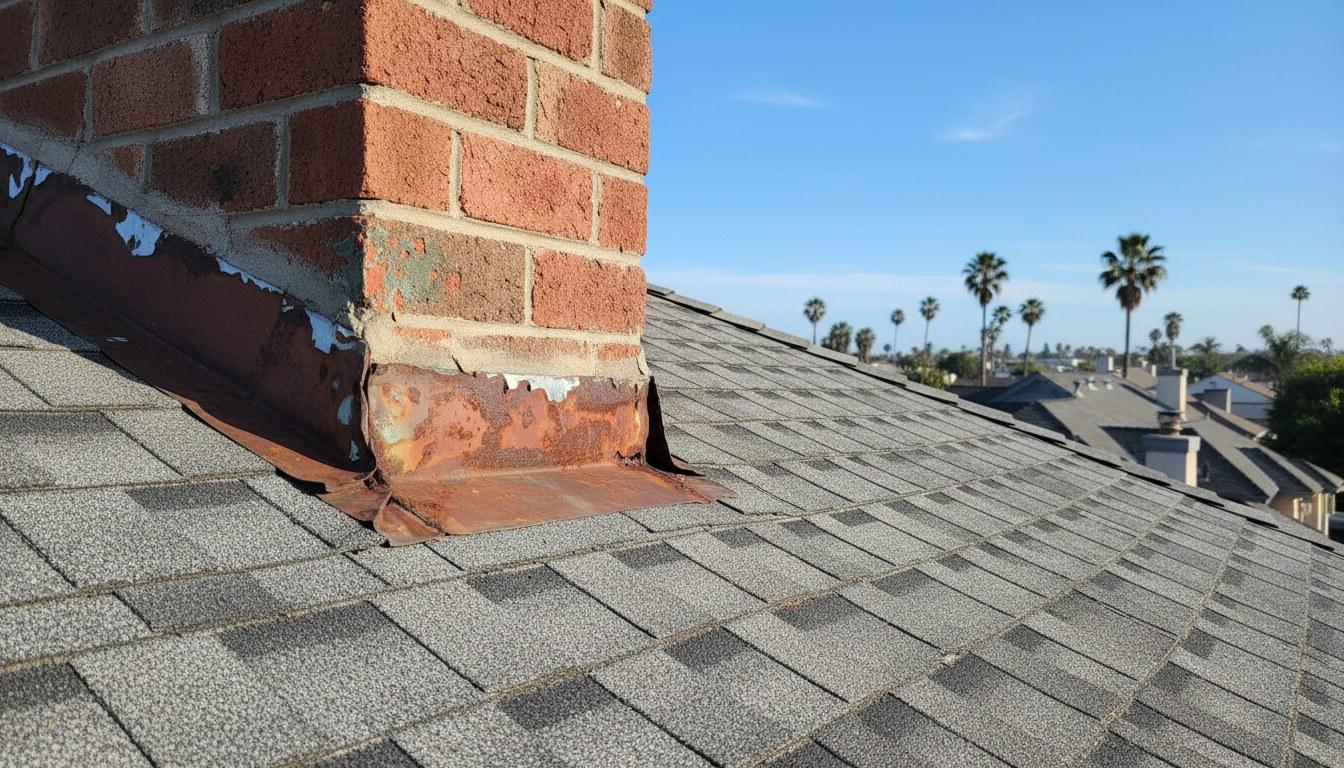
- Rust streaks on exterior siding or fascia: Orange or brown streaks running down from roof edges or chimney bases mean the flashing metal itself is corroding, a sign it is no longer sealing properly.
- Visible gaps or lifted metal at roof joints: If you can see daylight or a gap between the flashing and the surface it is supposed to seal, water is getting in during every rain event.
- Cracked, missing, or dried-out caulk: Sealant around chimney step flashing, skylight curbs, and pipe boots typically lasts 5 to 10 years before it cracks. Dried caulk is a direct water pathway.
- Buckling or warped flashing metal: Metal that has visibly bent, buckled, or separated from the roof deck has likely been pushed by thermal expansion cycles and is no longer forming a watertight seal.
- Mold or mildew smell in the attic: Persistent musty odors in an attic with no obvious roof damage often trace back to slow flashing leaks that wet the roof decking and insulation over time.
- Granule buildup in gutters near valleys: Excess shingle granules collecting at valley downspouts can indicate that water is being misdirected by failing valley flashing, accelerating shingle wear in that zone.
- Peeling paint or bubbling drywall near the roofline: Moisture that enters through bad flashing migrates down wall cavities and shows up as paint failure or soft drywall, sometimes far from the actual leak source.
For a deeper look at what to do once you spot these issues, see the authoritative hub guide on signs you need roof flashing repair and what to do next. This guide focuses specifically on diagnosing the coastal failure patterns that make California homes particularly vulnerable.
Symptom, Likely Cause, and DIY vs. Pro: A Quick Reference
Use this table to match what you are seeing to the most likely flashing failure and decide whether it is safe to address yourself or requires a licensed roofer. Most flashing repairs that involve getting on the roof, working near a chimney, or resealing valley metal should be handled by a professional.
| Symptom | Likely Flashing Cause | DIY or Pro? |
|---|---|---|
| Water stain on ceiling near chimney | Step flashing or cap flashing separated or corroded | Pro, requires roof access and flashing removal |
| Rust streaks on exterior wall below roof edge | Drip edge or apron flashing corroding | Pro, drip edge replacement involves lifting shingles |
| Cracked caulk around skylight curb | Sealant age or thermal movement | DIY possible if roof pitch is safe and caulk is accessible |
| Visible gap at roof-to-wall joint | Counter flashing or step flashing pulled away | Pro, often embedded in mortar or under siding |
| Musty attic smell, no visible shingle damage | Slow valley or pipe boot flashing leak | Pro, requires attic inspection and leak tracing |
| Dried or missing caulk around pipe boot | UV and ozone degradation of boot sealant | DIY possible on low-slope accessible roofs |
| Buckled metal in roof valley | Thermal expansion with inadequate overlap | Pro, valley flashing replacement requires shingle work |
| Peeling paint on interior wall near roofline | Chronic slow leak from any flashing joint | Pro, source must be traced before repair |
What Can You Safely Check Yourself?
A homeowner can safely inspect flashing from the ground, from an upper-story window, and from inside the attic without ever stepping onto the roof. These three inspection points give you enough information to describe the problem clearly to a contractor and to prioritize urgency.
Step 1: Ground-Level Visual Inspection
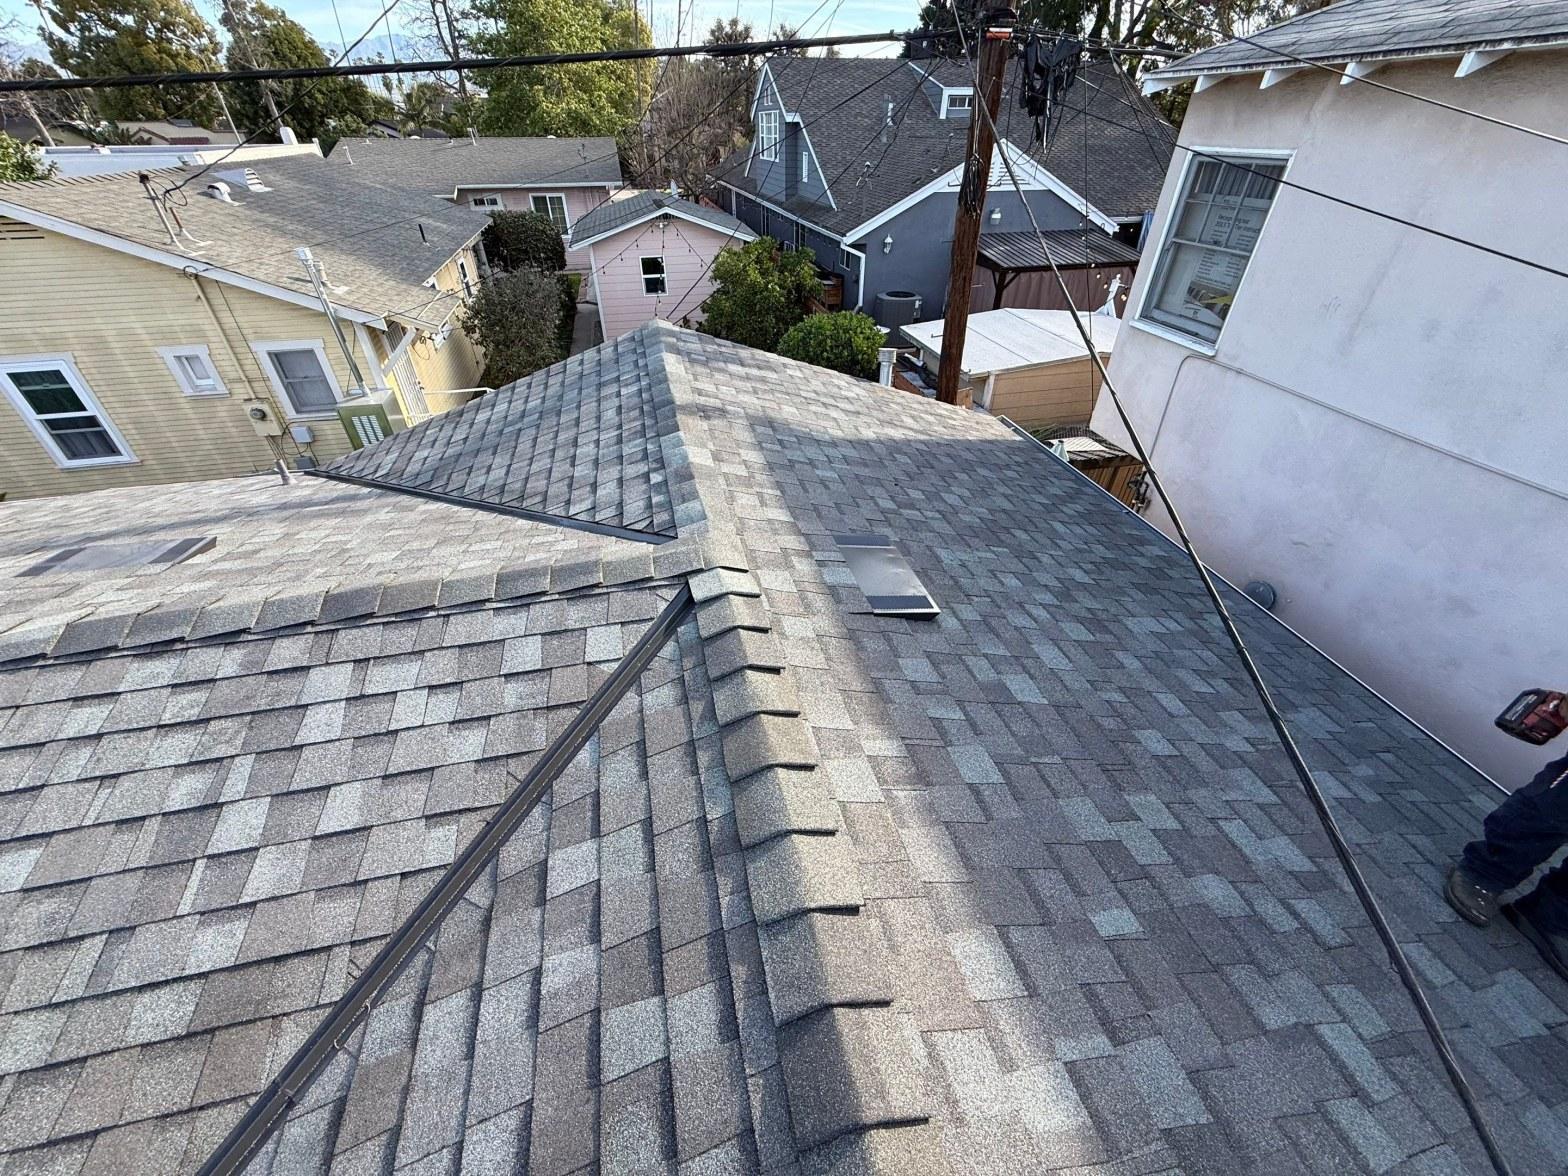
Stand back from your home with binoculars and scan the roofline systematically. Look at every point where the roof surface meets a vertical element, chimney, wall, dormer, vent pipe, or skylight. You are looking for lifted or bent metal flashing, visible gaps, rust discoloration, or missing sections. Check the valleys (the V-shaped channels where two roof slopes meet) for any metal that appears buckled or misaligned.
Step 2: Gutter and Downspout Check
After a rain event, inspect your gutters. Rust-colored water or rust-stained gutter metal near a chimney or valley indicates corroding flashing directly above. Excessive granule buildup at valley downspouts suggests water is being thrown off course by failing valley metal flashing.
Step 3: Attic Inspection After Rain
Within 24 hours of a rain event, enter your attic with a flashlight and look for wet insulation, water stains on the roof decking, or daylight visible through any joint. Trace any wet spots toward the roof peak, the actual leak point is almost always higher up the slope than where the water drips. Mark wet areas with chalk so you can report exact locations to a roofer.
Step 4: Accessible Sealant Check
If your roof has a low slope and you can safely reach a skylight curb or pipe boot from a ladder without stepping onto the roof surface, inspect the sealant bead around those penetrations. Caulk that is cracked, pulled away, or missing entirely is a straightforward repair. Use a ENERGY STAR-rated elastomeric roofing sealant rated for UV and moisture exposure, standard silicone caulk degrades quickly under coastal UV conditions.
When Should You Call a Professional Roofer?
Call a licensed roofer immediately if you see active water intrusion during or after rain, if attic decking shows signs of rot or dark staining covering more than 2 square feet, or if any flashing metal has completely separated from the roof surface. These conditions indicate the flashing failure has already allowed enough water in to begin damaging structural components.
Our technicians respond to roughly 3 times more emergency leak calls in January and February than any other two-month window, the period when California’s heaviest rain events hit roofs already weakened by months of marine-layer moisture cycling.
You should also call a professional when:
- The leak source is not obvious from ground or attic inspection, tracing an intermittent leak requires water testing and systematic elimination that is dangerous and ineffective without roof access.
- Flashing is embedded in mortar at a chimney: counter flashing set in masonry mortar joints requires grinding, re-embedding, and repointing, which is masonry work beyond a simple sealant repair.
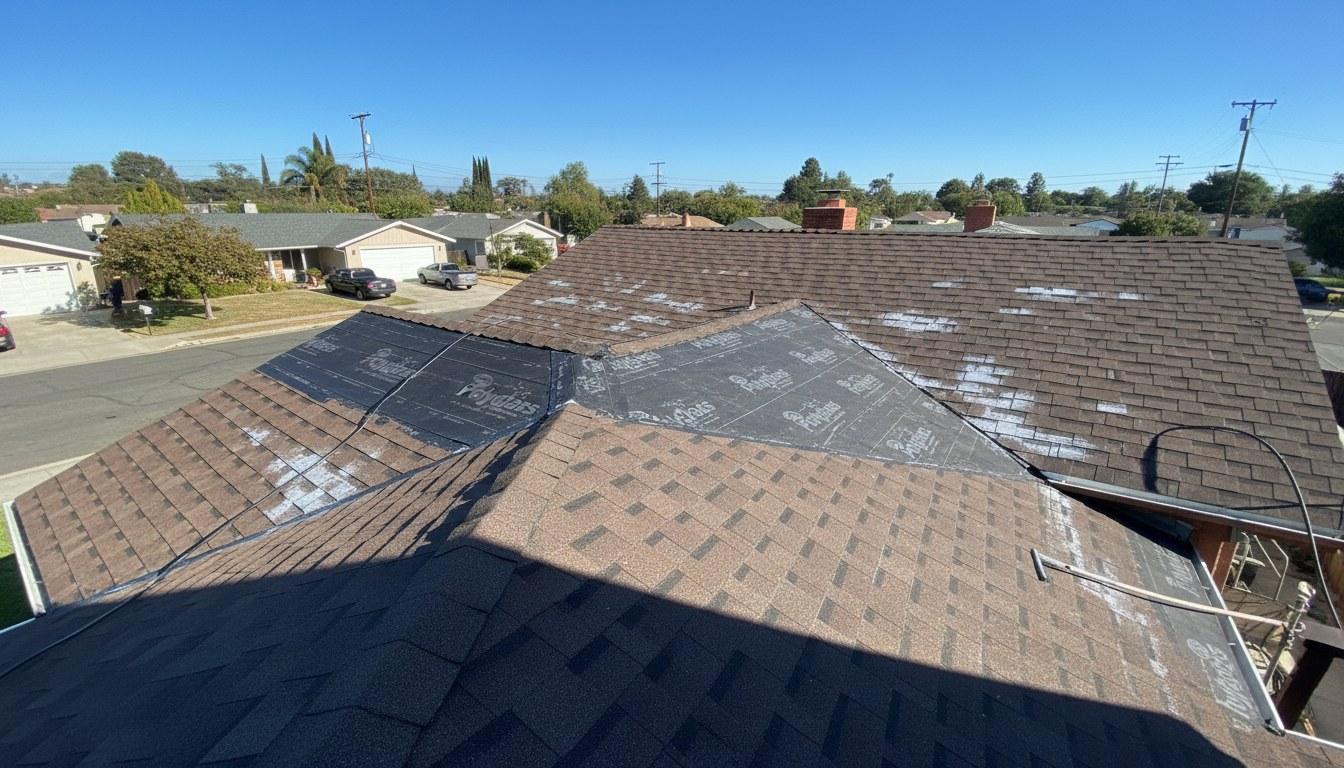
- Valley flashing needs replacement: valley metal runs under shingles, so replacing it means removing and reinstalling shingles across a significant area of the roof.
- The roof pitch is steeper than 4:12: OSHA and California roofing industry standards treat steeper pitches as requiring fall protection equipment that homeowners do not have.
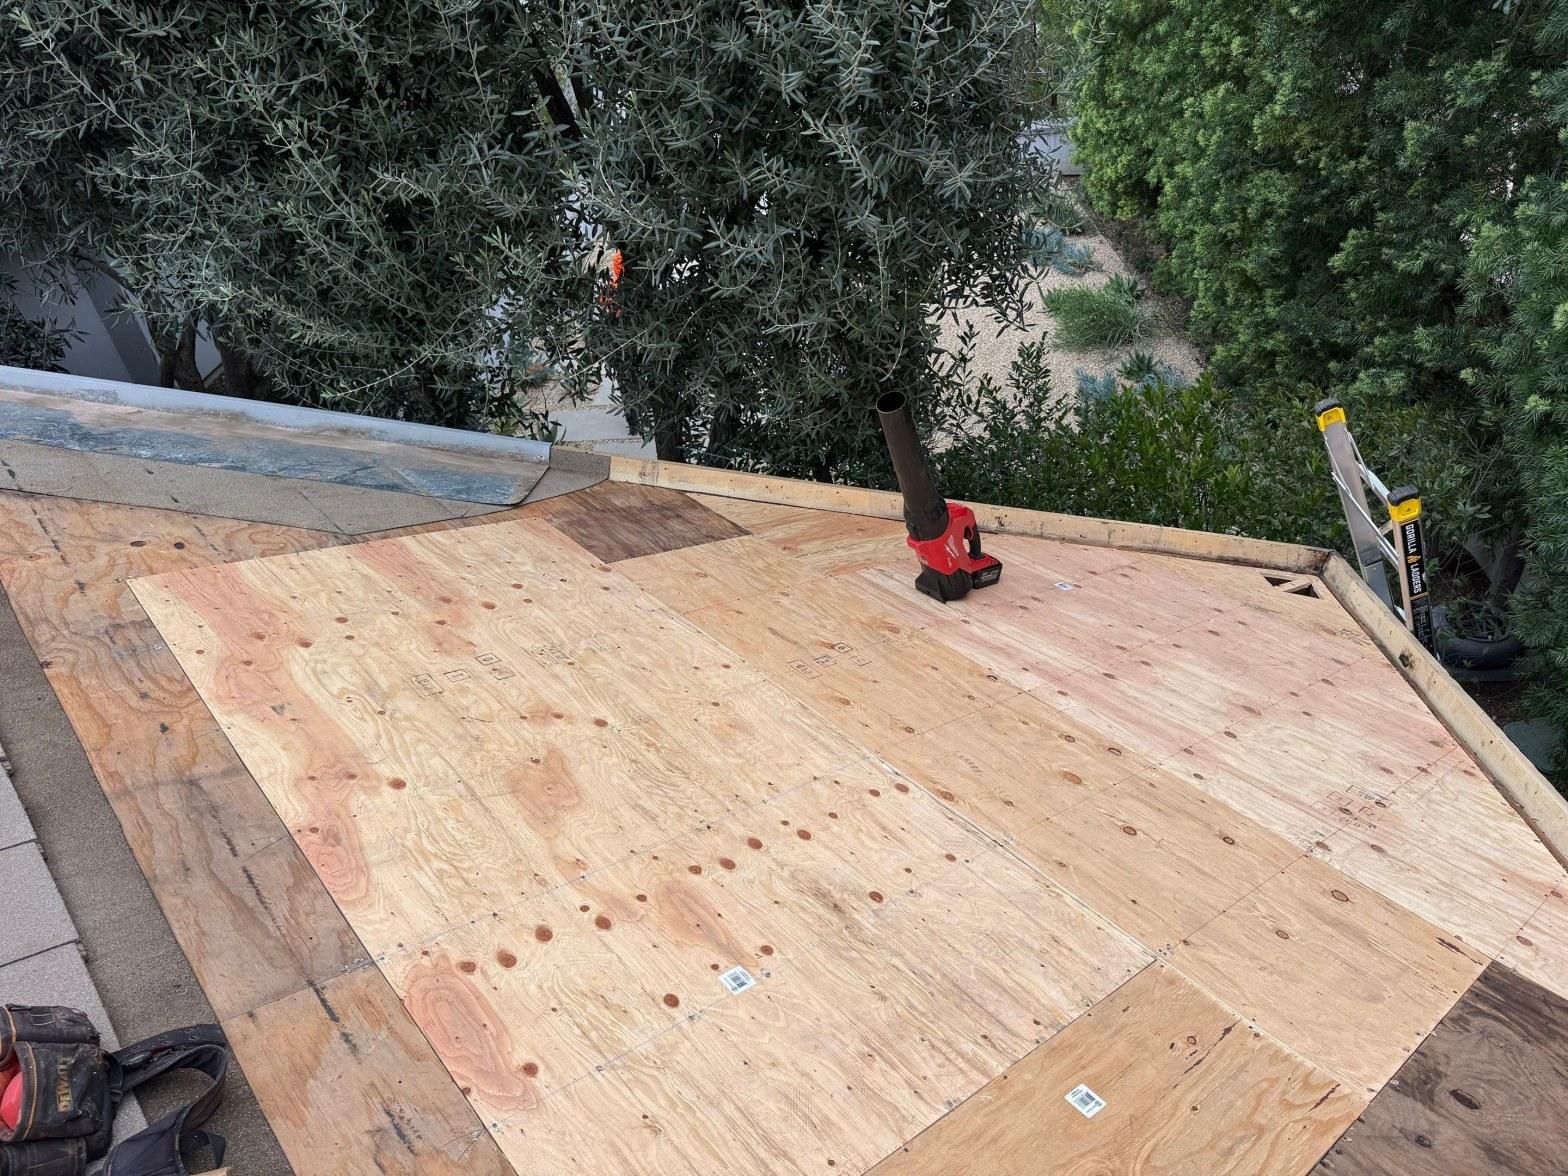
- You find rot or soft decking in the attic: compromised decking must be replaced before new flashing is installed, or the repair will fail within one or two seasons.
Roofing contractors in California must hold a valid C-39 Roofing license issued by the California Contractors State License Board (CSLB). Always verify a contractor’s license number on the CSLB website before authorizing any work. Licensed by the California Contractors State License Board (CSLB), qualified roofers carry the insurance and bonding that protects you if something goes wrong during the repair.
How Much Does Roof Flashing Repair Cost in California?
Roof flashing repair in the California market typically ranges from $200 to $1,500 for localized repairs, and from $1,500 to $4,000 or more for full flashing replacement around a chimney or across multiple valleys. The factors that move costs most significantly are the type of flashing material, the complexity of the joint being repaired, and whether damaged decking or shingles must also be replaced.
Here is a breakdown of the main cost factors:
- Material type: Galvanized steel flashing is the most affordable option. Aluminum resists coastal corrosion better and costs somewhat more. Copper flashing, the longest-lasting option in marine environments, typically costs 3 to 4 times more than galvanized steel but can last 50 years or longer.
- Flashing location: Pipe boot and skylight sealant repairs are the least expensive. Step flashing and counter flashing at a chimney are mid-range. Full valley flashing replacement is the most labor-intensive and expensive single repair.
- Associated shingle work: Any repair that requires lifting or replacing shingles adds material and labor cost. If shingles are brittle or aged, a contractor may recommend replacing the surrounding field rather than risk cracking tiles during the flashing repair.
- Deck damage: If water has been entering long enough to rot the roof decking, deck board replacement adds $3 to $7 per square foot in the regional market, depending on the extent of damage.
- Roof pitch and access: Steep-pitch roofs require additional safety equipment and more labor time, which increases the total project cost.
California’s Title 24 building energy standards do not directly regulate flashing material choices, but any permitted re-roofing project that touches flashing must meet current code for underlayment and water-resistance detailing. For major repairs that involve significant roof area, ask your contractor whether a permit is required in your jurisdiction.
Costs vary significantly by scope and site conditions. Request a custom quote from Roof Repair & Construction Inc. by calling (323) 474-1088 before budgeting any flashing repair project.
Get Your Flashing Inspected by a Pro
If you spotted any of the warning signs above, water stains, rust streaks, lifted metal, or cracked sealant, do not wait for the next rain to confirm the problem. Flashing failures that are caught early are almost always a straightforward repair. Left unaddressed, they become deck rot, mold remediation, and interior damage that costs several times more to fix.
Roof Repair & Construction Inc. serves homeowners across Southern California and provides thorough flashing inspections, written repair estimates, and licensed workmanship on every project. Whether you need a quick pipe boot resealed or a full chimney flashing replacement, the team can identify the exact failure point and explain your options clearly.
Schedule your inspection today. Call (323) 474-1088 to book a same-week appointment. Get a written quote before any work begins so you know exactly what the repair covers and what it costs.
Frequently Asked Questions
How do I know if my roof flashing is causing a leak?
The clearest sign is a water stain on your ceiling or upper wall that appears near a chimney, skylight, dormer, or roof valley, not in the middle of a flat ceiling section. Go into your attic within 24 hours of a rain event and look for wet insulation or water stains on the roof decking near those joints. If you see rust streaks on your exterior siding below the roofline, that also points to corroding flashing above.
How do you put flashing on a roof, is that something a homeowner can do?
Simple sealant repairs around accessible pipe boots or skylight curbs on low-slope roofs are within reach for a careful homeowner with the right elastomeric roofing caulk. However, installing or replacing step flashing, counter flashing, valley flashing, or drip edge requires removing and reinstalling shingles and working at height, tasks that are best left to a licensed C-39 roofing contractor in California. Improper flashing installation is one of the leading causes of repeat leaks.
How long does roof flashing typically last?
Galvanized steel flashing typically lasts 15 to 25 years in dry climates, but coastal California's salt air and daily marine-layer moisture can shorten that to 10 to 15 years. Aluminum flashing holds up somewhat better in marine environments. Copper flashing is the most durable option and can last 50 years or longer, making it a cost-effective long-term choice for homes in salt-air zones despite its higher upfront cost.
What type of metal flashing works best near the California coast?
Copper and aluminum are the best choices for coastal California homes because both resist the corrosion caused by salt-laden marine air. Galvanized steel, the most common and affordable option, can develop rust within 10 years in high-moisture coastal conditions. If budget allows, copper flashing is the gold standard for longevity near the coast. Aluminum is a solid mid-range choice that outperforms galvanized steel significantly in marine environments.
Can I just caulk over old roof flashing instead of replacing it?
Applying fresh sealant over cracked caulk is a short-term measure, not a permanent repair. If the underlying flashing metal is corroded, lifted, or improperly overlapped, new caulk will not hold for more than one or two seasons before the same gap reopens. A professional inspection can tell you whether the metal itself is still sound, in which case resealing is appropriate, or whether the flashing needs to be removed and reinstalled correctly.