Roof Flashing Maintenance Checklist for California Homeowners
Roof flashing keeps water out of the most vulnerable spots on your roof. This guide covers seasonal maintenance tasks, warning signs, and when to call a professional.
Why Does Roof Flashing Maintenance Matter So Much?
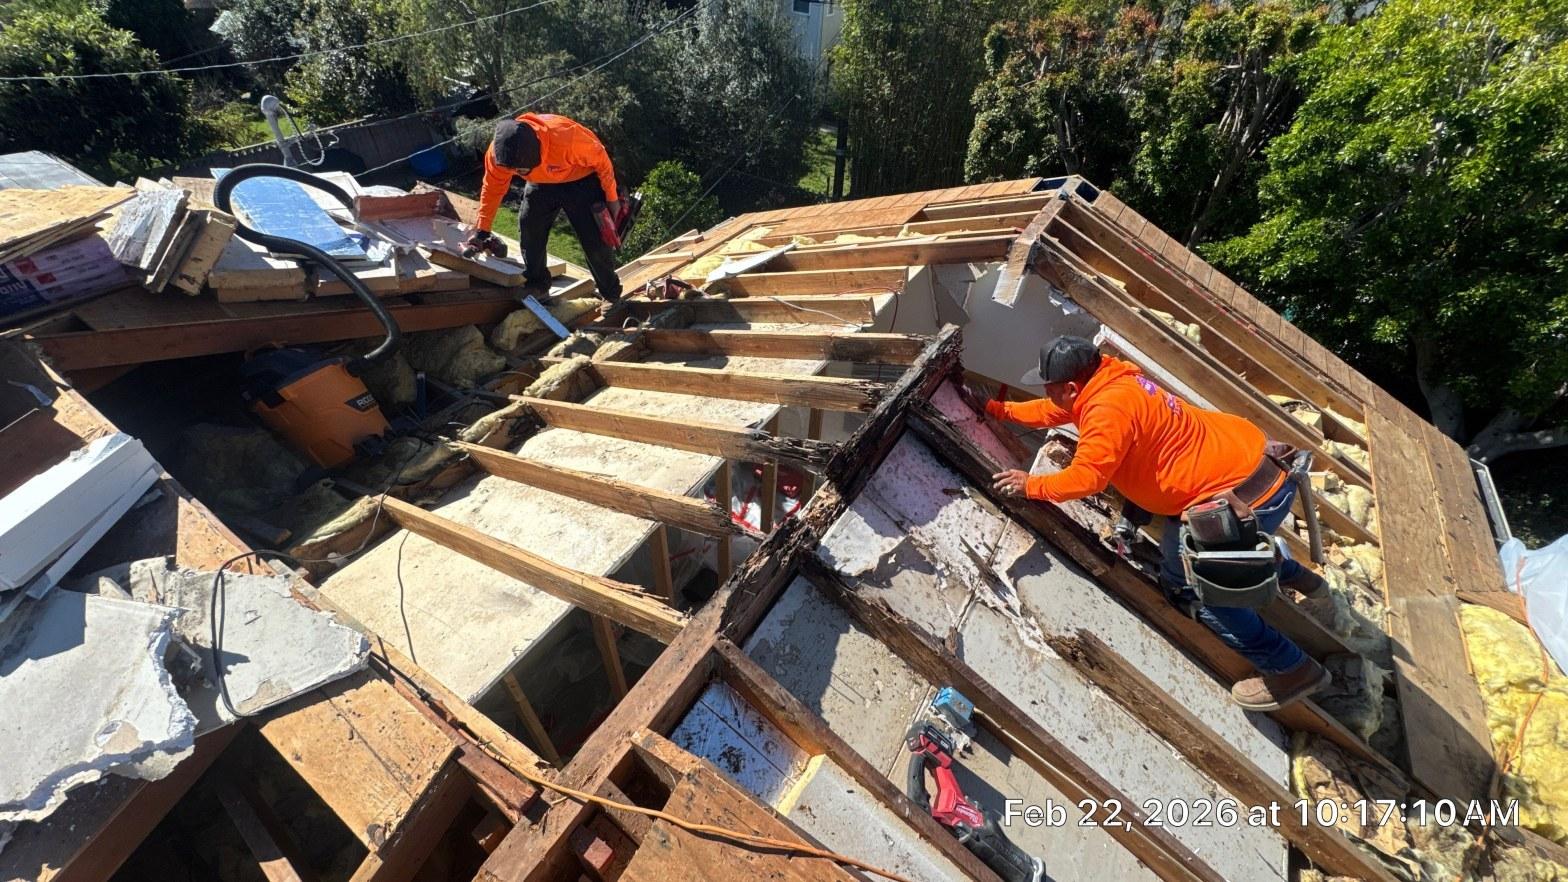
Roof flashing maintenance is the single most cost-effective way to prevent interior water damage. Flashing accounts for a large share of all residential roof leaks, yet the metal strips themselves cost far less to repair than the drywall, insulation, and framing damage a slow leak causes over months.
Flashing accounts for a large share of all residential roof leaks, yet the metal strips themselves cost far less to repair than the drywall, insulation, and framing damage a slow leak causes over months.
Flashing is the thin metal — usually galvanized steel, aluminum, or copper — installed wherever your roof surface meets a vertical structure or changes direction. Chimneys, skylights, vent pipes, dormers, and roof valleys all rely on correctly sealed flashing to shed water away from the deck below.
In Southern California and the greater Los Angeles area, the climate creates a specific set of stresses. Summers are hot and dry, with roof-surface temperatures regularly exceeding 150°F. Winters bring rain events that can dump several inches in a short window. Mild seismic activity is also common. Each of these forces expands, contracts, or shifts flashing slightly — and over years those micro-movements open gaps. Homeowners researching Burbank roof repairs or similar local services often find that failed flashing is the root cause of the damage they are dealing with.
The California Energy Commission notes that a well-maintained building envelope — which includes roof flashings — directly supports the energy performance goals of California’s Title 24 building energy standards, since water intrusion degrades insulation R-values over time.
What Are the Different Types of Roof Flashing?
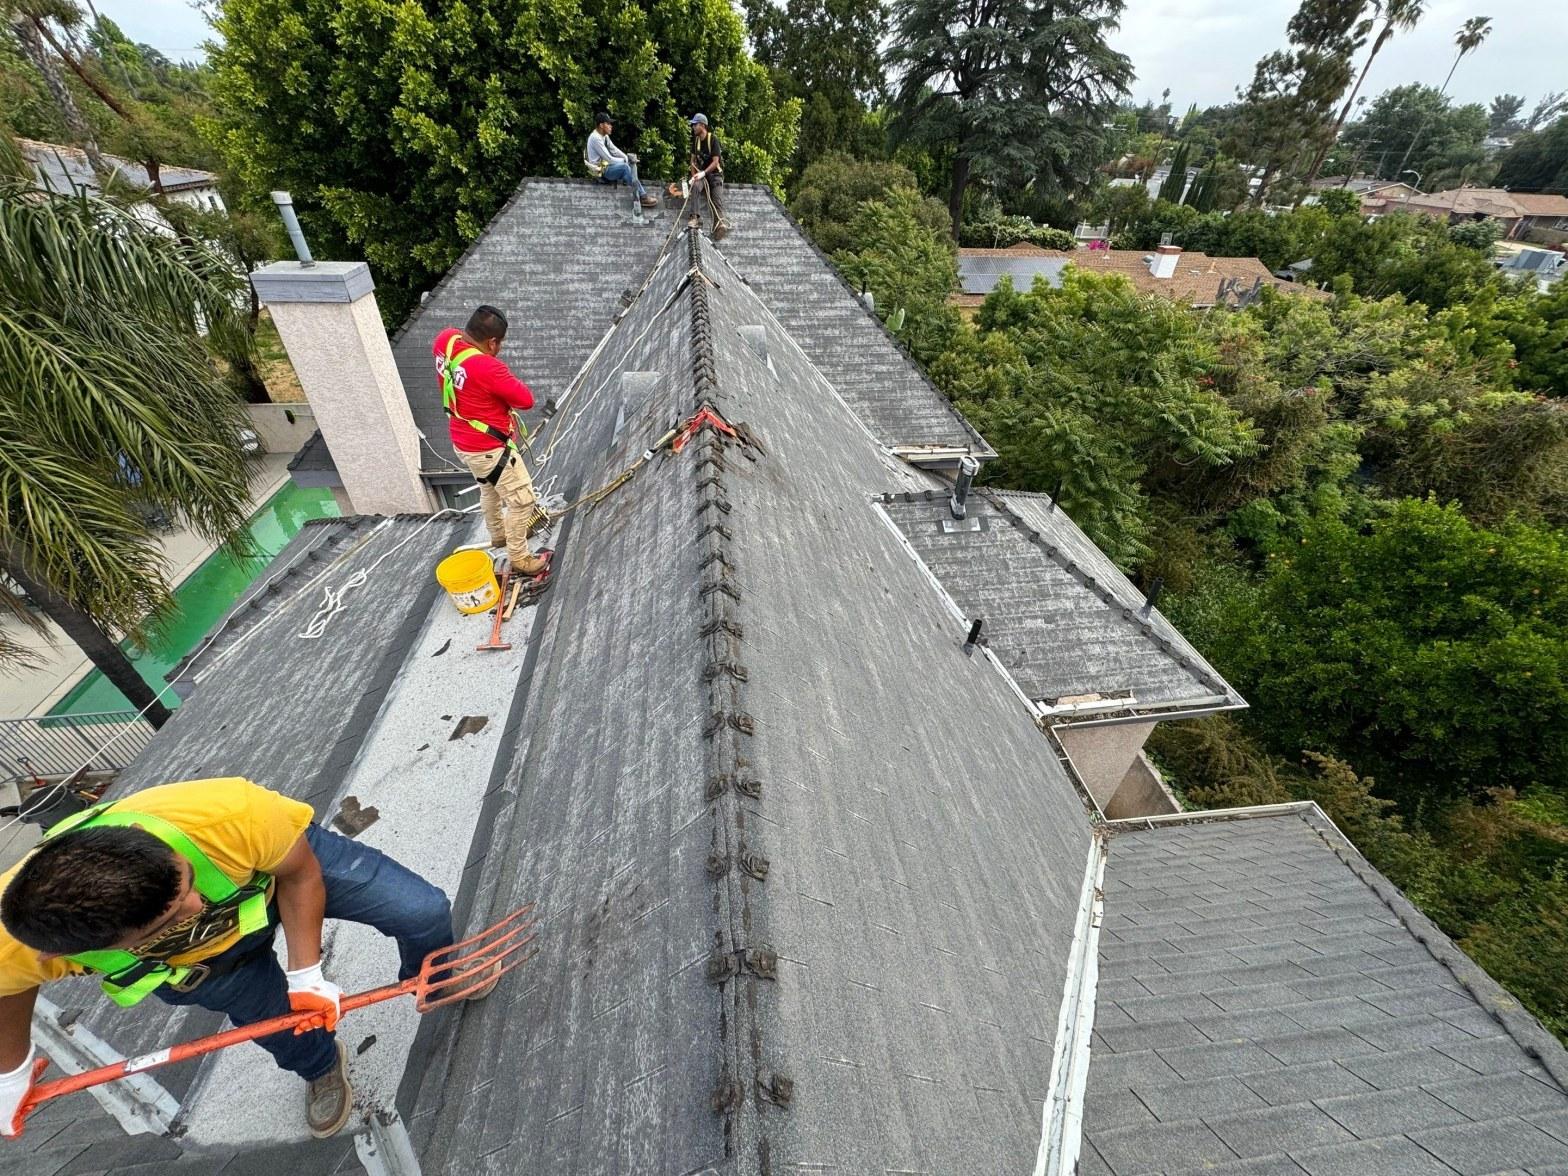
There are six main types of roof flashing, and each one requires slightly different maintenance attention. Knowing which type is installed on your roof helps you target inspections more efficiently.
- Step flashing: Individual L-shaped pieces woven into the shingles along a sloped roof-to-wall joint, such as where a roof meets a dormer or addition. Each piece overlaps the one below it.
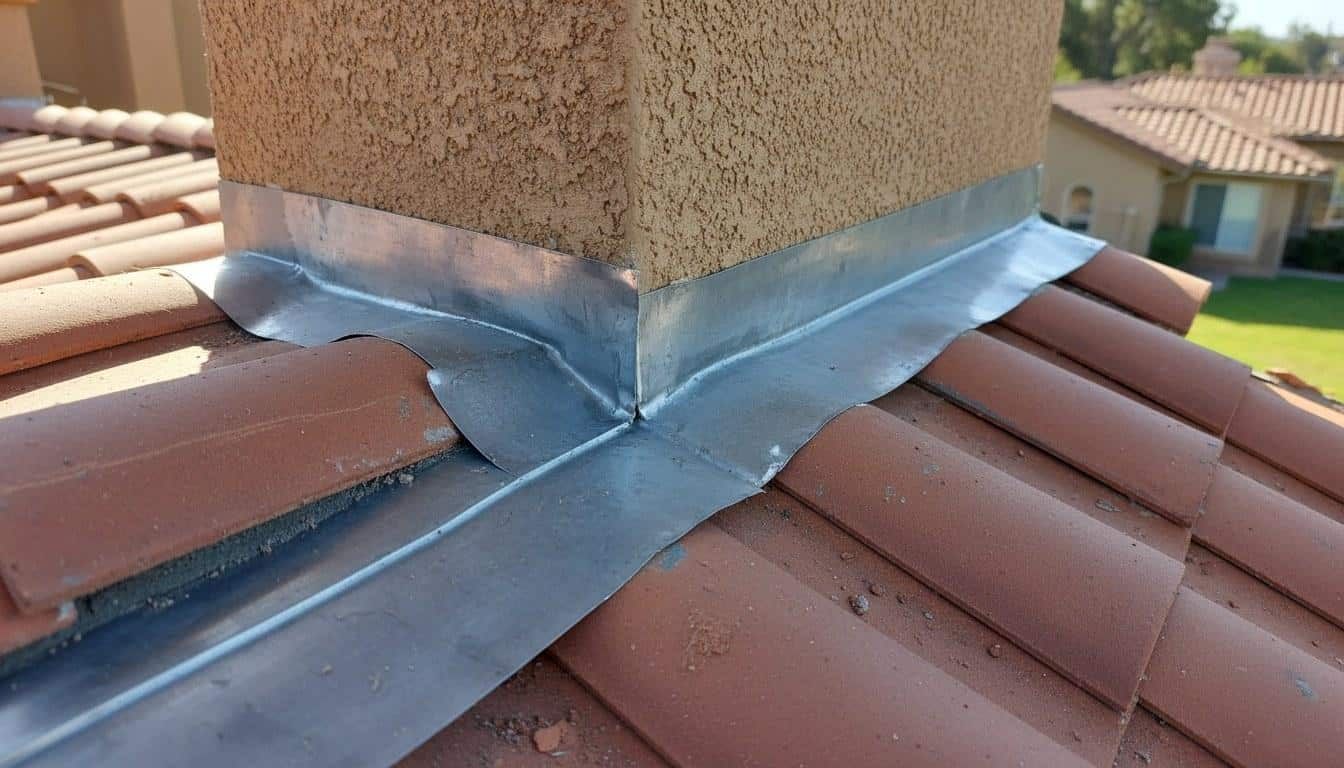
- Counter flashing: A second layer of metal embedded into mortar or siding above step flashing, creating a two-part seal. Common on brick chimneys.
- Valley flashing: A continuous strip of metal running along the V-shaped valley where two roof planes meet. Water volume here is high, so corrosion is a real risk.
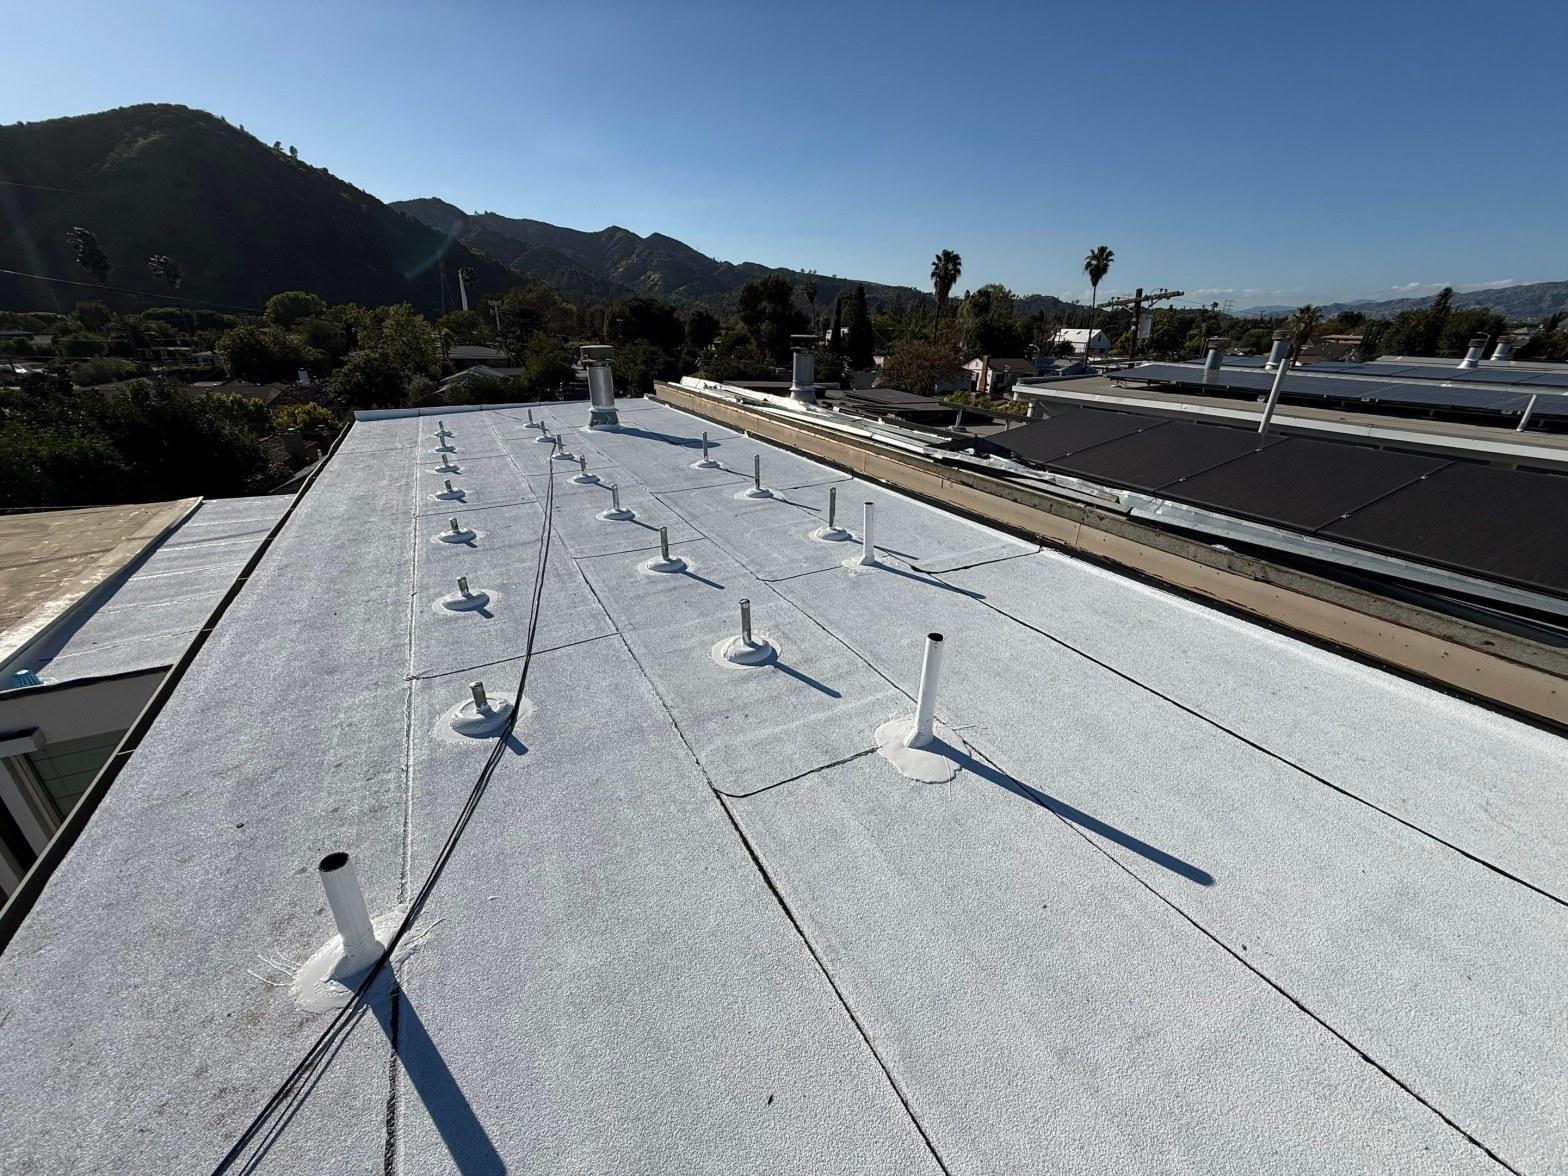
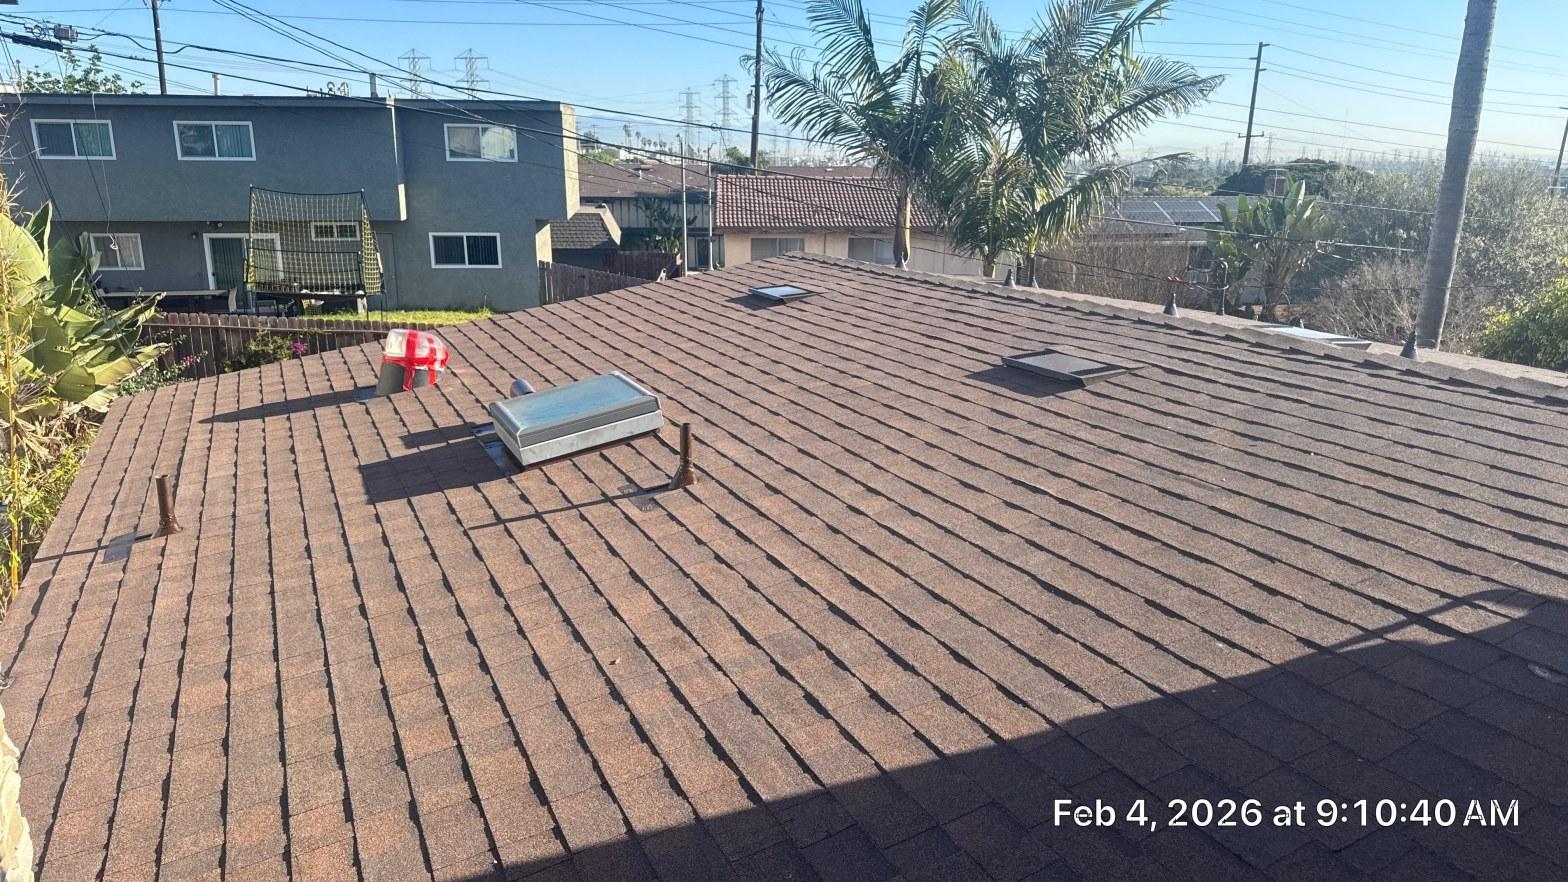
- Vent pipe flashing: A rubber or metal boot that seals around plumbing vent stacks. Rubber boots degrade in UV exposure and typically need replacement every 10 to 15 years.
- Skylight flashing: A factory-made or site-built frame of metal that integrates the skylight curb with the roof surface. Sealant joints here are a common failure point.
- Drip edge flashing: A metal strip along the eaves and rakes that directs water into the gutter and away from the fascia board.
Material matters too. Galvanized steel is the most common and affordable option. Aluminum is lightweight and corrosion-resistant but can react with concrete or masonry if not separated by a barrier. Copper is the most durable, lasting 50 years or more, and it is often specified in historic or high-end work. Our crews replace galvanized valley flashing on roofs as young as 15 years in areas with heavy tree coverage, where debris traps moisture and accelerates rust by a noticeable margin compared to open-exposure roofs.
What Should You Do Each Season to Maintain Roof Flashing?
Seasonal roof flashing maintenance follows a simple pattern: inspect before rain season, clear debris after it, and document what you see so you can track changes year over year. California’s two-season weather pattern — dry and wet — maps neatly onto a spring and fall inspection schedule.
Fall (October – November)
- Clear leaves and debris from valleys and gutters so water can flow freely over flashing.
- Inspect all visible flashing edges for lifted corners, rust staining, or separated sealant beads.
- Check chimney counter flashing for cracks in the mortar bed where metal is embedded.
- Look at vent pipe boots for cracking or shrinkage — rubber degrades faster after a hot summer.
- Document any concerns with photos before the first rain.
Winter (December – February)
- After each significant rain event, check ceilings and attic space for water stains or dripping.
- If safe to do so from the ground or a ladder at the eaves, confirm drip edge flashing has not shifted or blown free in wind.
- Avoid walking on a wet roof — schedule a professional inspection if you suspect an active leak.
Spring (March – May)
- Conduct a full post-rain-season walkthrough once the roof is dry.
- Check skylight flashing for any sealant that has pulled away from the curb.
- Inspect step flashing along dormers and additions for shingles that may have lifted and exposed the metal.
- Schedule a professional inspection if you found any staining or dripping during winter.
Summer (June – September)
- Check vent pipe boots mid-summer — UV exposure is highest and rubber degrades fastest in this window.
- Note any new rust streaks on fascia or siding below roof edges, which often trace back to corroding drip edge flashing.
- Keep tree branches trimmed at least 6 feet from the roof to reduce debris accumulation in valleys.
Roof Flashing Maintenance Task Table: Frequency and Who Does It
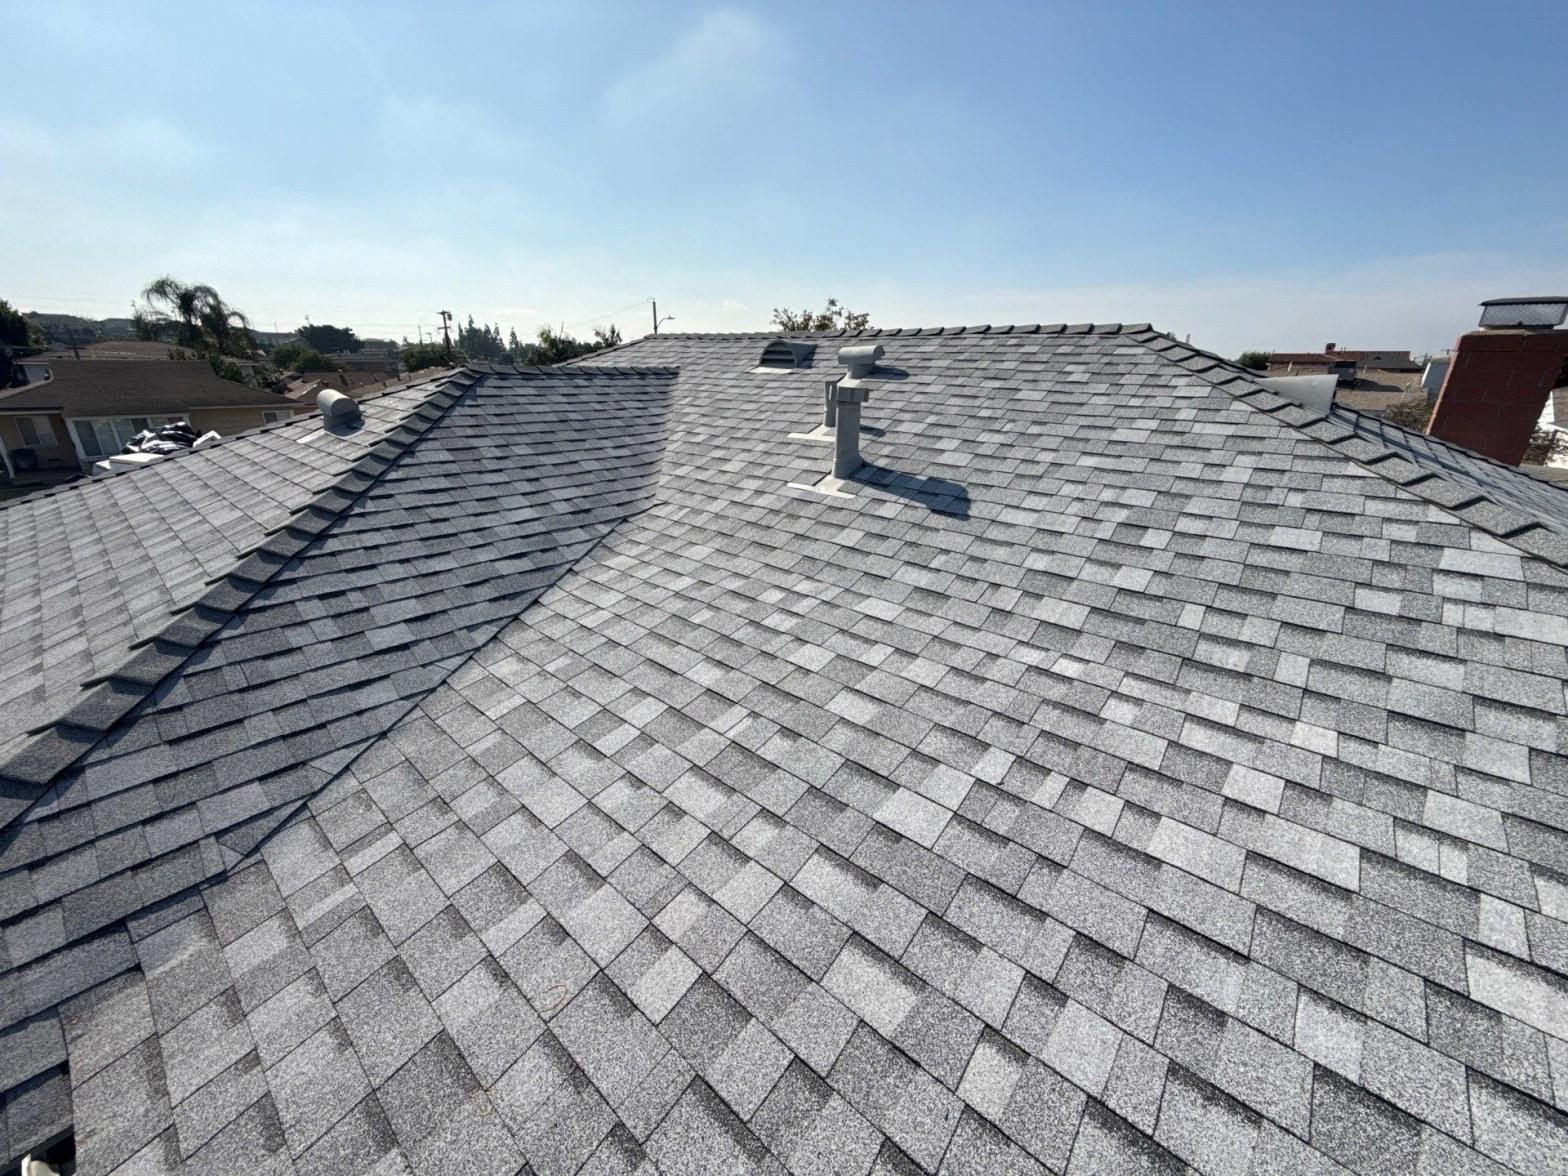
The table below covers the 9 core roof flashing maintenance tasks, how often each should happen, and whether a careful homeowner can handle it or whether a licensed roofing contractor should do the work.
| Task | Frequency | DIY or Pro? |
|---|---|---|
| Visual inspection from ground level | Every 3 months | DIY |
| Clear debris from valleys and gutters | Fall and spring (or after major storms) | DIY (use ladder safety) |
| Check ceilings and attic for water stains | After every significant rain | DIY |
| Inspect vent pipe rubber boots for cracking | Annually | Pro recommended |
| Re-seal exposed sealant joints on skylights | Every 3 to 5 years | Pro |
| Repoint chimney mortar holding counter flashing | Every 5 to 10 years | Pro |
| Replace corroded valley flashing | As needed (typically 15 to 25 years) | Pro |
| Replace degraded rubber vent boot | Every 10 to 15 years | Pro |
| Full professional flashing inspection | Annually | Pro |
The U.S. Department of Energy recommends annual professional roof inspections as part of a whole-home energy audit, noting that unsealed penetrations — including failed flashing — are among the top sources of conditioned-air loss and moisture intrusion in residential buildings.
What Does a Professional Roof Flashing Inspection Include?
A thorough professional roof flashing inspection typically takes 45 to 90 minutes and covers every penetration and transition point on the roof, not just the areas that look visibly damaged. A licensed contractor will get on the roof surface, not just view it from the ground.
Here is what a qualified inspection should cover:
- Full perimeter walk: Checking drip edge alignment, fastener condition, and any separation from the fascia board.
- Valley assessment: Looking for rust, pinhole corrosion, lifted edges, and debris dams that hold moisture against the metal.
- Chimney flashing: Examining both the step flashing at the sides and the counter flashing embedded in mortar, plus the saddle or cricket behind the chimney if one is present.
- Skylight frame and curb: Checking the sealant bead at all four corners, which is the most common failure point on skylight installations.
- Vent pipe boots: Flexing the rubber collar to check for cracking and verifying the metal base flashing beneath it is secure.
- Attic inspection: Looking for daylight, staining on the sheathing, or mold growth that indicates past or active water entry through flashing.
- Written report: A professional should document findings with photos and give you a prioritized repair list, not just a verbal summary.
Contractors licensed by the California Contractors State License Board (CSLB) are required to carry liability insurance and workers’ compensation, which matters when someone is walking your roof. Always verify a contractor’s CSLB license number before scheduling any roof work.
In the regional market, a standalone professional flashing inspection typically ranges from $150 to $350, depending on roof complexity and pitch. Full flashing replacement on a single chimney generally runs $400 to $900. Valley flashing replacement varies widely by linear footage but often falls between $15 and $30 per linear foot for materials and labor combined. These ranges reflect typical Southern California market conditions as of 2025 and will shift based on scope, access difficulty, and material choice. For a custom quote on your specific roof, contact Roof Repair & Construction Inc. directly.
What Warning Signs Should You Watch For Between Services?
Seven warning signs indicate flashing is failing and needs professional attention within days, not months. Catching these early is the difference between a $400 repair and a $4,000 water-damage remediation.
- Brown ceiling stains: A ring-shaped water stain on an interior ceiling, especially near a chimney, skylight, or exterior wall, almost always traces to failed flashing rather than a shingle problem.
- Rust streaks on siding or fascia: Orange or brown streaks running down from the roofline indicate corroding metal flashing above.
- Lifted or buckled metal edges: Visible from the ground with binoculars, raised flashing edges allow wind-driven rain to enter underneath.
- Cracked or missing sealant: White or gray caulk that has shrunk away from a joint around a skylight or vent is an open water pathway.
- Granule buildup in gutters near a valley: Heavy granule loss in one spot can mean water is channeling incorrectly over shingles because the valley flashing has shifted.
- Musty smell in the attic: Even without visible staining, a persistent musty odor can mean moisture has been entering through a flashing gap and wetting insulation.
- Daylight visible in the attic: Any point of light visible through the roof deck near a penetration means there is a gap that water will find.
Across our service calls in Southern California, we see ceiling stains misdiagnosed as shingle failures in roughly 4 out of 10 cases — the actual culprit is almost always a flashing gap at a chimney or skylight that has been slowly wicking water for months before it shows up on the ceiling below.
Across our service calls in Southern California, we see ceiling stains misdiagnosed as shingle failures in roughly 4 out of 10 cases — the actual culprit is almost always a flashing gap at a chimney or skylight.
The EPA and building science researchers consistently note that moisture intrusion through roof penetrations is a leading driver of indoor air quality problems, including mold growth that can begin within 24 to 48 hours of sustained wetting. Prompt attention to flashing failures is not just a structural issue — it is a health issue.
Schedule Your Roof Flashing Inspection
The best time to schedule a professional flashing inspection is before the fall rain season begins — ideally in September or early October. If you have already noticed any of the warning signs above, do not wait for the annual window.
Roof Repair & Construction Inc. serves homeowners across Southern California and is licensed by the California Contractors State License Board (CSLB). Whether you need a full seasonal inspection, a targeted repair on a chimney or skylight, or guidance on affordable roof replacement options, the team can assess your specific situation and give you a written, itemized quote before any work begins.
Call (323) 474-1088 to schedule your inspection. Same-week appointments are typically available for non-emergency inspections, and urgent leak situations are prioritized.
Frequently Asked Questions
How do I apply roof flashing around a chimney?
Chimney flashing is a two-part system: step flashing woven into the shingles along the sides, and counter flashing embedded into the mortar joints above it. Each L-shaped step piece overlaps the one below by at least 2 inches. Because cutting into mortar and properly integrating the metal with existing shingles requires experience and the right tools, most homeowners are better served having a licensed roofing contractor handle chimney flashing installation or replacement.
How do I put flashing on a roof vent pipe?
Vent pipe flashing uses a pre-formed rubber or metal boot that slides over the pipe and lays flat against the roof deck. The shingles above the pipe overlap the top of the boot, and the shingles below it tuck under the boot's lower edge so water sheds away from the pipe. Rubber boots should be checked every year because UV exposure causes cracking, and a cracked boot is one of the most common sources of slow roof leaks in Southern California homes.
How often should I have my roof flashing inspected?
A professional inspection once a year is the standard recommendation, ideally in the fall before the rainy season. Homeowners should also do a visual check from the ground every three months and inspect ceilings and the attic after every significant rain. Homes with older galvanized steel flashing, masonry chimneys, or skylights benefit most from consistent annual professional attention.
What is the average cost to replace roof flashing in Southern California?
In the Southern California market, replacing flashing on a single chimney typically ranges from $400 to $900 depending on chimney size and whether mortar repointing is needed. Valley flashing replacement generally runs $15 to $30 per linear foot for materials and labor combined. Vent pipe boot replacement is usually $150 to $300 per boot. These are market ranges as of 2025 — actual costs depend on roof pitch, access, and material choice. Request a custom quote from Roof Repair & Construction Inc. at (323) 474-1088 for your specific situation.
Can I do roof flashing maintenance myself?
Homeowners can safely handle ground-level visual inspections, clearing debris from valleys and gutters, and checking interior ceilings after rain. Actual flashing repairs and replacements — especially anything involving a chimney, skylight, or cutting into existing shingles — should be handled by a contractor licensed by the California Contractors State License Board (CSLB). Improper flashing repairs often create new leak paths and can void a roofing warranty.