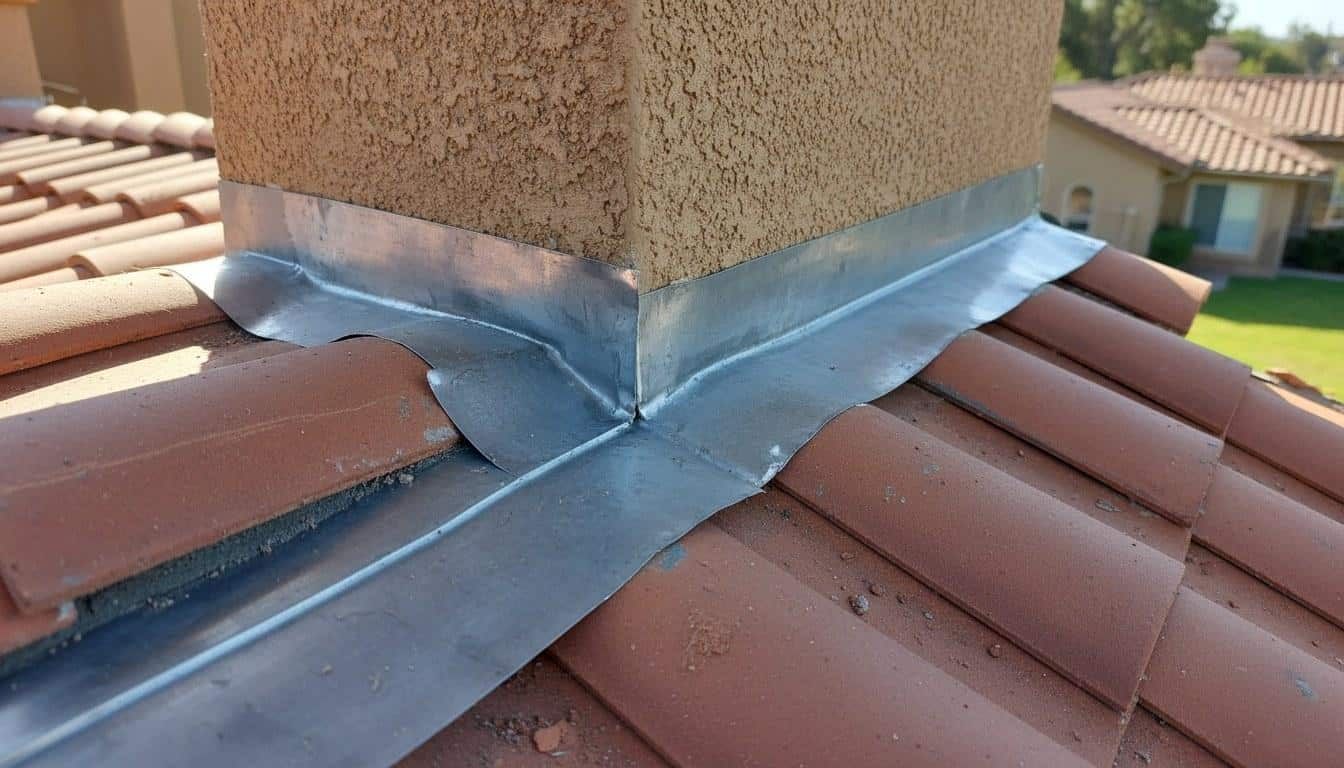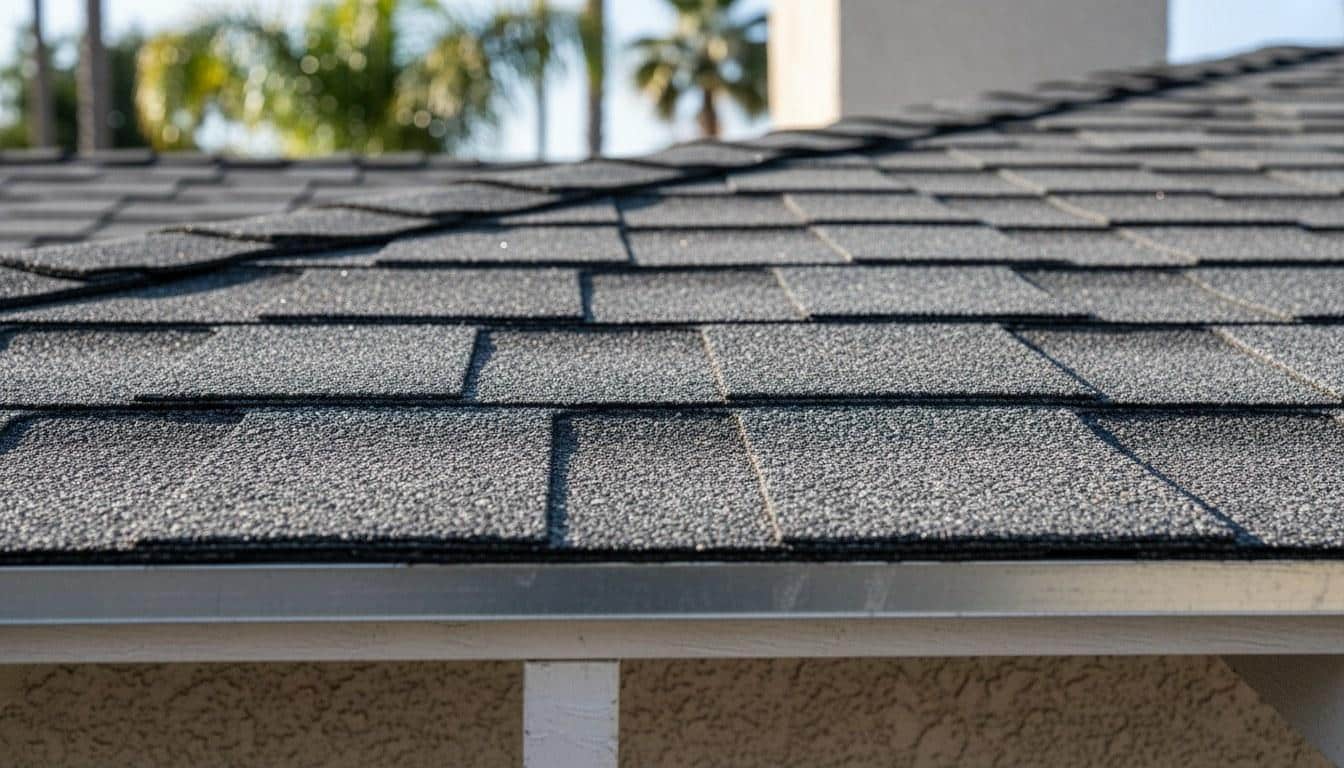
Roof Flashing Problems: Causes, Symptoms, and How to Fix Them
Roof flashing problems are behind a large share of residential leaks in California. This guide walks through the warning signs, common causes, safe DIY checks, and when to call a licensed professional.
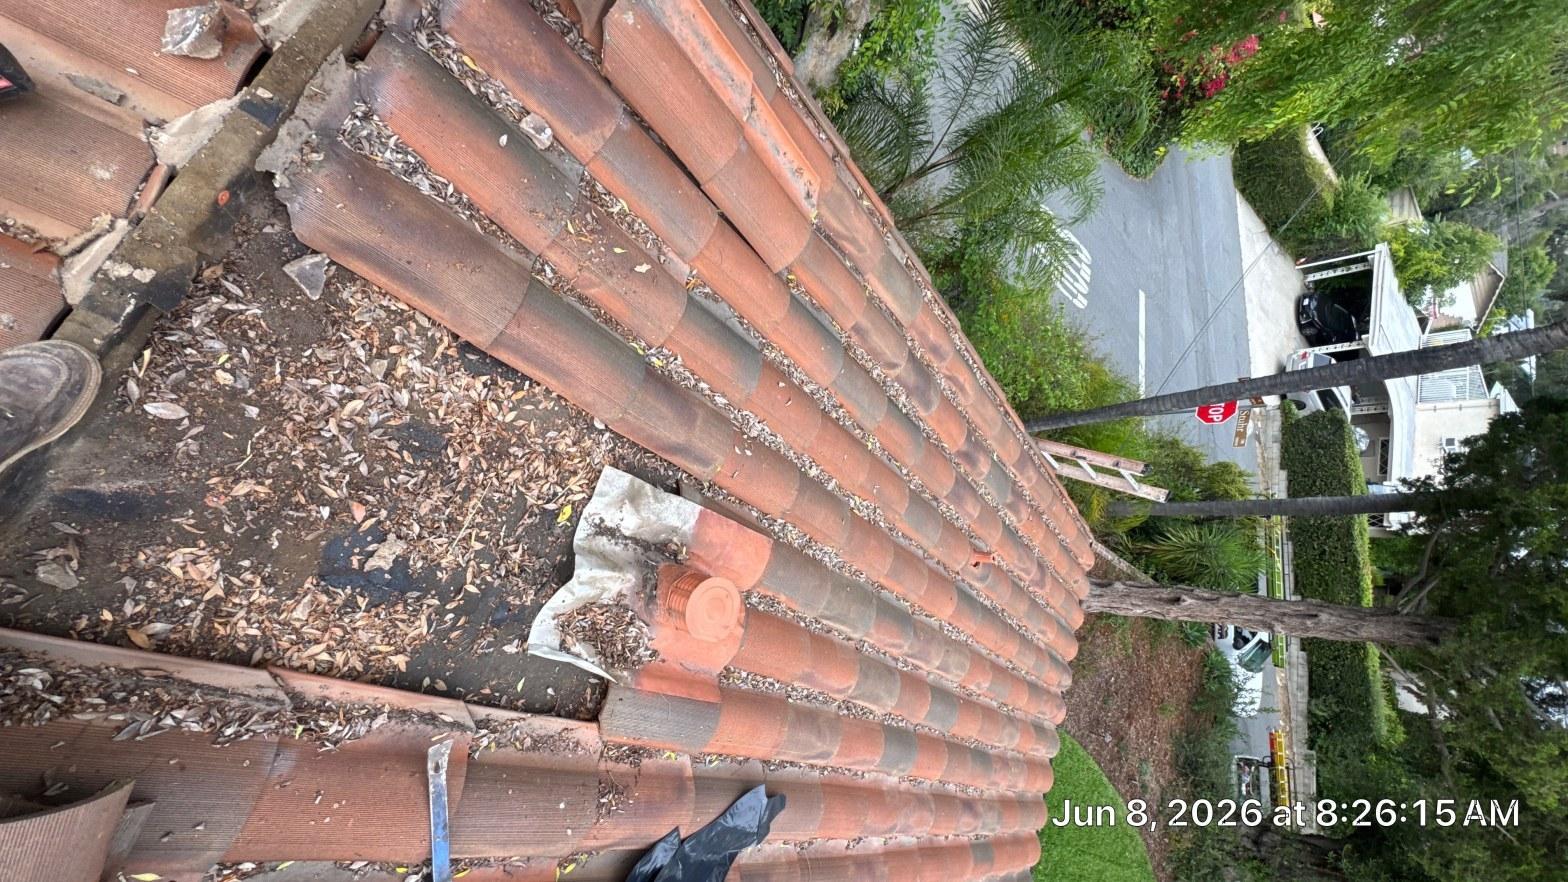
Roof flashing problems are one of the leading causes of residential water damage in California. Flashing is the thin metal — usually galvanized steel, aluminum, or copper — installed at every roof penetration and transition point to redirect water away from vulnerable seams. When it separates, corrodes, or pulls away from its sealant bed, water finds its way inside fast. This guide covers what causes flashing to fail, how to recognize the symptoms early, what you can safely inspect yourself, and what requires a licensed roofer.
For a broader look at how flashing failures show up during summer, see our related guide on signs your flashing is failing this summer. This article goes deeper on the specific mechanics of failure, the DIY inspection process, and how repair costs break down.
Why Do Roof Flashing Problems Happen in the First Place?
Most flashing failures trace back to three root causes: thermal expansion, sealant degradation, and improper installation. In Southern California, summer temperatures regularly exceed 95°F, and rooftop surface temperatures can climb past 150°F on dark shingles. That daily heat cycle — expanding metal during the day and contracting at night — works sealant loose over time.
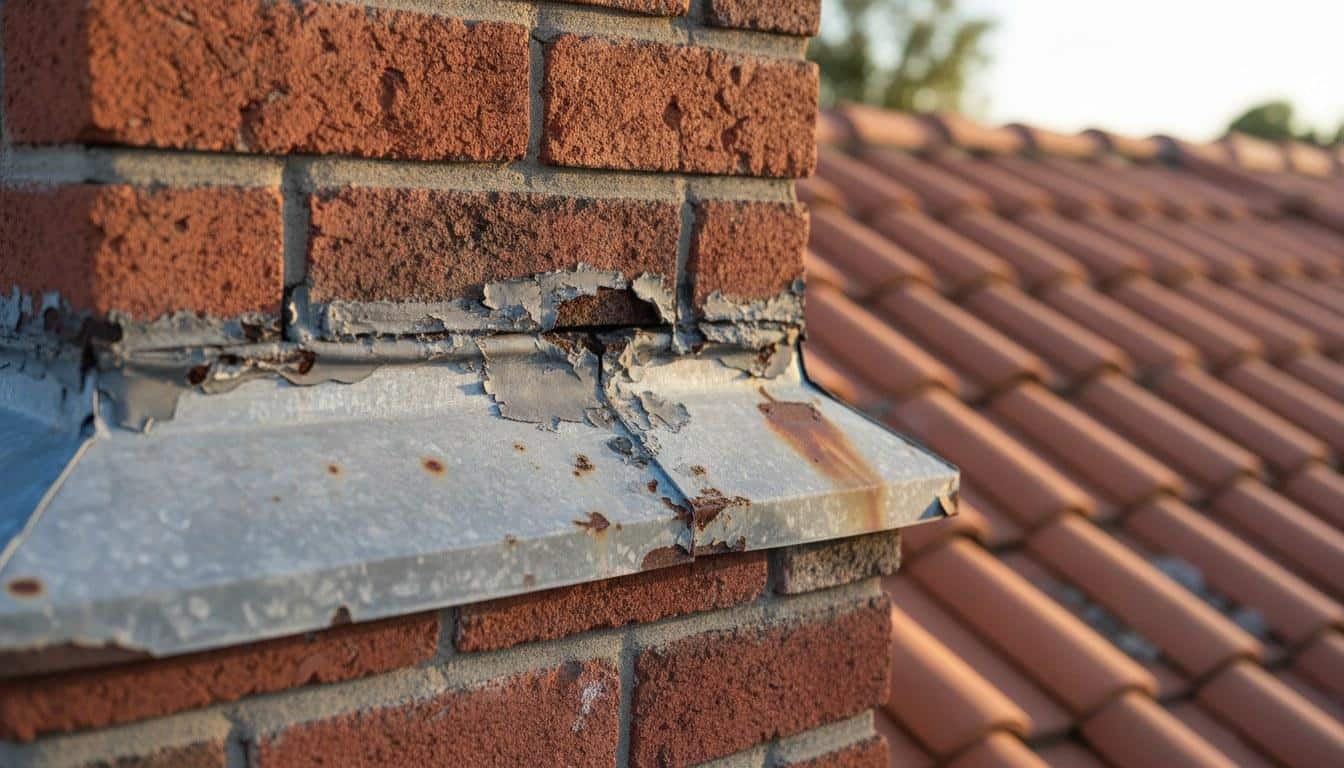
California’s climate pattern creates a specific stress cycle for metal flashing. Months of dry heat bake out the oils in roofing caulk and butyl tape, making them brittle. Then the first fall rains hit dried-out, cracked sealant — and water moves in immediately. This is why late-summer and early-fall inspections matter most in this region.
Beyond climate, these are the most common root causes of flashing failure:
- Thermal expansion: Metal flashing expands and contracts with temperature swings. Over 5 to 10 years, this movement loosens fasteners and cracks sealant beads.
- UV degradation: Prolonged sun exposure breaks down the polymers in roofing caulk and butyl-backed flashing tape, reducing adhesion by a measurable amount each year.
- Improper overlap: Flashing pieces that overlap less than 4 inches — a common installation shortcut — allow wind-driven rain to push water uphill under the seam.
- Corrosion: Galvanized steel flashing can begin surface rusting within 15 to 20 years. In coastal or high-humidity microclimates, that timeline shortens.
- Fastener pull-out: Roofing nails and screws that were driven too close to the flashing edge work loose as the deck wood moves with moisture changes.
- Incompatible materials: Aluminum flashing installed against copper gutters or copper pipes triggers galvanic corrosion — the two metals react electrochemically and eat each other away within a few years.
- Poor original installation: Flashing set without step-flashing at wall-roof intersections, or counter-flashing mortared too shallowly into brick, is likely to fail within 5 years regardless of material quality.
Our technicians see galvanic corrosion on roughly 1 in 5 older homes where aluminum valley flashing was installed adjacent to copper plumbing vents — a pairing that was common in residential construction through the 1990s.
What Are the Warning Signs Your Flashing Is Failing?
The clearest early warning of a flashing problem is a water stain on the ceiling near a chimney, skylight, or exterior wall — especially one that appears or grows after rain. However, several other symptoms show up before interior damage becomes visible. Catching them early keeps repair costs low.
- Water stains on ceilings or walls: Brown or yellowish rings near roof penetrations are almost always a flashing issue, not a shingle issue.
- Visible gaps at the flashing edge: Any daylight-visible separation between the flashing and the adjoining surface — chimney brick, skylight frame, or vent collar — means water has a direct entry point.
- Rust streaks on exterior walls: Orange staining running down brick or stucco below a chimney cap indicates the metal flashing above is corroding.
- Lifted or buckled flashing: Flashing that has pulled away from its base and is sitting proud of the roof surface will catch wind and funnel water underneath.
- Cracked or missing caulk: Dried, cracked sealant around the flashing perimeter is a sign the thermal expansion cycle has already broken the seal.
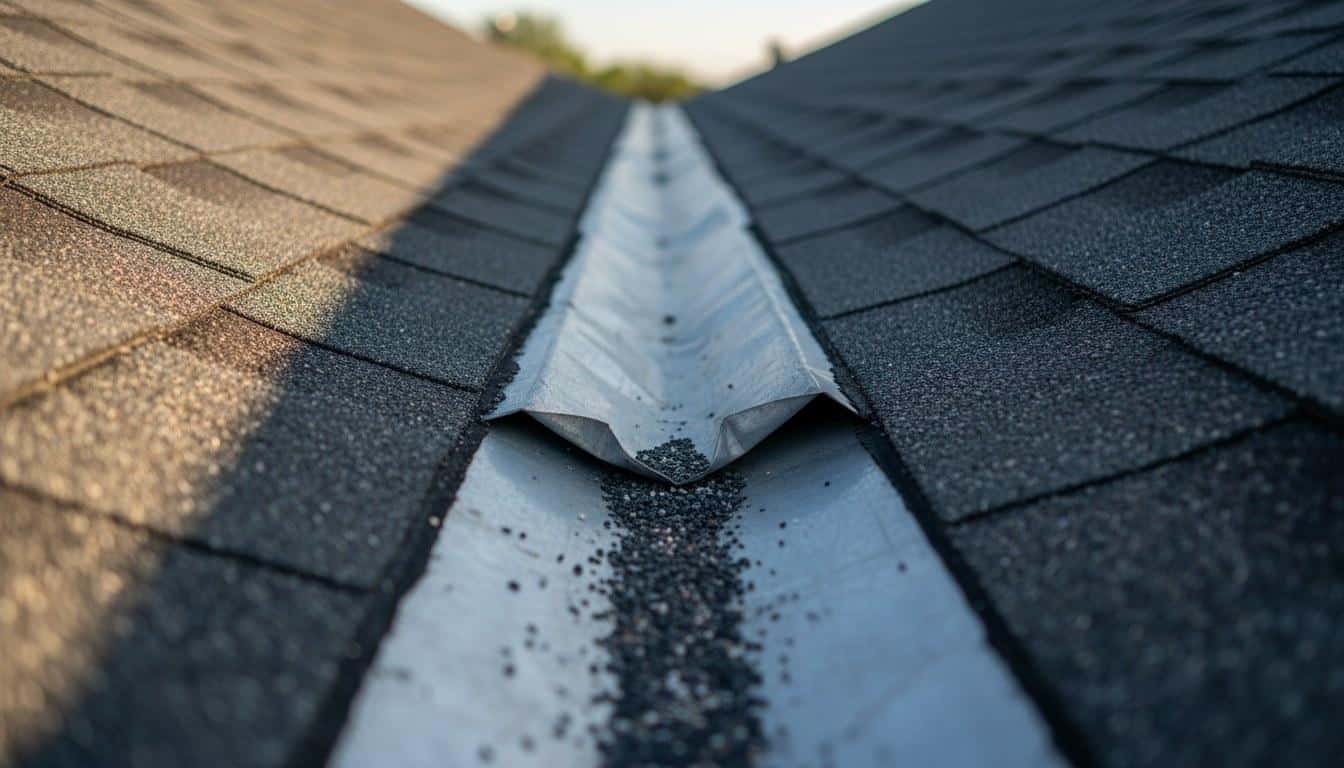
- Granule buildup in gutters near roof valleys: Excessive granule loss in a specific area can indicate water is pooling under lifted valley flashing and eroding the shingles below it.
- Mold or musty odor in the attic: Persistent moisture from a slow flashing leak often shows up as mold on attic sheathing before any ceiling stain appears indoors.
- Daylight visible in the attic: Any pinhole of light visible from inside the attic near a penetration point is a confirmed breach — water follows the same path light does.
Symptom, Cause, and Action: A Quick-Reference Table
Use this table to match what you see to the likely cause and decide whether it is a safe DIY fix or a job for a licensed roofer. When in doubt, err toward professional inspection — a $150 inspection fee is far less than the cost of a water-damaged ceiling or mold remediation.
| Symptom | Likely Cause | DIY or Pro? |
|---|---|---|
| Ceiling stain near chimney after rain | Cracked counter-flashing or failed chimney saddle | Pro — chimney flashing requires mortar work or soldering |
| Cracked caulk bead around vent pipe collar | UV and heat degradation of sealant | DIY-possible with roofing caulk if you can safely access the roof |
| Lifted valley flashing | Fastener pull-out or thermal expansion | Pro — requires removing and re-nailing shingles over the valley |
| Rust streaks on brick below chimney | Corroded galvanized steel flashing | Pro — full flashing replacement needed |
| Visible gap between flashing and skylight frame | Sealant failure or improper original install | Pro — skylights require integrated flashing kits; DIY caulk is a temporary patch only |
| Mold on attic sheathing near roof penetration | Slow chronic flashing leak | Pro — source must be found and fixed before mold remediation |
| Cracked caulk at step flashing along a dormer wall | Thermal movement at wall-roof intersection | DIY-possible for re-caulking only; if flashing is lifted, call a pro |
| Granule loss concentrated near a valley | Water pooling under lifted flashing eroding shingles | Pro — both flashing and potentially shingles need replacement |
What Can You Safely Check Yourself?
A ground-level and attic inspection can confirm most flashing problems without you ever stepping on the roof. If you do access the roof, only do so on a dry day, wear soft-soled shoes, and stay on low-slope sections — steep pitches above 6:12 are not safe for untrained individuals.
Step 1: Inspect from the Ground with Binoculars
Use a pair of binoculars to scan every roof penetration point: chimney base, all vent pipes, any skylights, and the valleys where two roof planes meet. Look for lifted metal edges, rust discoloration, or missing sections of flashing. You can see most of these from the ground on a single-story home.
Step 2: Check the Attic After a Rain Event
Within 24 hours of a significant rain, go into the attic with a flashlight and look for active drips, wet insulation, or dark water staining on the sheathing boards. Mark any wet spots with chalk so you can locate them on the roof surface above. According to the U.S. Department of Energy, attic air sealing and moisture control are closely linked — a flashing breach often shows up as both a water problem and an energy-efficiency problem.
Step 3: Inspect Caulk Beads Around Vent Collars
If you can safely access a low-slope section of your roof, examine the sealant around each vent pipe collar. Roofing caulk that is cracked, pulling away, or has turned chalky white has lost its adhesion. This is one of the few repairs a careful homeowner can make: clean the area, apply a bead of EPA-compliant roofing sealant rated for exterior UV exposure, and tool it smooth against both the collar and the flashing base.
Step 4: Check Gutters for Rust Particles or Flashing Debris
After cleaning your gutters, look for reddish-brown rust particles or small flakes of galvanized metal. These indicate flashing somewhere above is corroding. Valley flashing debris — thin strips of metal — sometimes washes into gutters during heavy rain and signals a section that has fully separated.
- Clear gutters of debris so you can see the bottom clearly.
- Run water from a hose at the roofline and watch for rust-colored discharge at the downspout.
- If rust-colored water appears, note which downspout it exits from — that locates the corroding flashing zone above it.
When Should You Call a Professional Roofer?
Call a licensed roofing contractor any time the flashing problem involves a chimney, a skylight, a roof valley, or any area where shingles must be removed to access the flashing beneath. These repairs require proper step-flashing integration, counter-flashing installation, and in some cases mortar work or soldering — skills and tools that go beyond DIY caulking.
Specifically, get a professional on-site when you observe any of the following:
- Active water intrusion into the living space — even a slow drip needs same-week attention to prevent mold growth within 24 to 48 hours of wetting.
- Flashing that has completely separated from its base and is sitting loose on the roof surface.
- Any rust-through hole in the metal flashing — surface rust can be coated, but a hole means full replacement.
- Flashing around a chimney that has not been inspected in more than 5 years — chimney saddles and counter-flashing are the single most common source of major roof leaks in older California homes.
- Skylight leaks of any kind — factory-integrated flashing kits are the only permanent fix; caulk alone fails within 1 to 2 seasons on a skylight.
- Any flashing problem on a roof with a pitch steeper than 6:12 (a 6-inch rise for every 12 inches of run).
California requires roofing contractors to be Licensed by the California Contractors State License Board (CSLB) — verify any contractor’s license number on the CSLB website before work begins. A licensed roofer will also pull the required permit for structural flashing work, which protects you at resale and ensures the repair meets California’s Title 24 building energy standards where applicable.
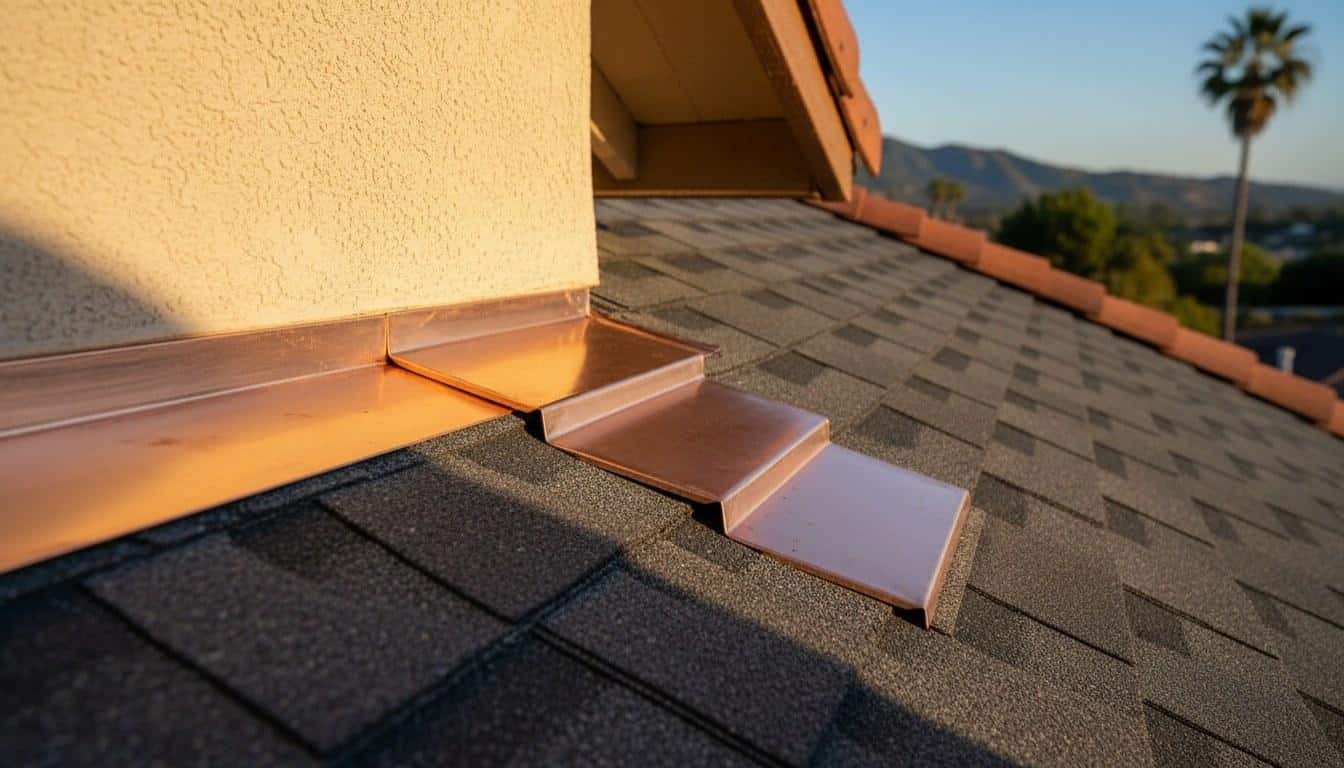
Across our service calls in the Los Angeles area, we find that chimney flashing accounts for roughly 40 percent of all confirmed roof leak sources — more than skylights, vents, and valleys combined. Chimneys move independently of the roof deck as they heat and cool, which makes their flashing joints uniquely vulnerable to separation.
Chimney flashing accounts for roughly 40 percent of all confirmed roof leak sources — more than skylights, vents, and valleys combined.
How Much Does Flashing Repair or Replacement Cost?
In the Southern California market, spot flashing repairs typically range from $150 to $500 per penetration point, while full chimney flashing replacement generally runs $400 to $1,500 depending on chimney size and material. Valley flashing replacement — which requires removing and reinstalling shingles — tends to fall in the $300 to $900 range per valley. These are market ranges, not quotes; your actual cost depends on the scope, material choice, and access difficulty.
Here are the main factors that move the price up or down:
- Material: Copper flashing costs 3 to 4 times more than galvanized steel but lasts 50 or more years. Aluminum is mid-range in cost and lifespan. The right choice depends on your budget and how long you plan to stay in the home.
- Number of penetrations: A roof with 2 chimneys, 6 vent pipes, and 2 skylights has many more flashing points than a simple gable roof — each one adds to the total.
- Roof pitch: Steeper roofs require more safety equipment and take longer, raising labor costs.
- Shingle removal required: If shingles must come off to access step flashing, expect higher labor costs and potentially new shingles in the repaired zone.
- Extent of water damage: If the leak has damaged sheathing or rafters below the flashing, structural repairs add to the total.
- Permit requirements: Some jurisdictions in Los Angeles County require permits for flashing work that involves structural modifications — factor in permit fees if applicable.
| Repair Type | Typical CA Market Range | Key Cost Driver |
|---|---|---|
| Vent pipe collar re-seal | $150 – $300 per vent | Number of vents, access difficulty |
| Step flashing repair (wall-roof junction) | $200 – $600 per section | Linear footage, shingle removal needed |
| Chimney flashing replacement | $400 – $1,500 | Chimney size, material (aluminum vs. copper), saddle complexity |
| Skylight flashing replacement | $300 – $900 | Skylight size, integrated kit vs. custom fabrication |
| Valley flashing replacement | $300 – $900 per valley | Valley length, shingle replacement required |
| Full roof flashing system (all penetrations) | $1,500 – $5,000+ | Roof complexity, total penetration count, material grade |
Roof flashing problems that go unaddressed for more than one rainy season often lead to secondary costs — insulation replacement, drywall repair, and mold remediation — that can easily exceed the original repair cost by 3 to 5 times. Early action is almost always the more affordable path. Contact Roof Repair & Construction Inc. for a custom quote tailored to your specific roof and situation.
Roof flashing problems that go unaddressed for more than one rainy season often lead to secondary costs that can easily exceed the original repair cost by 3 to 5 times.
Frequently Asked Questions
How do I know if my roof has a flashing problem or a shingle problem?
If your ceiling stain appears directly below a chimney, skylight, vent pipe, or the wall where a dormer meets the roof, flashing is the most likely culprit — not the shingles. Shingle failures tend to cause more widespread or diffuse leaking rather than leaks concentrated at a single penetration point. A quick attic inspection after rain will usually confirm which one it is. When in doubt, a licensed roofer can pinpoint the source in a single inspection visit.
How do you apply roof flashing around a vent pipe?
Vent pipe flashing uses a pre-formed rubber or metal collar — called a pipe boot — that slides over the pipe and lays flat against the surrounding shingles. The boot base is nailed to the roof deck, the uphill shingles are slid under the boot's top edge, and the downhill shingles overlap the boot's lower edge. A bead of roofing caulk seals the collar-to-pipe joint. If the boot is cracked or the rubber collar has hardened, the entire boot should be replaced rather than patched.
How long does roof flashing typically last before it needs replacing?
Galvanized steel flashing generally lasts 15 to 20 years in Southern California's climate before corrosion or sealant failure becomes a problem. Aluminum flashing lasts a similar amount of time but is more prone to corrosion where it contacts dissimilar metals. Copper flashing is the longest-lasting option, often exceeding 50 years with no maintenance. The sealant around any flashing type typically needs re-application every 5 to 10 years regardless of the metal's condition.
Can I fix a roof flashing leak myself, or do I need a contractor?
Re-caulking a cracked sealant bead around a vent pipe collar is a repair many careful homeowners can handle on a low-slope, accessible roof section. However, any repair that requires removing shingles, re-mortaring chimney counter-flashing, or replacing skylight flashing kits should be done by a licensed roofing contractor. In California, roofing contractors must be licensed by the California Contractors State License Board (CSLB) — always verify the license before hiring anyone for structural roof work.
Why does my roof leak only during heavy rain but not light rain?
This pattern almost always points to a flashing problem rather than a hole in the shingles. Light rain falls nearly vertically and drains off before it can push past a small gap. Heavy rain, especially with wind, drives water horizontally and forces it under lifted flashing edges or through cracked sealant that light rain would not penetrate. A flashing gap as small as one-eighth of an inch can allow significant water intrusion during a wind-driven storm.