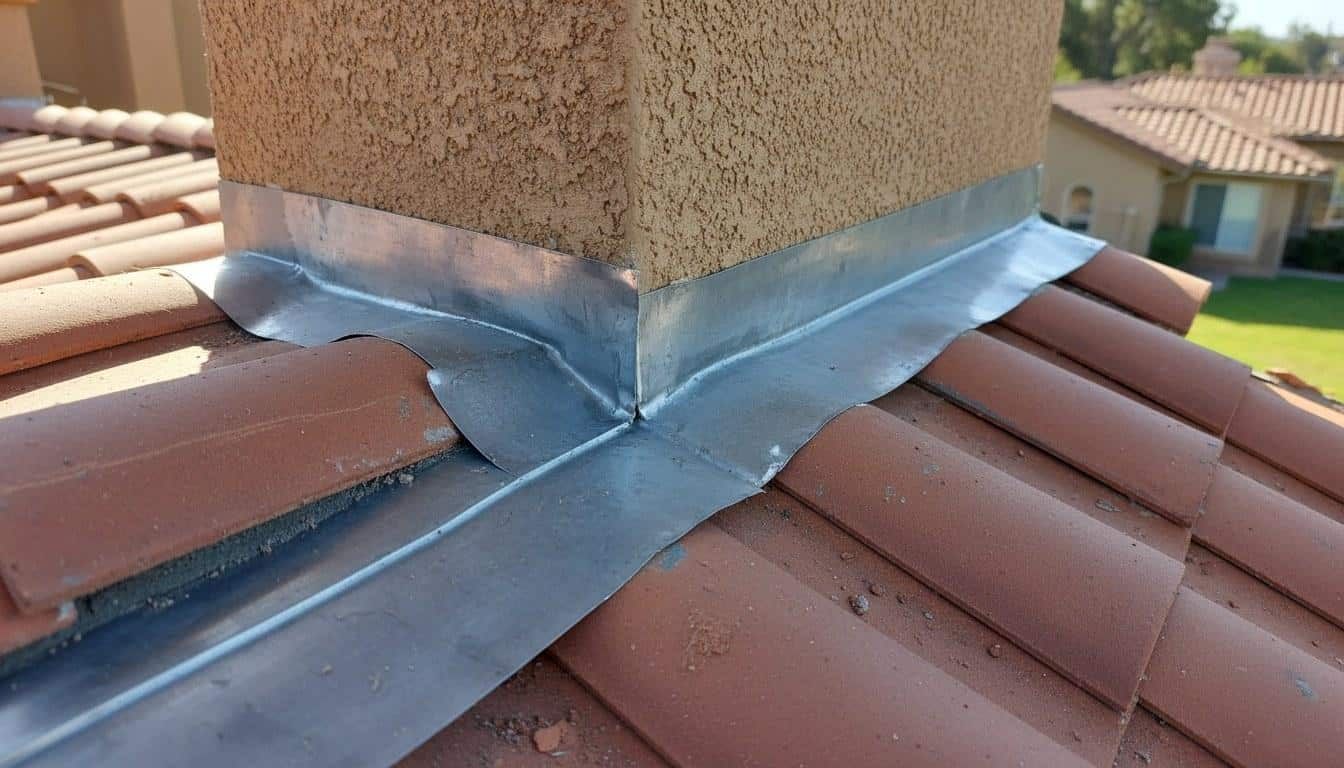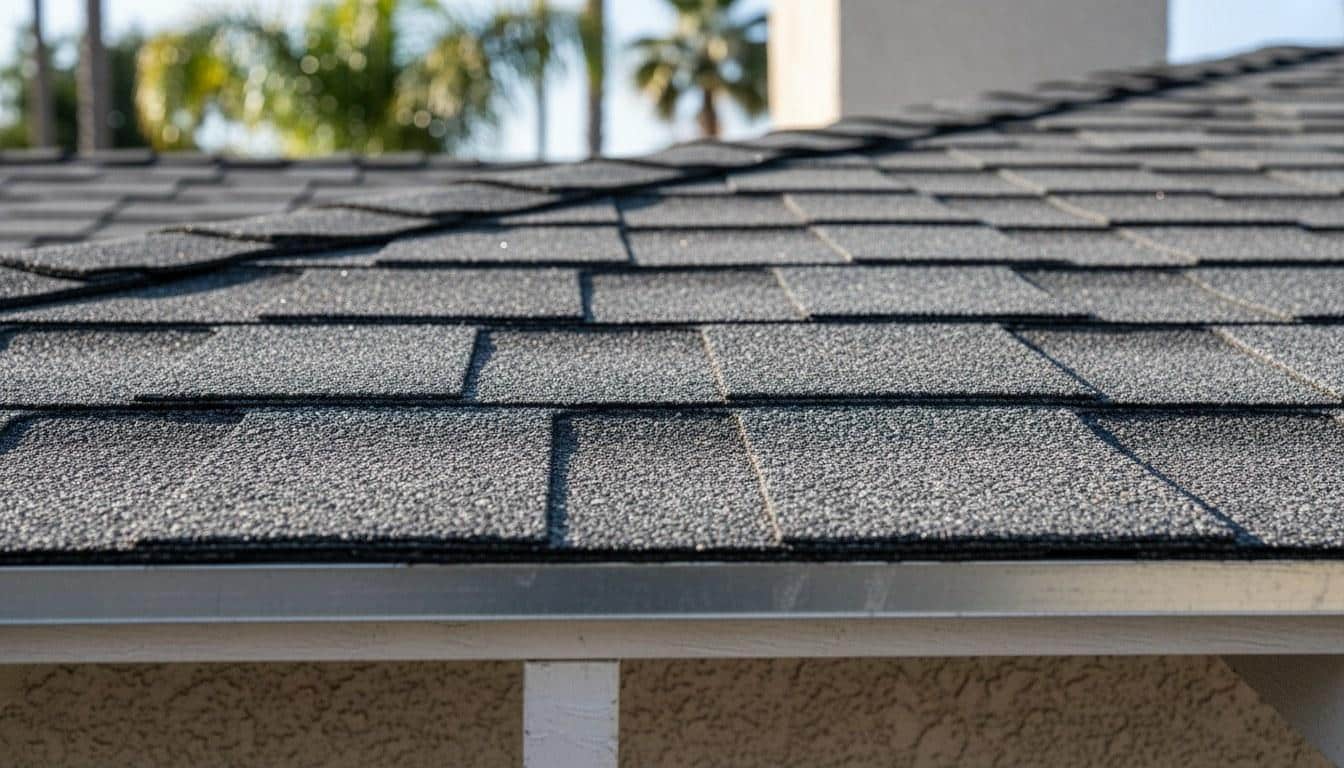
Roof Flashing Problems: Signs Your Flashing Is Failing This Summer
Failing roof flashing is one of the most common causes of summer leaks. Learn how to spot the warning signs early and what to do before small problems become costly repairs.
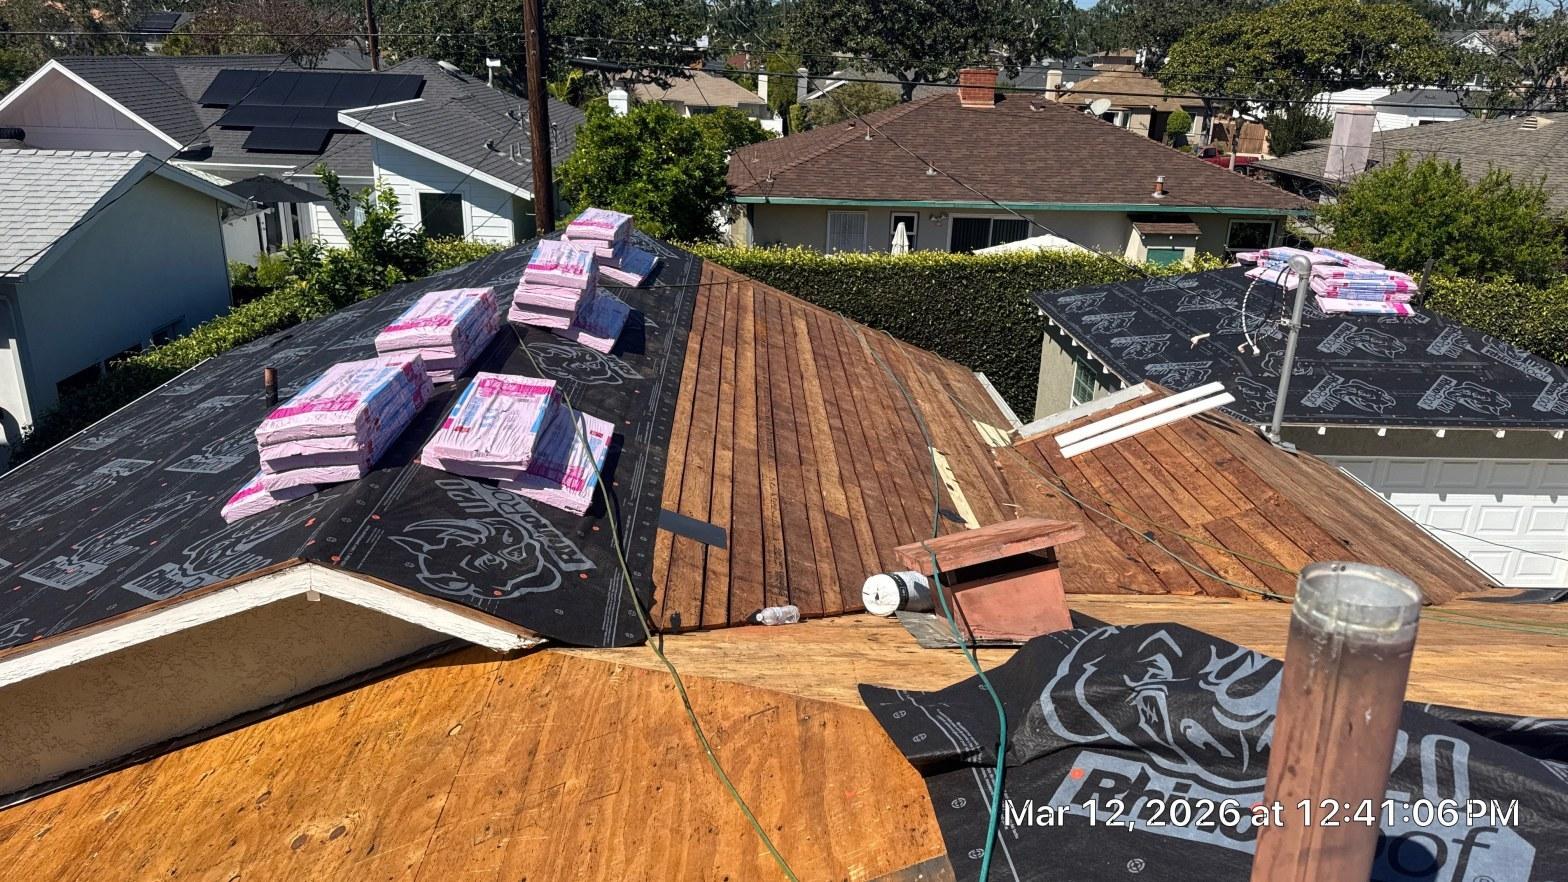
Roof flashing problems are one of the leading causes of residential leaks in California, and summer heat accelerates nearly every failure mode. Flashing is the thin metal or rubberized material that seals the joints between your roof and vertical surfaces — chimneys, skylights, vents, walls, and valleys. When it fails, water finds a direct path into your home’s structure. This guide walks you through how to spot failing flashing, what causes it, what you can safely inspect yourself, and when to bring in a licensed roofing contractor before the damage spreads.
Why Do Roof Flashing Problems Get Worse in Summer?
Summer in California pushes rooftop surface temperatures above 150°F on dark-colored roofs, causing metal flashing to expand, shift, and eventually crack the sealant beads holding it in place. Most residential flashing is installed with a butyl or urethane-based sealant that has a useful life of roughly 5 to 10 years under normal conditions. Sustained heat shortens that window significantly.
According to NOAA climate data, the Los Angeles basin regularly records heat events where ambient air temperatures exceed 100°F for multiple consecutive days. At those temperatures, asphalt-based underlayments and sealants oxidize faster, and the thermal cycling — hot days followed by cooler nights — causes flashing to work loose from fasteners over repeated seasons.
Homes built before 1990 are especially vulnerable. Many of those roofs used galvanized steel flashing that has now been exposed to 30 or more years of UV radiation, moisture, and heat cycles. Galvanized steel typically begins to show surface rust within 20 to 30 years, and once the zinc coating is gone, corrosion accelerates quickly. Aluminum flashing, common in installations from the 1990s onward, resists rust but is prone to cracking at bends when it becomes brittle with age.
What Are the Warning Signs Your Flashing Is Failing?
The clearest warning signs of failing roof flashing are water stains on interior ceilings, lifted or buckled metal edges on the roof, and visible rust streaks running down exterior walls. Most homeowners notice the interior symptoms first, but by that point water has usually been infiltrating for at least one rainy season.
Our technicians respond to roughly 3 times more flashing-related leak calls in the first 6 weeks after a heat wave than in any comparable cool period — the heat dries out the sealant, and the next rain event finds the gap immediately.
- Water stains on ceilings or walls: Brown or yellowish rings near a chimney, skylight, or exterior wall typically trace back to failed step or counter flashing.
- Lifted or buckled flashing edges: Metal that has pulled away from the roof surface or wall by even a quarter inch is no longer watertight.
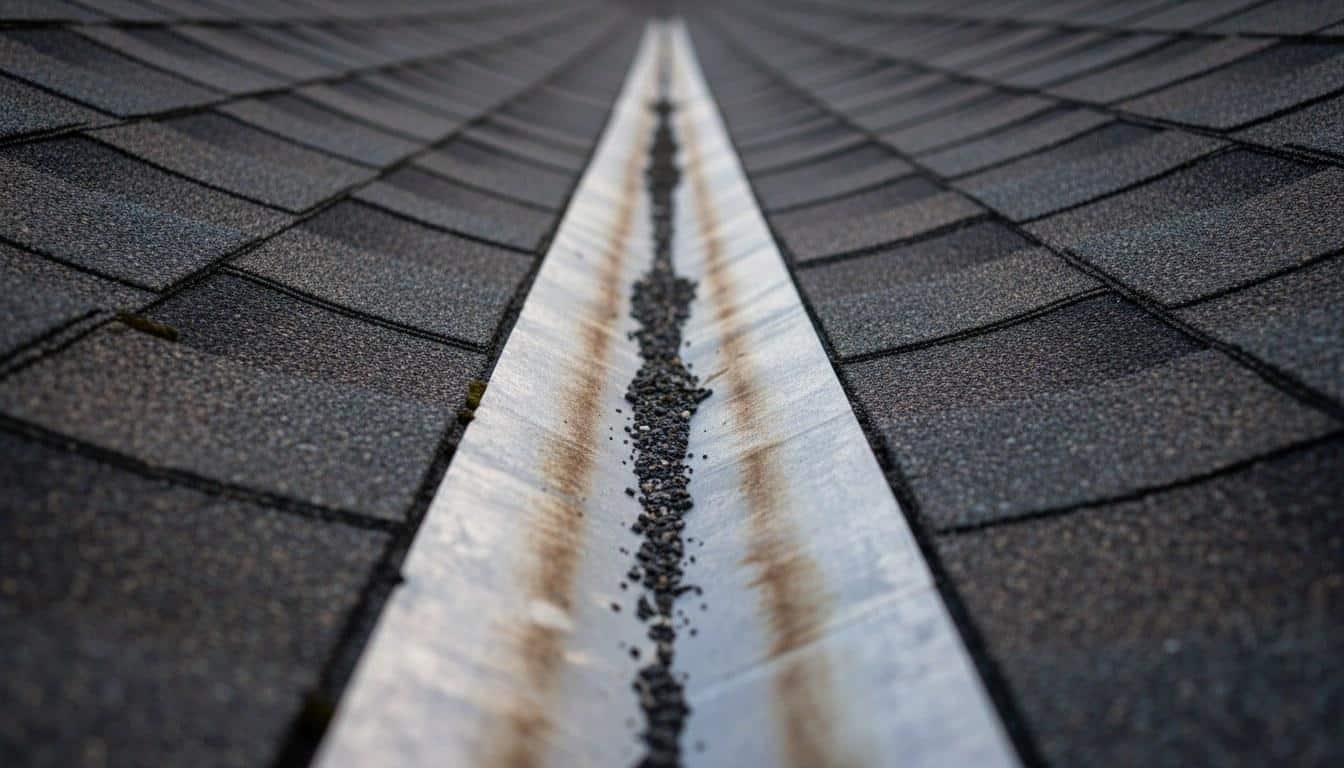
- Rust streaks on the roof or siding: Orange-brown streaks running downhill from a flashing joint signal that the metal has begun to corrode from the inside out.
- Visible gaps or cracks in sealant: Dried, cracked caulk at flashing joints is one of the most common entry points for water during summer thunderstorms.
- Missing or loose fasteners: Screws or nails that have backed out allow flashing to shift with thermal expansion, breaking the seal.
- Granule buildup in gutters near a valley: Excessive granule loss in a specific zone often indicates that water is pooling and eroding the shingles just above a valley flashing seam.
- Mold or musty odor in the attic: Persistent moisture from a slow flashing leak creates ideal conditions for mold growth within 24 to 48 hours of wetting, according to EPA mold guidance.
- Daylight visible in the attic: Any point where outdoor light enters the attic around a chimney, vent, or wall intersection is a confirmed flashing gap.
Symptom, Likely Cause, and Next Step: A Quick Reference
Use this table to match what you are seeing to its most likely cause and decide whether it is safe to address yourself or requires a professional. When in doubt, a professional inspection is always the safer call — water damage compounds quickly once it reaches roof decking or framing.
| Symptom | Likely Cause | DIY or Pro? |
|---|---|---|
| Water stain on ceiling near chimney | Failed step or counter flashing at chimney base | Pro — chimney flashing requires mortar work and precise metal forming |
| Lifted metal edge at skylight | Thermal expansion broke sealant bond; fasteners backed out | Pro — skylight flashing is a multi-layer system; improper repair voids skylight warranty |
| Cracked or dried caulk at vent pipe collar | UV degradation of urethane sealant; normal aging after 5-8 years | DIY-possible for visible, accessible pipes; use roofing-grade sealant only |
| Rust streaks on roof surface | Galvanized steel flashing losing zinc coating; base metal corroding | Pro — corroded flashing must be replaced, not patched |
| Granule loss concentrated near valley | Water pooling above valley flashing; possible open seam | Pro — valley flashing replacement requires removing shingles |
| Daylight visible in attic at wall intersection | Missing or displaced step flashing behind siding | Pro — requires removing siding to access step flashing |
| Mold or moisture in attic corner | Slow chronic leak from failed flashing above; possible for months | Pro — source must be found and fixed; mold remediation may also be needed |
What Types of Roof Flashing Are There, and Which Fails First?
Residential roofs use at least five distinct types of metal flashing, and each has a different failure timeline and failure mode. Knowing which type is at the joint you are inspecting tells you a lot about what to look for.
The California Energy Commission notes that roofing system longevity is directly tied to the quality of water-management details — and flashing is the most critical of those details at every penetration point.
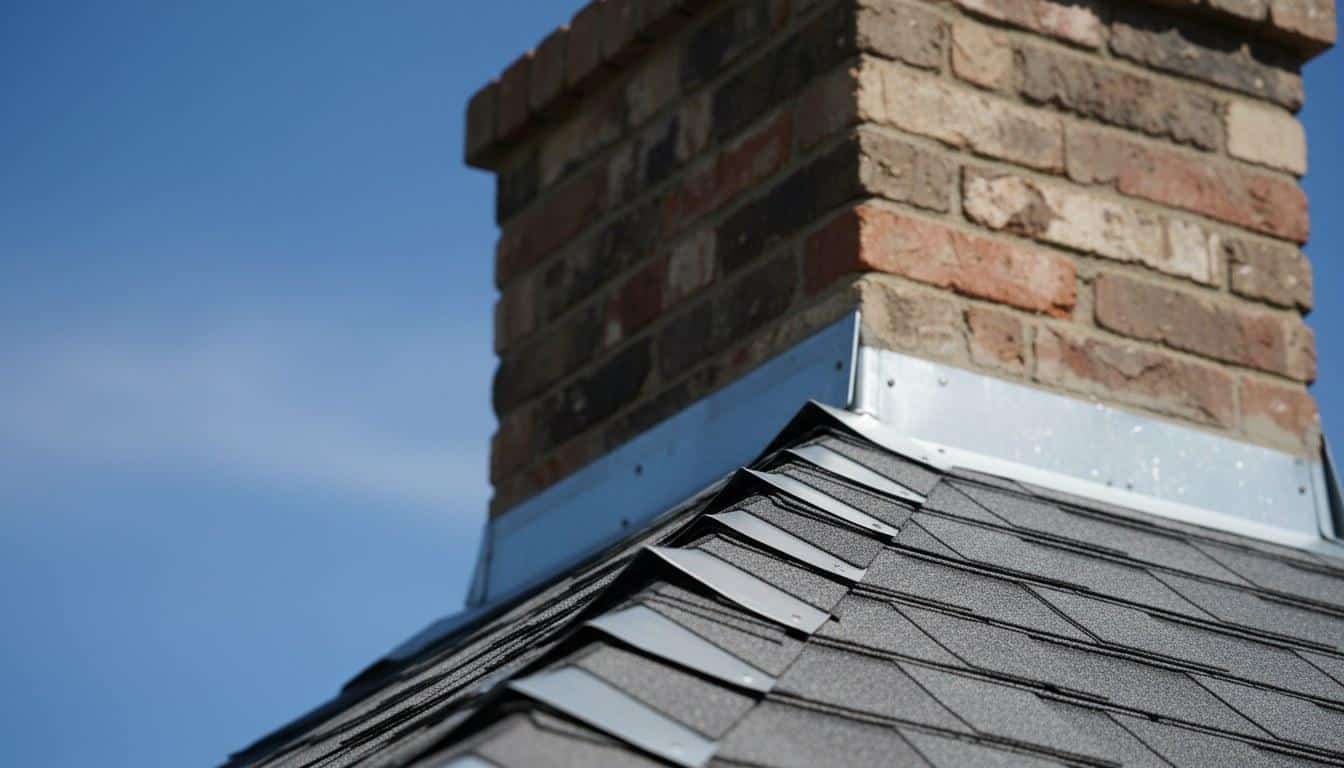
- Step flashing: L-shaped pieces woven between shingles and a vertical wall or chimney. Each piece is roughly 8 inches by 8 inches. Step flashing fails when individual pieces shift out of alignment or when the sealant between them and the wall dries out. This is the most commonly failed flashing type on homes older than 15 years.
- Counter flashing: The second layer over step flashing, embedded into mortar or siding. On brick chimneys, the mortar joint holding counter flashing erodes over 20 to 30 years and allows the metal to pull free.
- Valley flashing: A continuous strip of metal or rubberized membrane running the length of a roof valley. Open-valley metal flashing can last 50 or more years if it is copper or quality aluminum. Closed-cut valleys rely on shingle overlap and are more vulnerable to debris buildup.
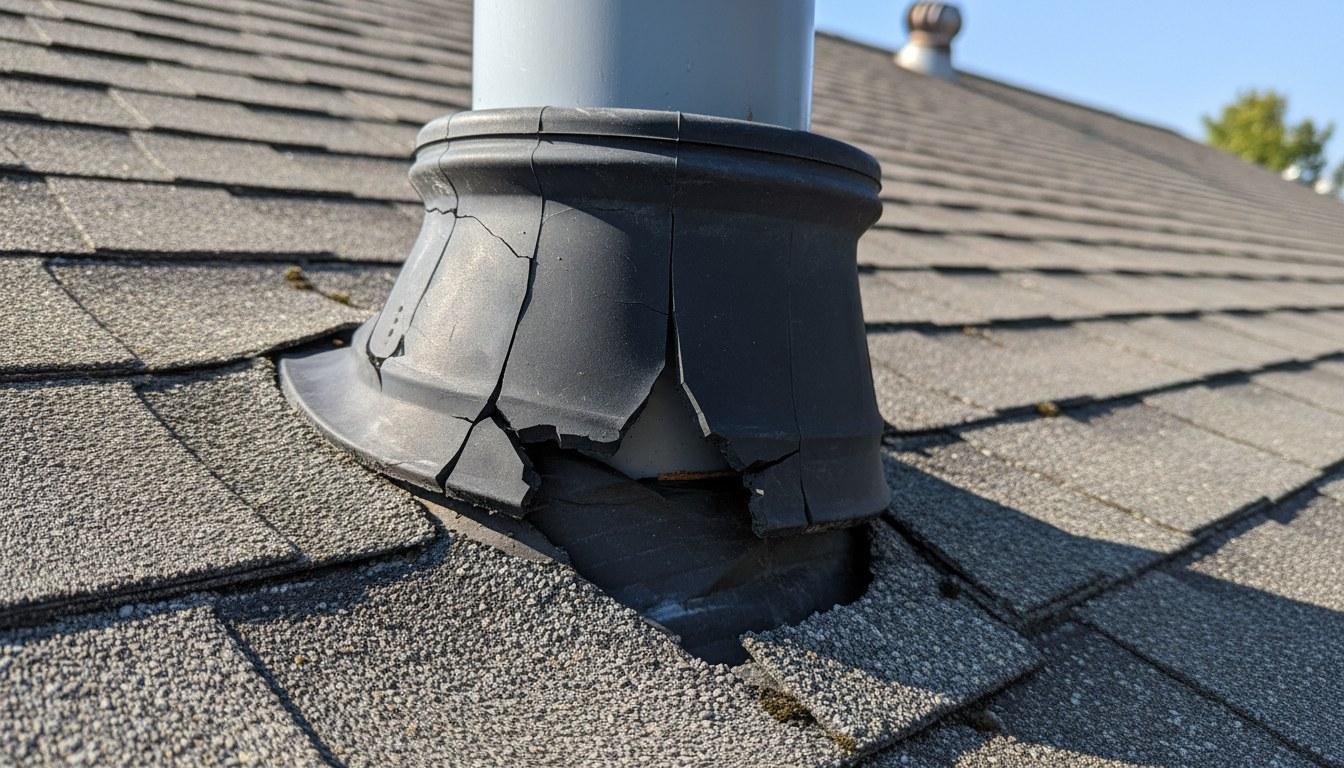
- Vent pipe flashing (boot flashing): A rubber or metal collar around plumbing vent pipes. Rubber boots degrade faster than metal — typical lifespan is 10 to 15 years in a hot climate before cracking appears at the collar.
- Drip edge flashing: Installed at the eaves and rakes to direct water into gutters. Missing or improperly lapped drip edge allows water to wick back under shingles and rot the fascia board.
- Skylight flashing: A factory-integrated or field-fabricated system around the skylight frame. Factory skylight flashing kits from major manufacturers are designed for specific models — field-fabricated alternatives fail at higher rates because the geometry is harder to seal.
Across our service calls in Southern California, we find that rubber vent pipe boots are the single most frequently replaced flashing component — roughly 40% of all flashing repairs we complete involve a cracked or shrunken pipe boot, most on systems 12 years old or older.
Rubber vent pipe boots are the single most frequently replaced flashing component — roughly 40% of all flashing repairs involve a cracked or shrunken pipe boot, most on systems 12 years old or older.
What Can You Safely Check Yourself?
A homeowner can safely inspect flashing from the ground with binoculars, from inside the attic with a flashlight, and from a ladder positioned at the eave — never walk on a pitched roof without proper fall protection and training. Ground-level and attic checks catch the majority of obvious failures without any safety risk.
- Attic inspection first: On a bright day, go into the attic and turn off your flashlight. Look for pinpoints of daylight around any penetration — chimney, vent, or wall. Also look for water staining on the rafters or decking, which appears as a dark streak or white mineral deposit. Mark any wet or stained areas with chalk so you can trace them to the exterior later.
- Ground-level binocular scan: Stand back from the house and use 8x or 10x binoculars to scan all flashing joints. Look for lifted edges, rust streaks, gaps in sealant, and any flashing that appears to be a different color than the surrounding material (a sign it has been patched before).
- Gutter inspection: Check your gutters after a dry period. Excessive granules concentrated near a downspout that drains a specific valley or roof section can indicate erosion above a flashing joint. Also look for rust-colored water staining inside the gutter trough.
- Ladder inspection at the eave: With a stable, properly footed extension ladder, inspect the drip edge flashing at the eave line. Look for sections that have pulled away from the fascia, are bent upward, or show rust. Do not step onto the roof surface from the ladder.
- Interior wall check after rain: After the first significant rain of the season, walk through every room and check the ceiling and upper walls near chimneys, skylights, and exterior walls. Use your hand to feel for soft drywall, which indicates moisture behind the surface even if there is no visible stain yet.
When Should You Call a Professional Roofer?
Call a licensed roofing contractor any time you find active moisture in the attic, visible rust on flashing, lifted counter flashing at a chimney, or a cracked skylight boot — these are not patch-and-wait situations. Water that reaches the roof decking can cause structural rot in as little as one rainy season, and mold can establish within 48 hours of sustained wetting.
California requires roofing contractors to hold a valid license issued by the California Contractors State License Board (CSLB). Always verify a contractor’s license number on the CSLB website before signing any agreement. A licensed contractor will also carry general liability insurance and workers’ compensation — important protections when someone is working on your roof.
Specific situations that require a professional rather than a DIY patch:
- Any flashing that requires removing shingles to access — step flashing, valley flashing, and wall flashing all fall into this category
- Chimney counter flashing that has pulled out of the mortar joint — re-embedding requires tuckpointing and proper metal forming
- Flashing on a roof with a pitch steeper than 4:12 — fall risk without proper equipment
- Any flashing repair on a roof within 2 years of a full replacement — improper repairs can void the manufacturer’s material warranty
- Visible mold in the attic near a flashing leak — the source must be repaired and the mold addressed together
- Flashing repairs on homes subject to HOA or local building permit requirements — some jurisdictions require permits for flashing replacement, and a licensed contractor will know the local rules
In terms of cost, flashing repairs in the Southern California market typically range from around $200 to $500 for a single vent pipe boot replacement, $400 to $900 for step flashing repair at a wall, and $800 to $2,500 or more for full chimney counter flashing replacement, depending on chimney size, material, and access difficulty. These are market ranges — actual pricing depends on scope, roof pitch, and material selection. Always request a written, itemized quote before work begins.
Get Expert Flashing Repair Across Southern California
If your inspection turned up lifted edges, rust, interior stains, or any of the other warning signs in this guide, do not wait for the next rain to confirm the problem. Roof flashing problems that are caught early are almost always a straightforward repair. Left through another summer or rainy season, they become deck replacements, mold remediation jobs, and insurance claims.
Roof Repair & Construction Inc. provides flashing inspections, targeted flashing repairs, and full roof replacements for homeowners across Southern California. The team is available to assess your roof, identify every failure point, and give you a written quote with no obligation. Call (323) 474-1088 to schedule your inspection or request a quote. Do not let a failing flashing joint turn into a structural problem — get it looked at before summer storms arrive.
Frequently Asked Questions
How do I know if my roof flashing is causing a leak?
The most reliable method is to go into your attic on a bright day and look for pinpoints of daylight around chimneys, vents, and wall intersections. You can also look for water stains or mineral deposits on rafters near penetration points. If you see either of those, the flashing at that location has failed and should be inspected by a licensed roofing contractor.
How do you apply roof flashing around a vent pipe?
A vent pipe boot is slid down over the pipe and pressed flat against the roof surface, then secured with roofing nails or screws at the base flange. The shingles around it are cut and layered so that water sheds over the top of the flange on the uphill side and under the shingles on the downhill side. The collar where the boot meets the pipe is sealed with roofing-grade sealant. This is a DIY-accessible repair for single-story roofs with low pitch, but the boot must be the correct diameter for the pipe.
How long does roof flashing last before it needs to be replaced?
Copper flashing can last 50 years or more. Aluminum typically lasts 20 to 30 years before cracking or corrosion becomes a concern. Galvanized steel usually shows significant rust within 20 to 25 years in a warm climate. Rubber pipe boots are the shortest-lived component at roughly 10 to 15 years in Southern California's heat. If your roof is more than 15 years old, a flashing inspection is worth scheduling even if you have not seen active leaks yet.
Can I just caulk over failing roof flashing instead of replacing it?
Caulk can extend the life of a flashing joint that is slightly dried out but otherwise still structurally sound — this is a reasonable short-term fix for a small gap at a vent collar. However, caulk cannot fix flashing that has lifted, rusted through, or shifted out of alignment. Applying caulk over a failed joint without correcting the underlying problem typically delays the leak by only one or two rain events. If the metal itself is corroded or displaced, replacement is the correct repair.
How much does it cost to repair roof flashing in Southern California?
In the Southern California market, flashing repairs typically range from around $200 to $500 for a single rubber pipe boot replacement, $400 to $900 for step flashing repair at a dormer or wall, and $800 to $2,500 or more for full chimney counter flashing replacement depending on chimney size and material. These are market ranges — scope, roof pitch, and access difficulty all affect the final number. Request a written itemized quote from a CSLB-licensed contractor before any work begins.