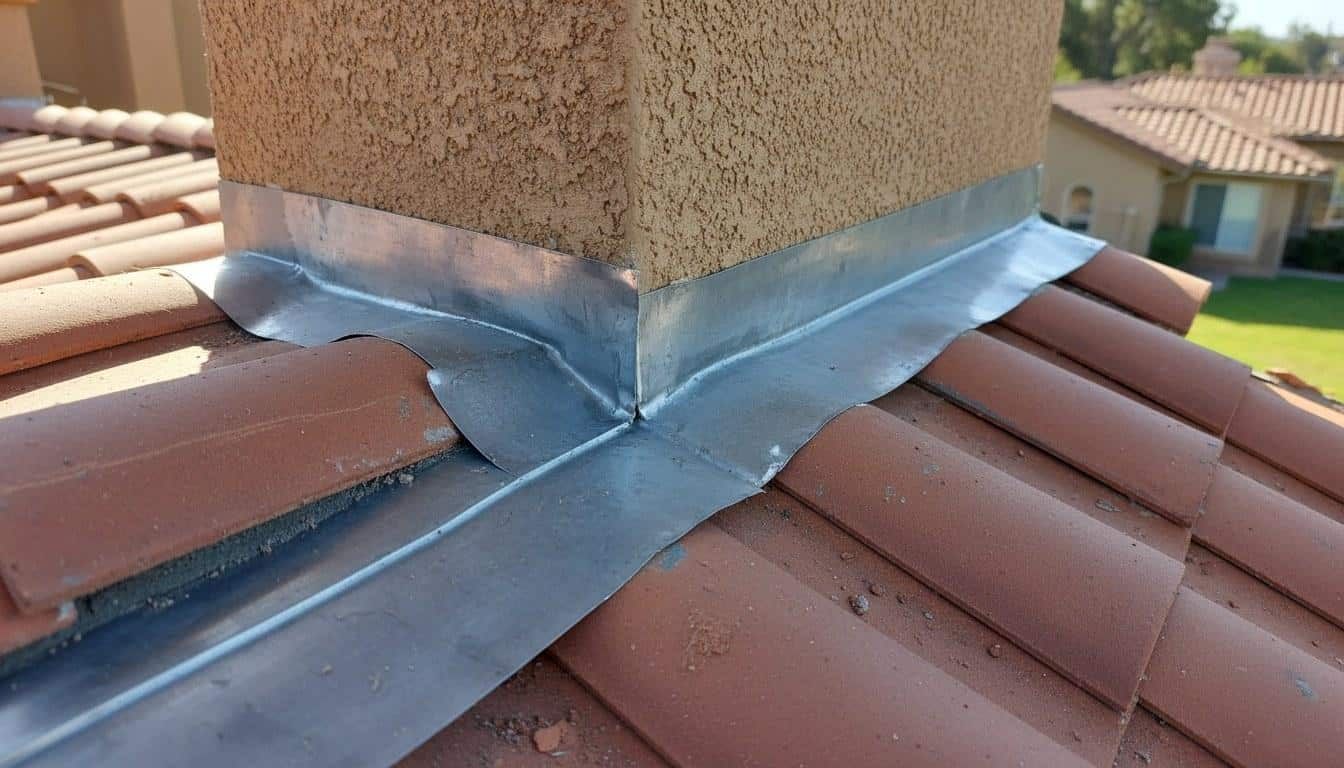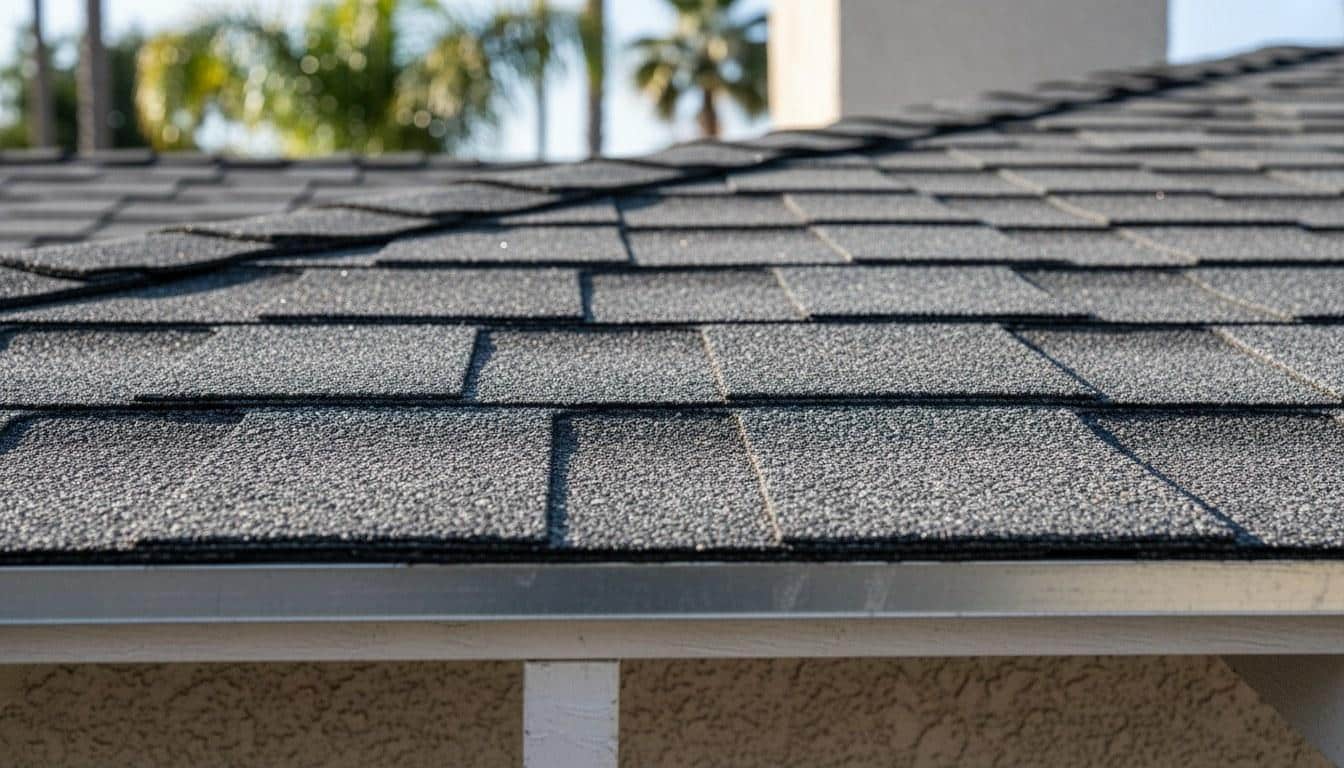
Roof flashing is one of the most overlooked parts of a roof, and one of the most important. This guide covers how to inspect, maintain, and repair metal flashing before small issues turn into costly leaks.
Need this done rather than diagnosed? See our roof flashing repair service, or browse all roofing services.
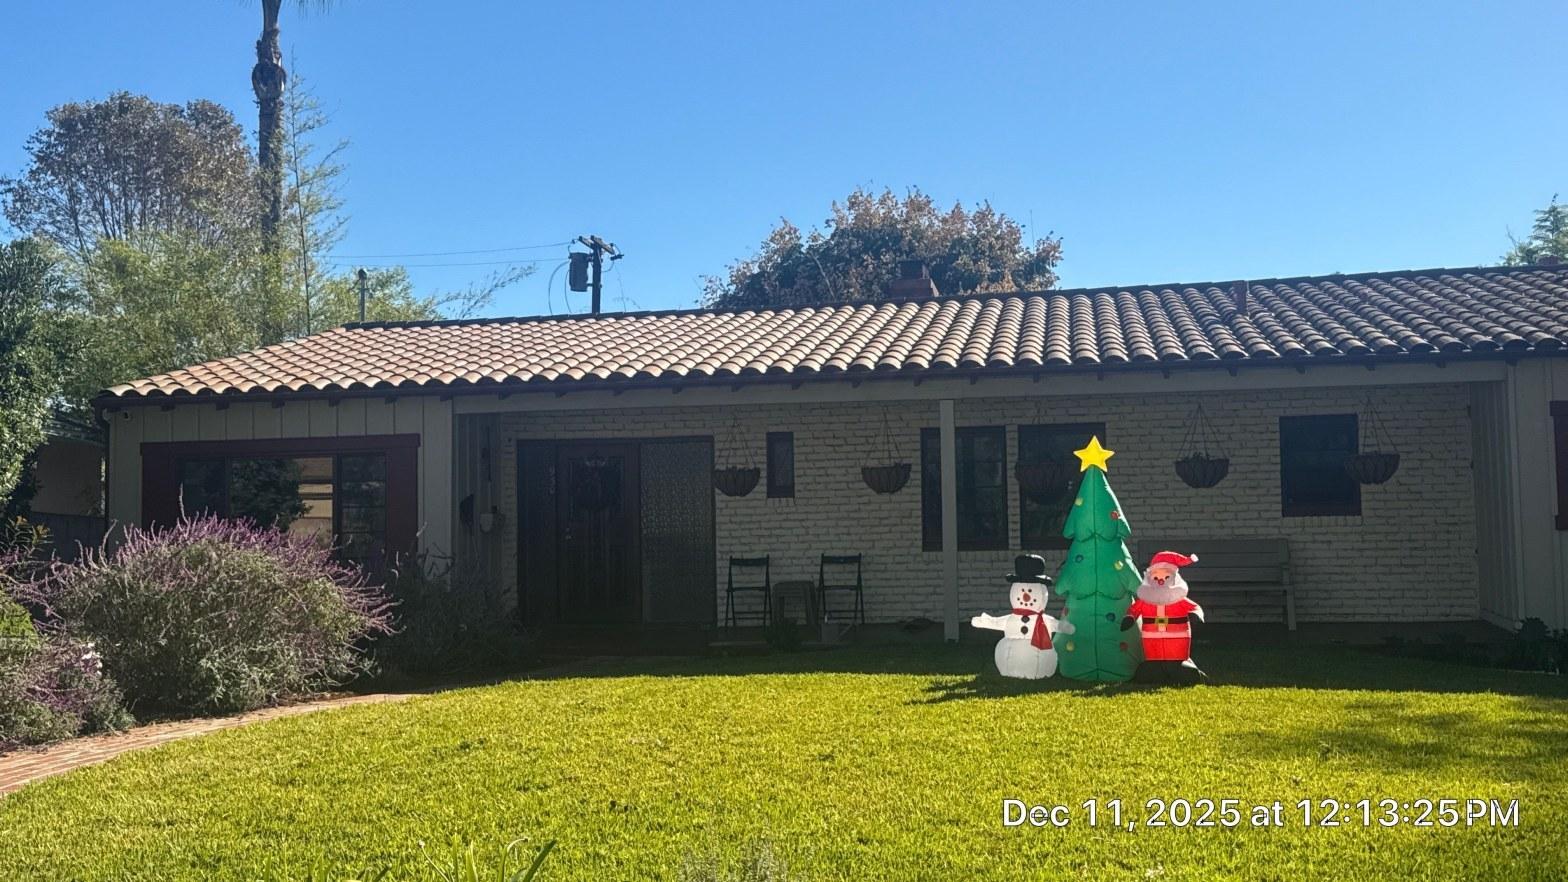
Roof flashing maintenance is the practice of inspecting, cleaning, resealing, and repairing the thin metal or composite strips that waterproof every joint, valley, and penetration on your roof. When flashing is in good shape, it quietly does its job for years. When it fails, often silently, water finds its way into wall cavities, attic insulation, and framing long before a stain appears on the ceiling. This guide goes deeper than a standard checklist, focusing on the specific failure patterns, seasonal timing, and repair decisions that matter most for California homeowners. For a broader overview of inspection tasks, see our Roof Flashing Maintenance Checklist for California Homeowners as your starting reference.
Why Does Roof Flashing Fail So Fast in California’s Climate?
California’s climate puts flashing through more stress cycles per year than most other regions in the country. Summer temperatures in the San Fernando Valley and surrounding communities regularly exceed 100°F, while winter nights can drop below 40°F. That 60-degree swing causes metal flashing to expand and contract repeatedly, loosening sealant bonds and lifting edges away from the roof surface.
According to NOAA’s climate data, Southern California experiences a pronounced dry-wet cycle, roughly 5 to 7 months of almost no rain followed by concentrated winter storms that can deliver 1 to 3 inches of rain in a single event. Flashing that has dried out and cracked during summer is hit immediately by that first heavy rain of the season.
Santa Ana wind events add another layer of stress. Gusts exceeding 60 mph pry at lifted flashing edges and can displace step flashing on chimneys and dormers within a single weather event. Our crews see a noticeable spike in flashing-related service calls every October and November, roughly 40% more than the monthly average, coinciding with early Santa Ana conditions right before the rainy season begins.
UV exposure compounds the problem. California receives some of the highest annual UV index readings in the continental U.S. Butyl rubber and urethane sealants used around flashing typically have a service life of 5 to 10 years under normal conditions, but direct UV exposure in Southern California can cut that to 4 to 7 years before the sealant begins to crack and pull away.
What Are the Different Types of Roof Flashing?
Roof flashing comes in several forms, and each type serves a different waterproofing role on the roof. Understanding which type is where helps you inspect the right spots and recognize when a specific section needs attention.
- Step flashing: Individual L-shaped metal pieces woven between shingles along the base of a wall or chimney. Each piece overlaps the one below it. This is the most common flashing type and the one most often installed incorrectly.
- Counter flashing: A second layer of metal flashing that overlaps step flashing from above, usually embedded into a mortar joint or wall. It prevents water from getting behind the step flashing.
- Valley flashing: A continuous strip of metal running down the V-shaped channel where two roof slopes meet. Open-valley metal flashing is highly visible and durable; closed-valley flashing is hidden under shingles.
- Drip edge flashing: An L-shaped metal strip installed along the eaves and rakes of the roof to direct water away from the fascia and into the gutters.
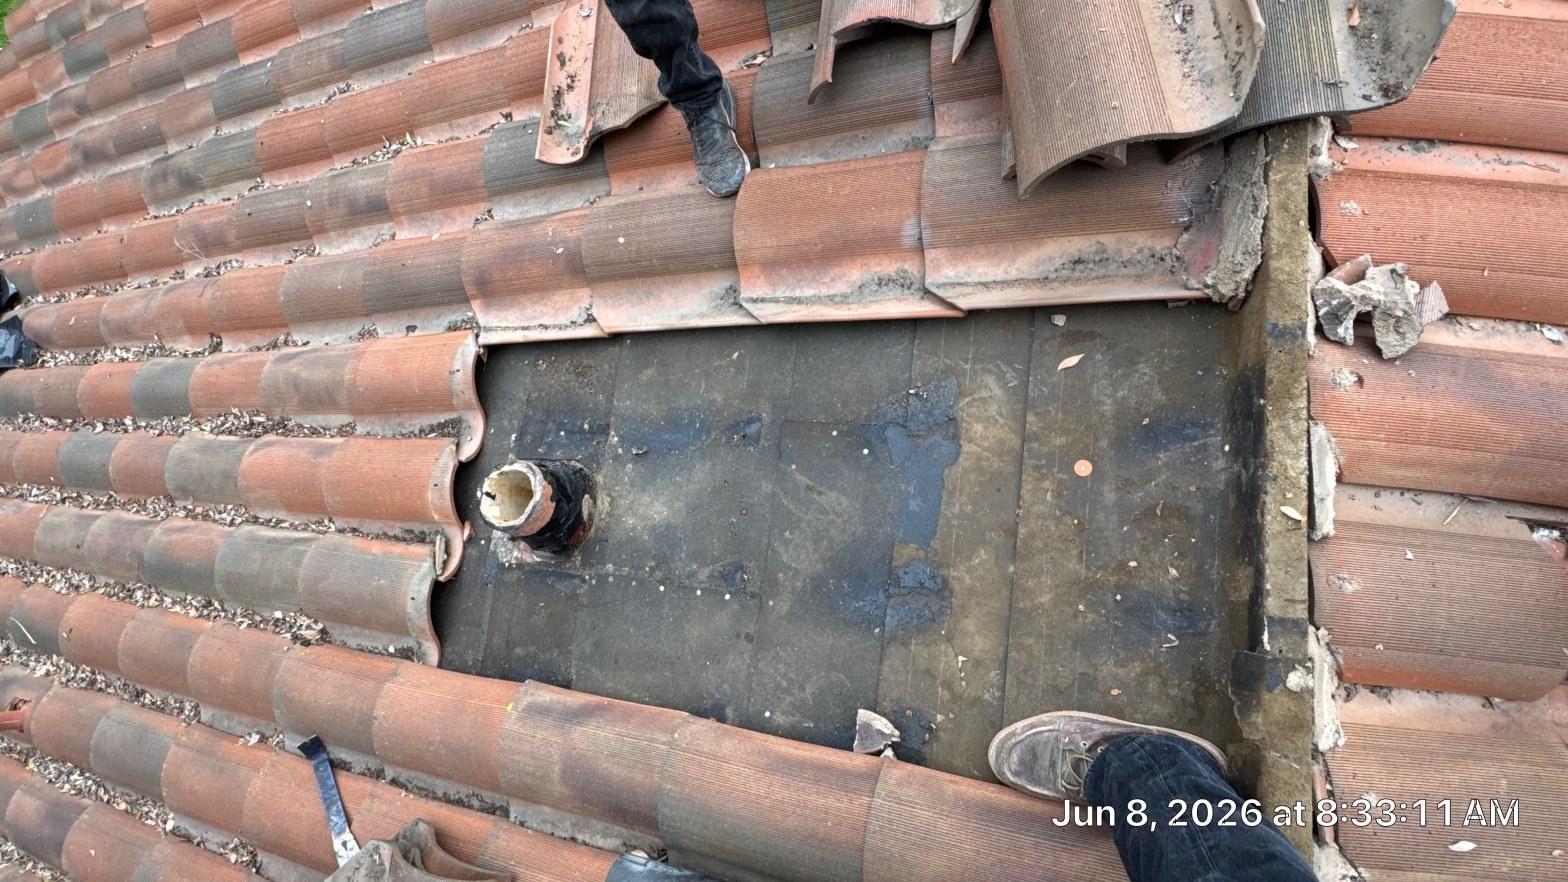
- Pipe boot flashing: A pre-formed collar that seals around plumbing vent pipes. The rubber gasket on most pipe boots degrades faster than the metal itself, typically within 10 to 15 years.
- Skylight flashing: A system of head, sill, step, and counter flashing pieces that seal all four sides of a skylight frame. Skylights are among the most common sources of interior leaks.
- Kickout flashing: A small diverter piece at the bottom of a roof-to-wall intersection that directs water away from the wall cladding. Missing kickout flashing is a leading cause of concealed wall rot.
Common materials include galvanized steel, aluminum, lead-coated copper, and copper. Aluminum is the most widely used in California because it resists rust, but it is softer and more prone to physical damage. Copper lasts 50 years or more but costs significantly more upfront. Galvanized steel is durable but can rust if the zinc coating is scratched or worn.
What Does a Complete Roof Flashing Maintenance Routine Look Like?
A complete roof flashing maintenance routine covers visual inspection, sealant assessment, debris clearing, and minor repairs, and it should happen at least twice a year. The best timing in California is late September (before the rainy season) and late April (after the last storms have passed).
Below is a task-by-task breakdown with recommended frequency and whether each task is realistic as a DIY project or requires a professional.
| Maintenance Task | Frequency | DIY or Pro? |
|---|---|---|
| Visual inspection from the ground with binoculars | Twice a year + after major storms | DIY |
| Clear debris from valley flashing and gutters | Twice a year | DIY (single-story) / Pro (two-story+) |
| Inspect and probe sealant around pipe boots and skylights | Annually | Pro recommended |
| Check step flashing at chimney and wall intersections | Annually | Pro |
| Re-bed and reseal lifted or open flashing edges | As needed (typically every 5-7 years) | Pro |
| Inspect attic for moisture stains or daylight gaps | Annually (fall) | DIY |
| Check kickout flashing at roof-wall intersections | Annually | Pro |
| Full flashing replacement on aging sections (15+ years) | As recommended after inspection | Pro |
For the tasks you can handle yourself, here is the right sequence to follow during a fall inspection:
- Stand at ground level and scan each roof plane with binoculars. Look for lifted metal edges, rust staining, or missing sections.
- Walk the perimeter of the house and look up at the eaves. Check that drip edge flashing is continuous and not bent or pulling away from the fascia.
- Go into the attic during daylight. Look for any pinpoints of light, water stains on the sheathing, or soft spots in the wood near chimneys, vents, and skylights.
- After identifying any suspect areas from below, schedule a professional to access the roof surface and probe those sections directly.
Never walk on a roof without proper safety equipment and training. A fall from a single-story roofline can cause serious injury. For any task that requires getting on the roof, hiring a licensed contractor is the safer and more reliable option.
What Warning Signs Tell You Flashing Is Already Failing?
The earliest warning signs of flashing failure almost never look like a roof problem; they show up as interior water damage, staining, or musty odors weeks or months after the flashing first opened up. Catching the signs earlier, before water reaches the interior, saves significantly on repair costs.
Watch for these red flags:
- Water stains on ceilings or walls near chimneys or dormers: These are almost always traced back to failed step or counter flashing, not the shingles themselves.
- Rust streaks running down a chimney or wall: Rust indicates that galvanized or steel flashing has lost its protective coating and is corroding through.
- Lifted or buckled metal edges visible from the ground: Flashing that has separated from the roof surface is no longer waterproof, even if it looks mostly intact.
- Cracked, shrunken, or missing sealant at pipe boots: The rubber gasket on a pipe boot shrinks over time and leaves a visible gap around the pipe. This is one of the easiest failures to spot and one of the most frequently missed.
- Granule buildup in gutters near valleys: Excessive granule loss in valley areas can indicate that water is pooling and accelerating shingle wear, often because valley flashing has shifted.
- Soft or spongy roof decking near a skylight: This suggests water has been infiltrating through skylight flashing long enough to saturate the wood sheathing below.
- Musty smell in the attic after rain: Moisture that enters through failed flashing often soaks into insulation and stays there, creating persistent odor even after the exterior dries.
In our experience across service calls throughout Los Angeles County, pipe boot failures and missing kickout flashing account for more than half of the flashing-related leaks we diagnose, and both are preventable with routine inspection.
Pipe boot failures and missing kickout flashing account for more than half of the flashing-related leaks diagnosed across Los Angeles County service calls.
Flashing Repair vs. Full Replacement: How Do You Decide?
The decision between repairing and replacing flashing comes down to three factors: the age of the flashing, the extent of the damage, and whether the surrounding roofing materials need work at the same time. Patching flashing that is already 20 years old rarely makes economic sense because the rest of the metal is not far behind.
| Situation | Recommended Action | Typical Cost Range (Regional Market) |
|---|---|---|
| Sealant cracked or missing, metal intact, under 10 years old | Reseal only | $150 to $400 depending on scope |
| Single section lifted or bent, metal otherwise sound | Re-bed and reseal that section | $200 to $600 per section |
| Rust through or pinhole corrosion in steel/galvanized flashing | Replace affected sections | $300 to $900 per area |
| Flashing 15+ years old with multiple problem areas | Full flashing replacement | $800 to $2,500+ depending on roof complexity |
| Flashing failing alongside aging shingles | Coordinate full re-roof with new flashing | Part of full re-roof scope |
These ranges reflect typical regional market pricing in Southern California and will vary based on roof pitch, access difficulty, material choice, and the number of penetrations involved. Always request a written, itemized quote before any work begins.
One important note: California’s Title 24 building energy standards require that roofing work meet specific requirements when more than a certain percentage of the roof surface is disturbed. If your flashing replacement involves removing and reinstalling shingles over a large area, your contractor should confirm compliance with current code. Work with a contractor who is licensed by the California Contractors State License Board (CSLB) to ensure the work meets state requirements.
What Does a Professional Flashing Inspection Actually Cover?
A professional flashing inspection goes well beyond what is visible from the ground; it includes physical probing of every metal edge, sealant joint, and transition point on the roof. A thorough inspection typically takes 45 to 90 minutes depending on roof size and complexity.
Here is what a qualified roofing contractor should cover during a professional inspection:
- Step and counter flashing at all chimneys and walls: Each piece of step flashing is checked for proper overlap, secure fastening, and intact sealant. Counter flashing is checked for embedment depth and separation from the wall.
- Valley flashing integrity: The contractor checks for lifted edges, corrosion, and whether the valley width is adequate for the roof’s water volume during heavy rain.
- All pipe boot gaskets: Each rubber collar is probed for cracking, shrinkage, and separation from the pipe. Gaskets showing more than 3mm of gap are flagged for replacement.
- Skylight perimeter flashing: All four sides, head, sill, and both step sections, are inspected for separation, improper lapping, and sealant condition.
- Drip edge and kickout flashing: The inspector checks continuity along eaves and rakes and verifies that kickout diverters are present at every roof-wall intersection.
- Attic-side moisture assessment: A good inspector also checks the underside of the roof deck for staining, mold, or soft wood that indicates water has already been entering.
- Photographic documentation: Every deficiency should be photographed and included in a written report so you have a clear record of what was found and what was recommended.
According to ENERGY STAR guidelines, maintaining the waterproofing integrity of a roof system, including all flashing components, is one of the most cost-effective ways to protect a home’s energy performance and structural longevity. A failed flashing joint that allows moisture into wall insulation can increase heating and cooling loads noticeably over time.
Roof Repair & Construction Inc. performs comprehensive flashing inspections across Southern California, covering all flashing types on both low-slope and pitched roofs. If a concern is found, the team provides a written scope of work before any repairs are scheduled.
Schedule Your Flashing Inspection
The best time to schedule a professional flashing inspection is before the rainy season, ideally in September or early October. Waiting until a leak appears inside the home typically means the water has already been in the wall or attic for weeks, and the repair scope is larger and more expensive.
Roof Repair & Construction Inc. serves homeowners across Southern California with thorough flashing inspections, targeted repairs, and full flashing replacement when needed. Get a written quote before any work begins. Call (323) 474-1088 to schedule your inspection today.
Frequently Asked Questions
How do I put flashing on a roof around a chimney?
Chimney flashing involves two layers: step flashing woven between the shingles along the chimney sides, and counter flashing embedded into the mortar joints above it. Each step flashing piece should overlap the one below by at least 2 inches, and counter flashing should lap over the step flashing by at least 3 inches. Because this work requires removing and reinstalling shingles and sometimes cutting into mortar joints, most homeowners hire a licensed roofing contractor rather than attempting it themselves.
How often should roof flashing be replaced?
Most metal roof flashing lasts 15 to 30 years depending on the material, aluminum on the lower end, copper on the higher end. Sealants used around flashing typically need refreshing every 5 to 7 years in California's climate due to UV exposure and thermal cycling. If your flashing is older than 15 years and showing rust, lifted edges, or cracked sealant in multiple spots, a full replacement is usually more cost-effective than repeated patching.
Can I apply roof flashing sealant myself?
For minor sealant touch-ups on accessible, low-slope areas, a homeowner can apply a compatible roofing sealant, look for products rated for metal-to-shingle contact and UV exposure. However, resealing around chimneys, skylights, or pipe boots on a pitched roof involves working at height and identifying exactly where the water entry point is, which is harder than it looks. An incorrect repair can actually trap moisture and accelerate damage, so professional application is recommended for anything beyond a small, clearly visible gap.
What is the most common cause of roof flashing leaks?
The most common cause is sealant failure at pipe boots and the base of chimneys. Sealant shrinks, cracks, and pulls away from metal surfaces over time, especially in climates with large temperature swings. The second most common cause is missing or improperly installed kickout flashing at roof-to-wall intersections, which allows water to run directly behind the wall cladding instead of into the gutter.
How much does roof flashing repair usually cost in Southern California?
In the Southern California regional market, minor flashing repairs such as resealing a pipe boot or re-bedding a lifted edge typically range from $150 to $600 depending on the location and accessibility. Replacing a full section of step flashing around a chimney generally ranges from $400 to $1,200. Full flashing replacement on a complex roof with multiple chimneys, skylights, and valleys can range from $1,500 to $3,000 or more. These are market ranges, contact Roof Repair & Construction Inc. at (323) 474-1088 for a written quote specific to your roof.