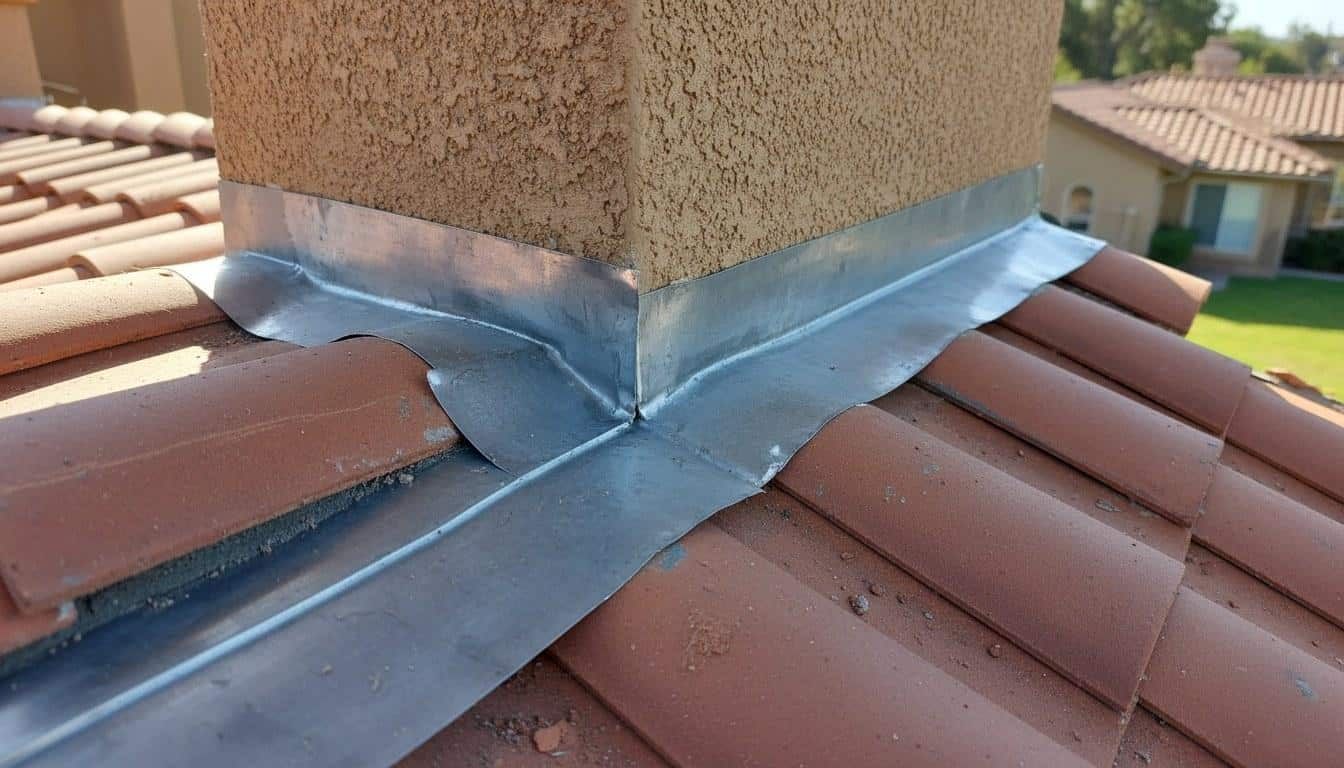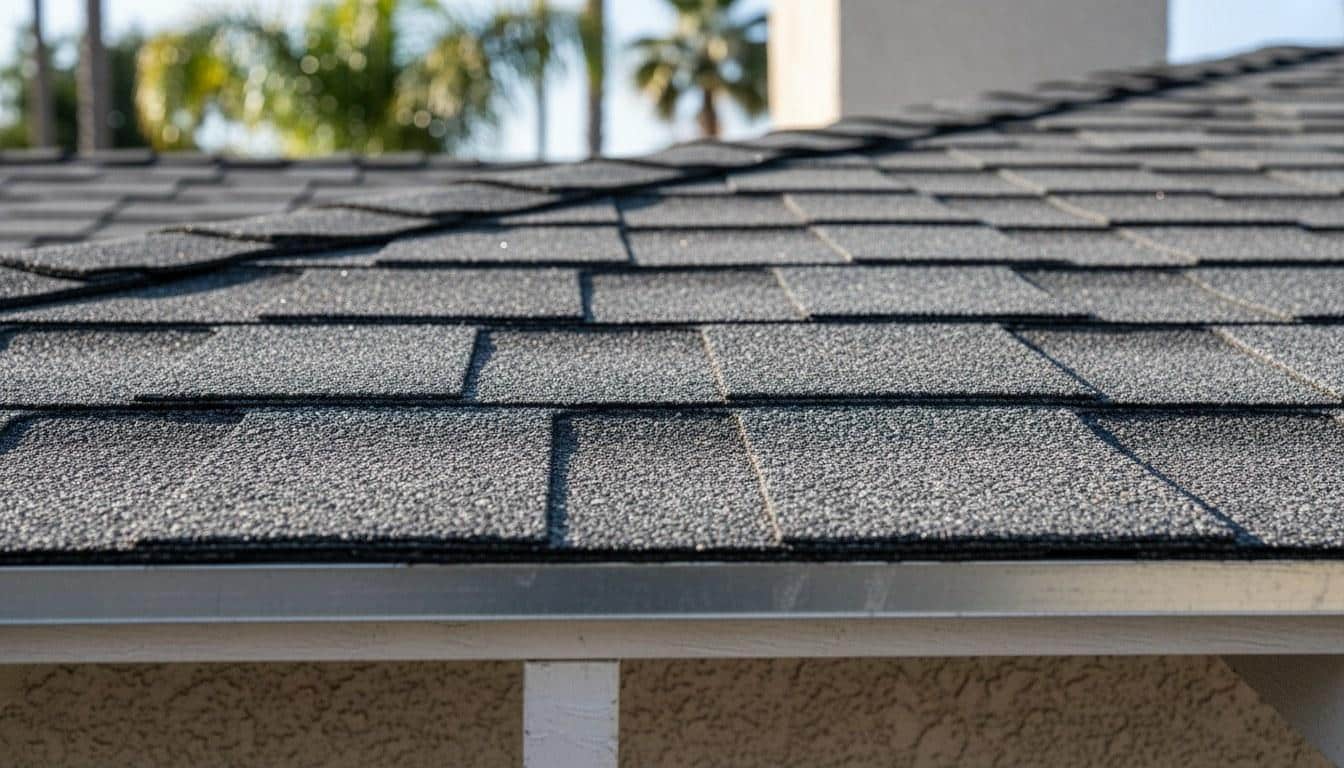
Roof flashing is one of the most leak-prone parts of any roof. This guide shows you exactly what to look for when choosing the best roof flashing company for your home.
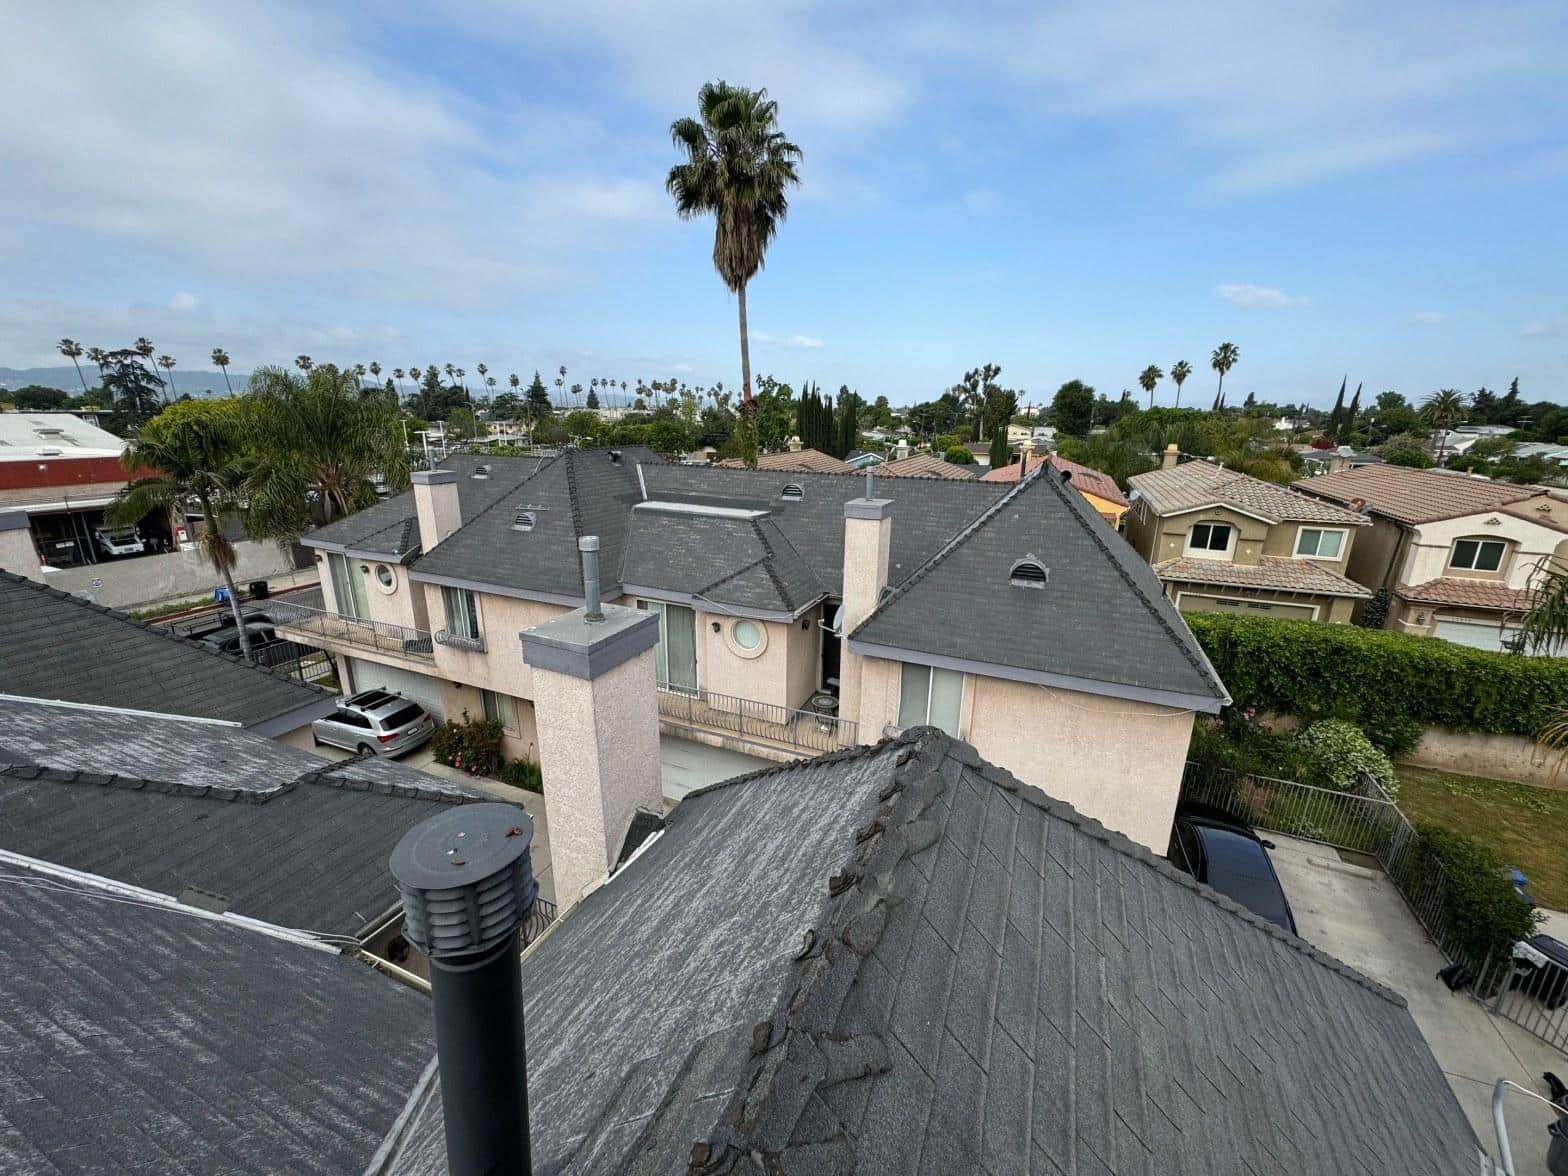
What Is Roof Flashing and Why Does It Matter So Much?
Roof flashing is thin metal sheeting installed at every point where your roof meets a wall, chimney, vent, skylight, or valley. It creates a watertight seal that diverts water away from vulnerable joints. Without it, even a small rainstorm can push water into your attic, walls, and ceiling.
Flashing failures account for a large share of residential roof leaks. According to the U.S. Department of Energy, gaps and breaches at roof penetrations are among the most common sources of moisture intrusion in homes. In Southern California, where winter rains can be intense after long dry spells, a compromised flashing joint can cause thousands of dollars in water damage in a single storm.
Flashing failures account for a large share of residential roof leaks, and a compromised joint can cause thousands of dollars in water damage in a single storm.
Metal flashing is typically made from aluminum, galvanized steel, lead, copper, or rubber-modified materials. Each type has a specific application, lifespan, and price point. Knowing the difference helps you evaluate whether a contractor is recommending the right product for your roof.
What Types of Roof Flashing Should You Know About?
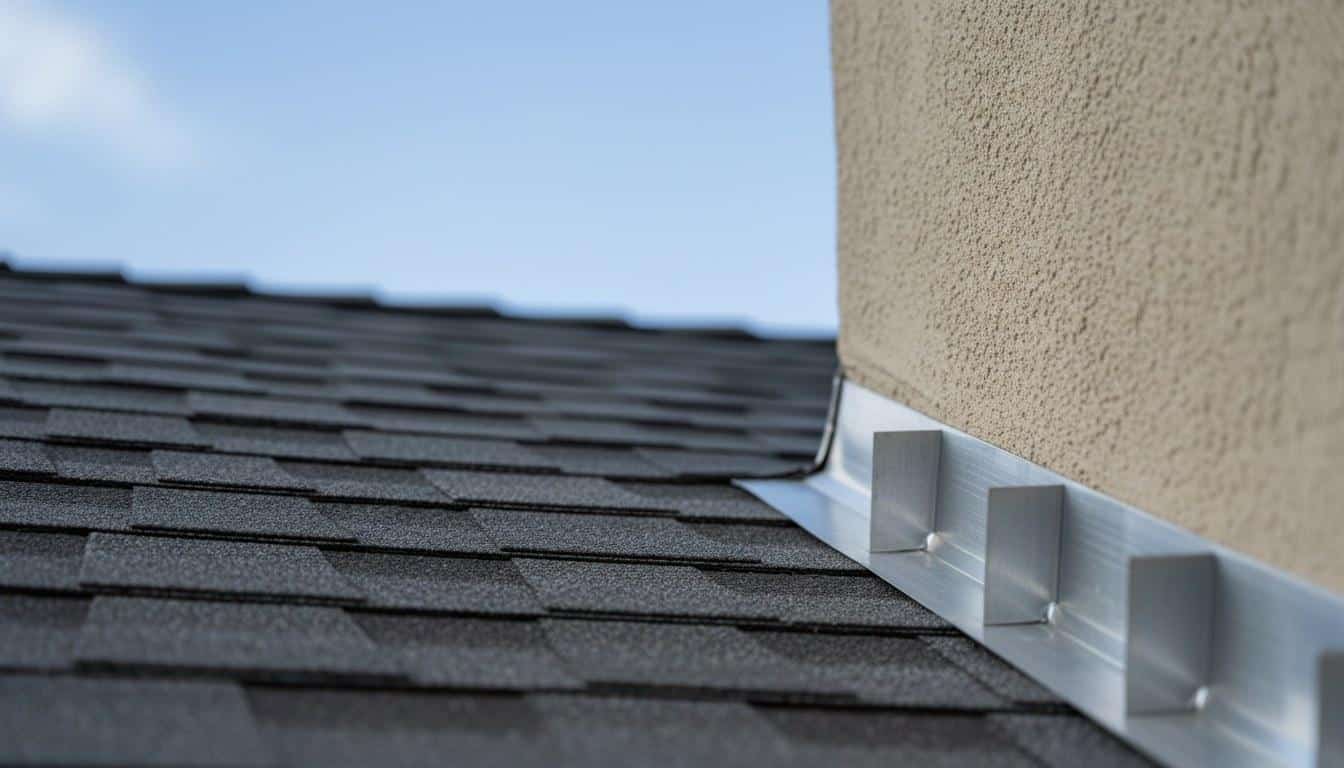
There are six main types of roof flashing, and each one serves a different part of the roof system. Using the wrong type, or skipping one entirely, is a reliable path to a leak.
- Step flashing: L-shaped metal pieces layered with shingles along a sidewall or dormer. This is the most common flashing type on residential roofs and requires precise overlap to work correctly.
- Counter flashing: Installed over step flashing, usually embedded into a mortar joint on a chimney or masonry wall. It shields the top edge of the step flashing from water running down the wall.
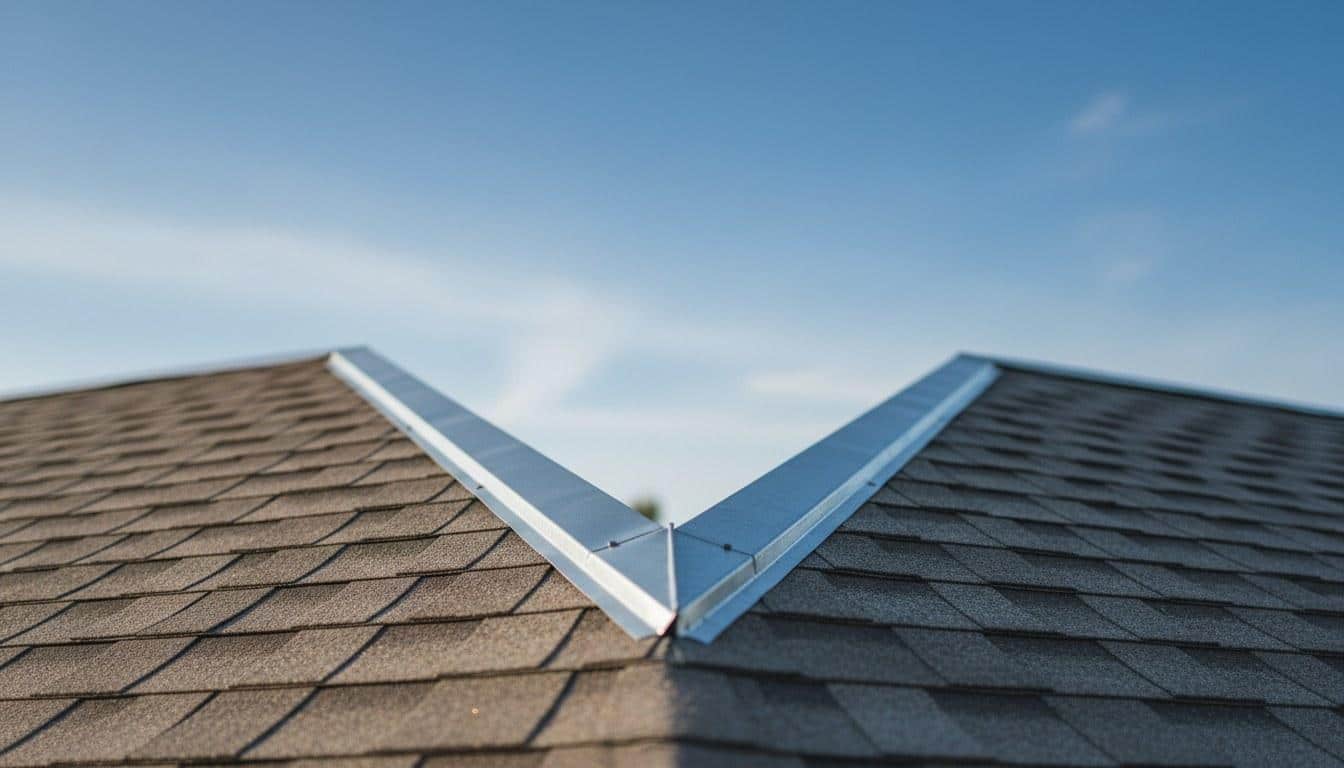
- Valley flashing: Metal or rubberized material laid in the V-shaped channel where two roof planes meet. Open metal valleys handle high water volume better than woven shingle valleys.
- Drip edge flashing: A narrow metal strip along the eaves and rake edges that guides water off the roof deck and into gutters instead of behind the fascia.
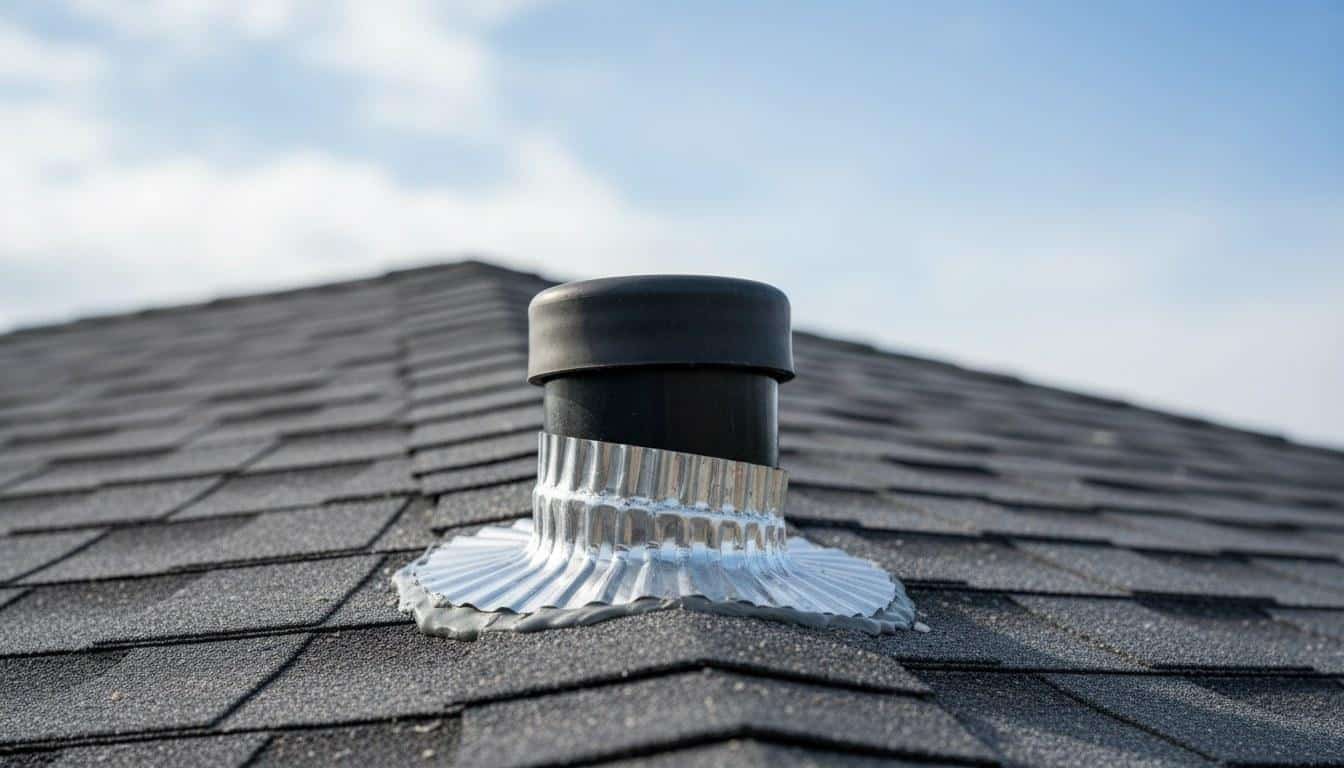
- Pipe boot flashing: A rubber or metal collar that seals around plumbing vents, HVAC flues, and electrical masts penetrating the roof deck.
- Skylight flashing: A factory-integrated or field-fabricated system around skylight frames. Improper skylight flashing is one of the top sources of interior ceiling stains.
| Flashing Type | Location on Roof | Common Material | Typical Lifespan | DIY or Pro? |
|---|---|---|---|---|
| Step flashing | Sidewalls, dormers | Galvanized steel, aluminum | 20-30 years | Pro recommended |
| Counter flashing | Chimney, masonry walls | Lead, copper, aluminum | 25-40 years | Pro only |
| Valley flashing | Roof valleys | Galvanized steel, aluminum | 20-30 years | Pro recommended |
| Drip edge | Eaves and rake edges | Aluminum, galvanized steel | 20-25 years | Intermediate DIY |
| Pipe boot | Plumbing/HVAC penetrations | Rubber, lead, aluminum | 10-20 years (rubber) | Intermediate DIY |
| Skylight flashing | Skylight perimeter | Aluminum, integrated kits | 15-25 years | Pro only |
Rubber pipe boots are the shortest-lived flashing component on most roofs. Our crews replace them regularly on homes across Los Angeles County; we see UV degradation crack the rubber collar in as few as 10 years on south-facing roof planes that get direct sun most of the day.
What Does Roof Flashing Repair or Replacement Cost in California?
Flashing work in the California market typically ranges from around $200 for a single pipe boot replacement to $1,500 or more for a full chimney re-flashing with counter and step flashing. A complete valley re-flash on a mid-size home generally runs $400 to $900, depending on the length of the valley and the material specified.
Several factors move the price up or down:
- Material choice: Copper flashing costs roughly 3 to 4 times more than galvanized steel but can last 50 years or longer. Aluminum is mid-range in both cost and longevity.
- Roof pitch: Steeper roofs require more time and safety equipment, which raises labor costs.
- Access complexity: Chimneys with deteriorated mortar joints need tuckpointing before counter flashing can be set, adding to the total scope.
- Number of penetrations: A roof with 6 plumbing vents, 2 skylights, and a chimney costs significantly more to re-flash than a simple gable roof with one vent stack.
- Existing damage: If water has already reached the roof deck or sheathing, decking repairs add cost before any flashing work begins.
California’s Title 24 building energy standards require that roof penetrations be properly sealed during re-roofing projects, which means flashing is not optional when permits are pulled. Always request a written, itemized quote before work begins so you can compare scope and materials across contractors.
What Should You Look for When Choosing the Best Roof Flashing Company?
The best roof flashing company combines a valid California contractor license, documented flashing-specific experience, and a written warranty covering both materials and labor. General roofing credentials alone are not enough, flashing is a specialized skill that many roofers underestimate.
Licensing and Insurance
Any contractor working on your roof in California must hold a valid license issued by the California Contractors State License Board (CSLB). You can verify a license number on the CSLB website in about 60 seconds. A roofing contractor should carry at minimum a C-39 Roofing classification. Also confirm they carry general liability insurance and workers’ compensation, without it, you may be liable for injuries on your property.
Flashing-Specific Experience
Ask the contractor how many flashing-only jobs they complete per year, not just full re-roofs. A company that handles roof repair in Los Angeles regularly will have seen every flashing configuration common to the region’s mix of Spanish tile, flat TPO, and composition shingle roofs. Ask for photos of completed flashing work, not just full re-roofing projects.
Written Scope and Warranty
A reputable contractor provides a written scope of work that names the flashing material (gauge, type, and manufacturer), the method of attachment, and the sealant used. Workmanship warranties on flashing typically run 2 to 5 years from a quality contractor. Material warranties vary by product but should be disclosed before you sign anything.
References and Reviews
Ask for at least 3 references from flashing or leak-repair jobs completed in the past 12 months. Online reviews are useful, but direct references let you ask specific questions: Did the leak stop? Did the contractor return promptly if there was a follow-up issue? Were the gutters and landscaping protected during the job?
Comparison Checklist
- CSLB license verified and current
- General liability and workers’ comp insurance on file
- C-39 Roofing classification (or C-43 Sheet Metal for metal flashing specialists)
- Written itemized quote with material specs
- Workmanship warranty of at least 2 years
- References from flashing-specific jobs
- No demand for full payment upfront (California law caps deposits at 10% or $1,000, whichever is less, for home improvement contracts)
What Mistakes Do Homeowners Make When Hiring a Flashing Contractor?
The single most common mistake is hiring a general handyman or unlicensed roofer to save money, only to face a repeat leak within one to two rainy seasons. Flashing installation looks simple but requires precise overlap dimensions, correct fastener placement, and compatible sealants, details that matter enormously over time.
- Accepting caulk-only repairs: Some contractors apply roofing caulk over failed flashing instead of replacing it. Caulk degrades in 3 to 5 years under UV exposure and is not a permanent fix.
- Skipping a permit when required: Re-roofing projects in California that include flashing replacement often require a building permit. Unpermitted work can create problems when you sell the home.
- Choosing price over scope: A bid that is 40% lower than others usually means something is being left out, often the underlayment or the counter flashing that goes with step flashing.
- Not confirming material gauge: Thin-gauge aluminum (26 gauge or thinner) dents easily and corrodes faster than 24-gauge or heavier stock. Always ask what gauge is being used.
- Ignoring the drip edge: Many homeowners focus on chimney and skylight flashing while forgetting that missing or improperly lapped drip edge is responsible for fascia rot and soffit damage on thousands of California homes each year.
- Paying 100% upfront: Under California Business and Professions Code Section 7159, a contractor cannot legally require full payment before work is complete. A demand for full payment upfront is a red flag.
How Is Professional Roof Flashing Actually Installed?
Professional flashing installation follows a specific sequence that integrates the metal with both the roofing material and the waterproofing underlayment beneath it. Skipping any step in this sequence creates a path for water to travel behind the flashing rather than over it.
- Remove existing flashing and damaged shingles: Old flashing is carefully removed so the roof deck and underlayment can be inspected. Any soft or rotted decking is replaced before new material goes down.
- Install or repair underlayment: Ice-and-water shield or self-adhering modified bitumen membrane is applied at all vulnerable transition zones. California’s Title 24 standards specify underlayment requirements for re-roofing work.
- Set base flashing: For step flashing, individual L-shaped pieces are woven in with each course of shingles so water cannot travel sideways behind the metal. Each piece overlaps the one below it by at least 2 inches.
- Install counter flashing or cap flashing: At chimneys and masonry walls, a second layer of flashing is embedded into a reglet cut into the mortar joint or set under a cap, then sealed with a compatible elastomeric sealant.
- Flash all penetrations: Pipe boots are slid over vent stacks and nailed at the base. Skylight flashing kits are installed per manufacturer instructions, which vary by brand and roof pitch.
- Install drip edge: Along eaves, drip edge goes under the underlayment. Along rake edges, it goes over. Reversing this order is one of the most common installation errors on DIY and low-quality contractor jobs.
- Final inspection and water test: A quality contractor walks the entire roof after installation and, where feasible, performs a controlled water test at critical joints before leaving the job site.
On our service calls across the Los Angeles area, we find that roughly 6 out of 10 leak callbacks on recently re-roofed homes trace back to step flashing that was nailed through the face rather than the flange, a shortcut that splits the metal and voids the seal within 2 to 3 wet seasons.
Roughly 6 out of 10 leak callbacks on recently re-roofed homes trace back to step flashing that was nailed through the face rather than the flange, a shortcut that voids the seal within 2 to 3 wet seasons.
Get Expert Roof Flashing Help from Roof Repair & Construction Inc.
Finding the best roof flashing company means verifying a valid CSLB license, confirming material specs in writing, and choosing a contractor with documented experience on the specific flashing type your roof needs. Do not settle for a caulk patch when the underlying metal needs replacement.
Roof Repair & Construction Inc. handles flashing repair, full re-flashing, and roof repair in Southern California and throughout Southern California. Whether you have a leaking chimney, a failed pipe boot, or suspect your valley flashing is the source of a ceiling stain, the team can diagnose the exact failure point and provide a written, itemized repair plan.
Call (323) 474-1088 to schedule a roof inspection or request a custom flashing quote. Same-day and next-day appointments are available for active leaks. Get a written scope before any work begins so you know exactly what materials are going on your roof and what warranty covers the work.
Frequently Asked Questions
How do I know if my roof flashing needs to be replaced or just repaired?
If the metal is bent, cracked, rusted through, or pulling away from the wall or chimney, replacement is usually the right call. A caulk patch over damaged flashing typically lasts only 3 to 5 years before the leak returns. A licensed roofing contractor can tell you during an inspection whether the existing metal can be re-sealed or needs to come off entirely.
How do you apply roof flashing around a chimney?
Chimney flashing involves two layers: step flashing woven into the shingles along the sides, and counter flashing embedded into the mortar joints above it. The counter flashing overlaps the step flashing by at least 3 inches and is sealed with an elastomeric sealant rated for exterior masonry. This two-layer system allows the chimney and the roof deck to move independently without breaking the seal.
How long does roof flashing last before it needs to be replaced?
Lifespan depends on the material. Copper flashing can last 50 years or longer. Galvanized steel typically lasts 20 to 30 years. Rubber pipe boots are the shortest-lived component, often degrading in 10 to 15 years on sun-exposed roofs. If your roof is approaching 20 years old and has never had flashing work done, a professional inspection is a smart step.
How do I put flashing on a roof myself, is it something a homeowner can do?
Drip edge and pipe boot replacement are the most accessible flashing tasks for a confident DIYer with basic carpentry skills. Step flashing, counter flashing, and skylight flashing require precise sequencing with the underlayment and shingles, mistakes are hard to spot and easy to make. For any flashing work near a chimney, masonry wall, or skylight, hiring a licensed contractor is strongly recommended to avoid a repeat leak.
What is the difference between flashing and caulking on a roof?
Flashing is a physical metal or rubber barrier that mechanically diverts water away from a joint. Caulk is a sealant applied on top of or around flashing to close small gaps. Caulk alone is not a substitute for flashing; it breaks down under UV exposure and thermal cycling, typically within 3 to 7 years. Proper roofing uses both: the metal does the structural work, and the sealant closes the edges.