
What Was the Condition of the Old Roof?
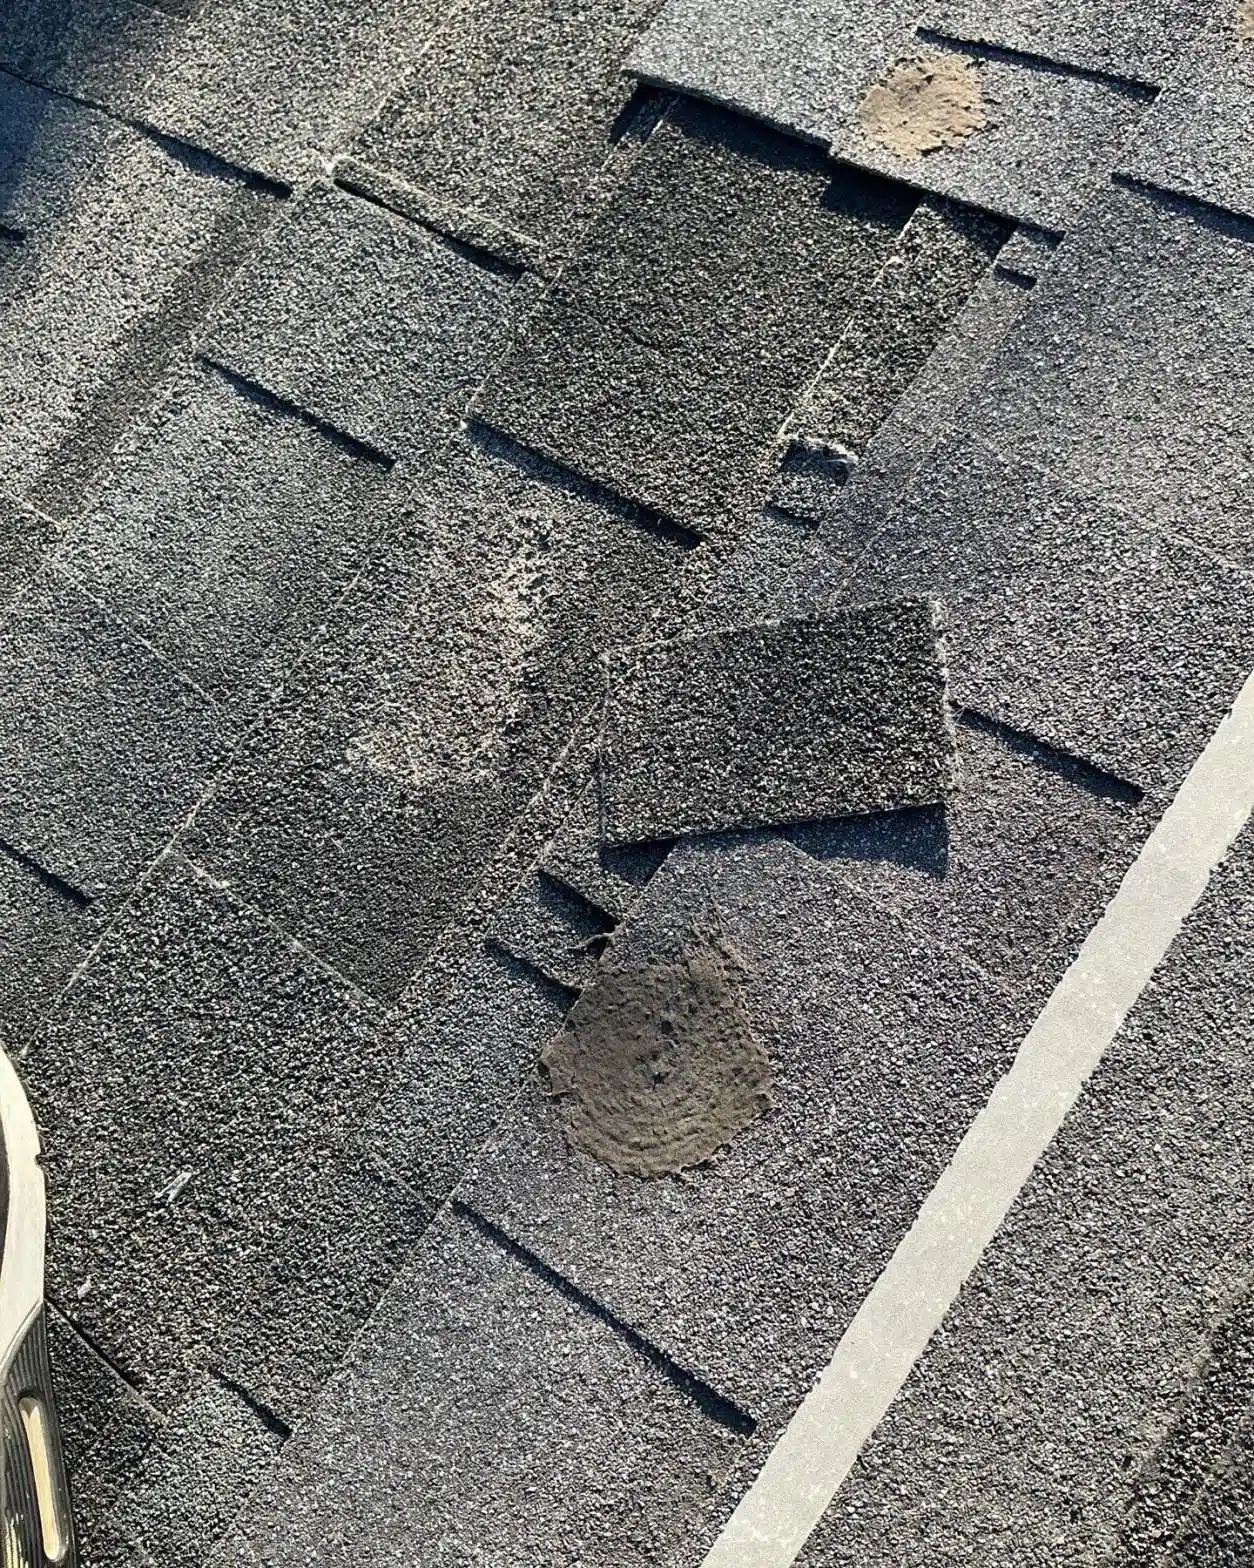
The original architectural shingle roof on this Atwater Village home had reached the end of its useful life. Granule loss was visible across the entire field, the ridge and hip caps had failed and been patched multiple times, and at least one area showed shingles that had lifted and torn completely open, exposing the layer beneath.
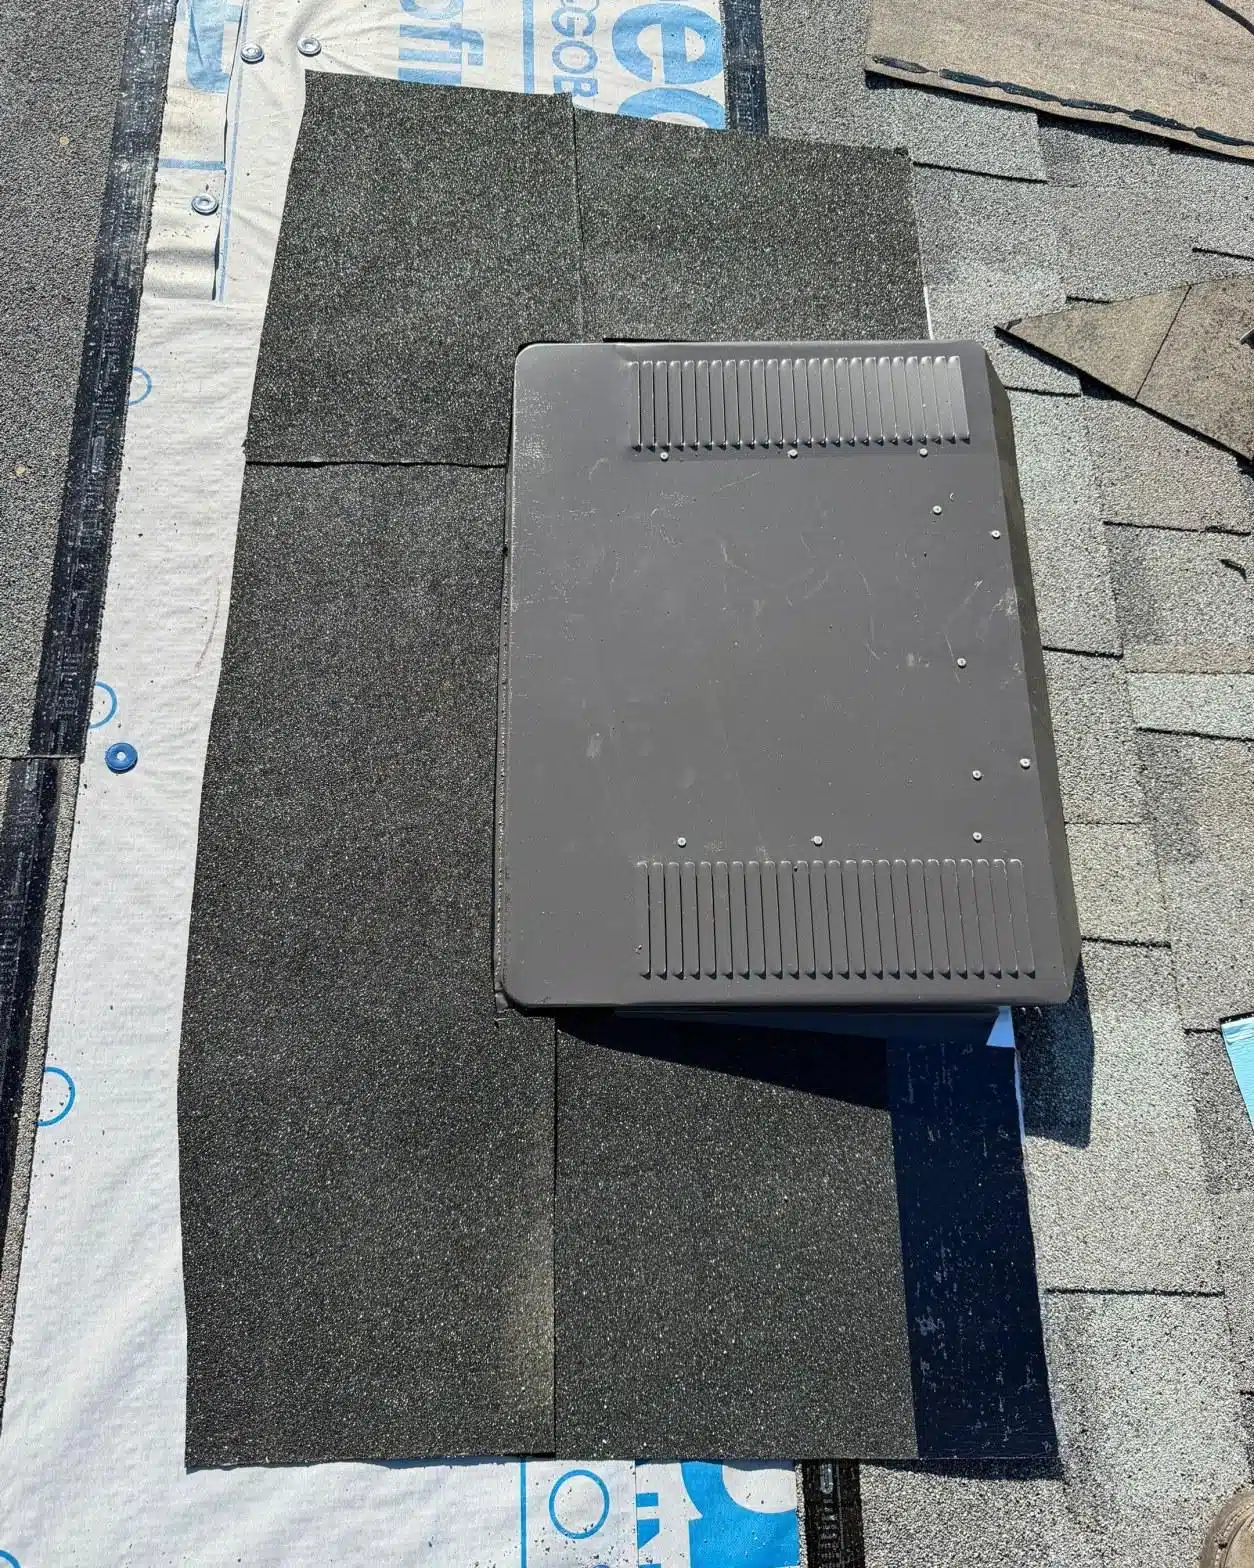
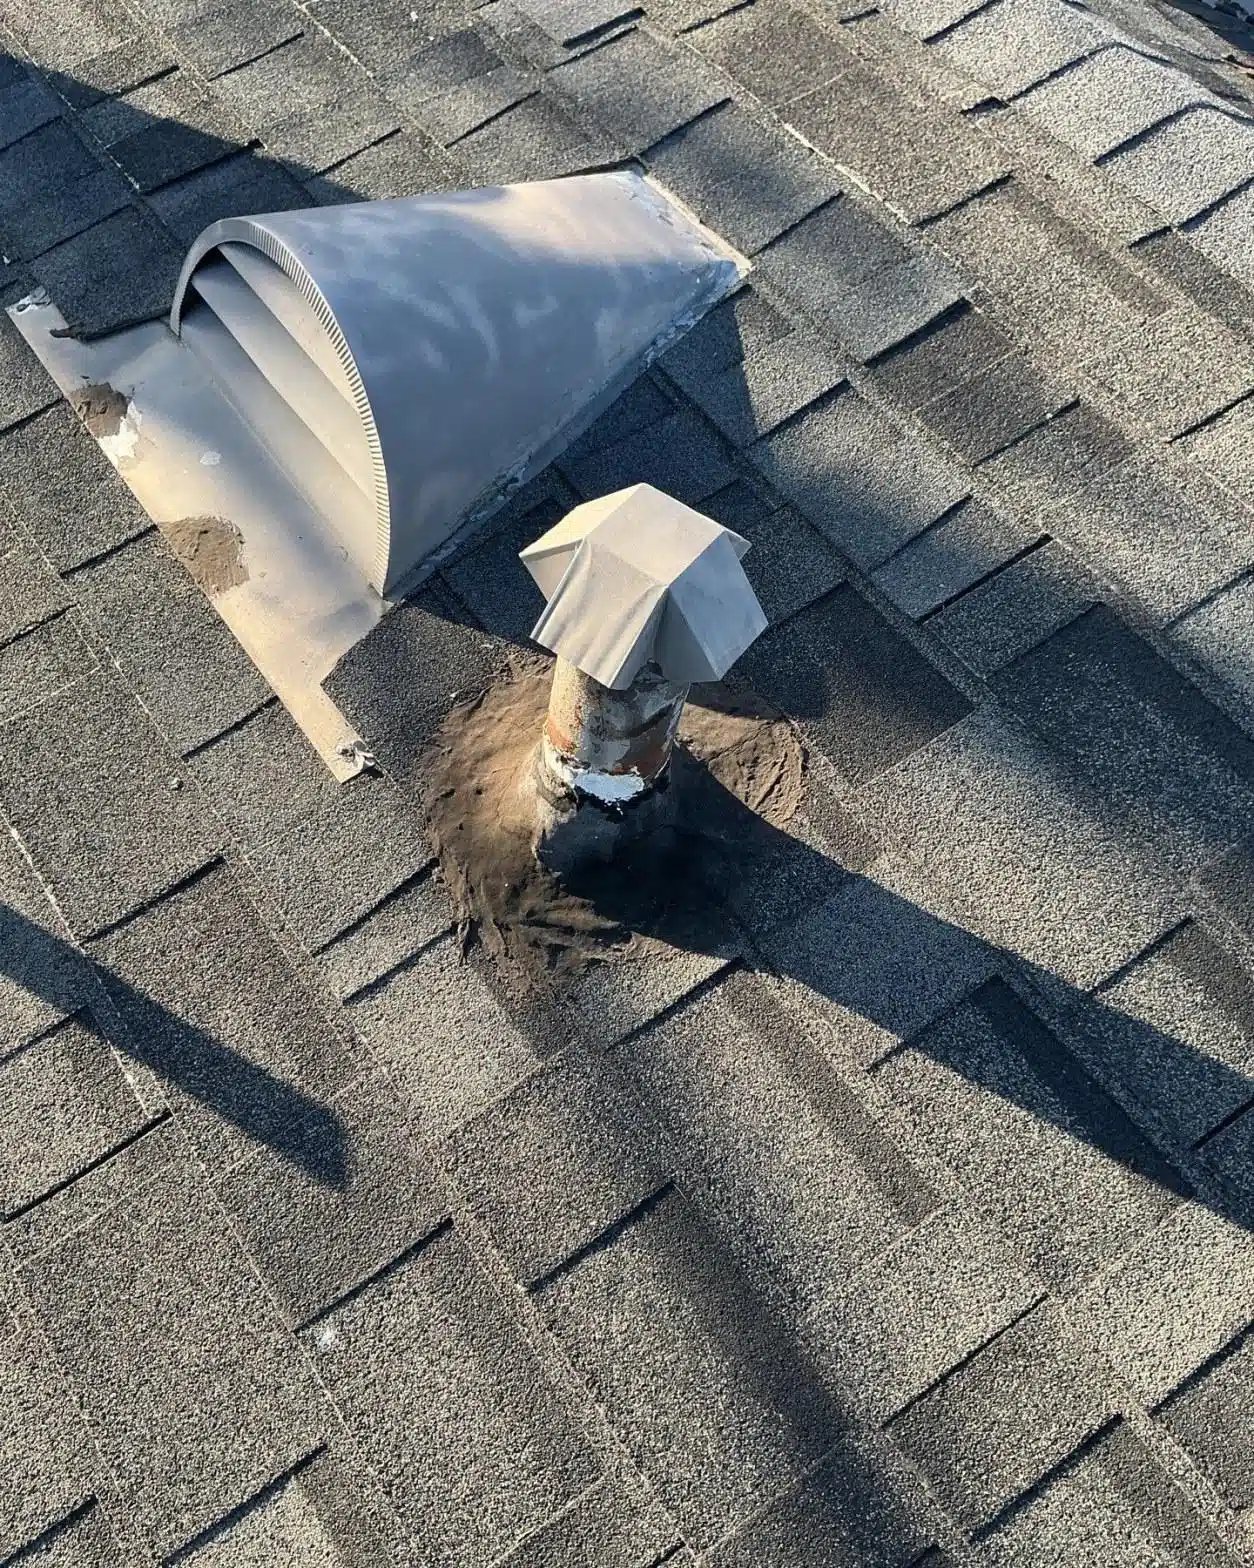
The inspection, carried out on January 30, 2026, turned up several compounding problems. A plumbing vent boot had deteriorated to the point that debris had packed in around the pipe and the collar was no longer sealed. Near the rear edge of the roof, a low-slope section had been patched at some earlier point with a smooth-surface rolled membrane. By the time we inspected it, that membrane had peeled back from the edge entirely, leaving bare board decking exposed to the weather. A loose, rolled-up piece of that same membrane was still sitting on the slope, a sign that prior repairs had been attempted and had failed rather than permanently fixed.
The cumulative effect of years of Southern California sun, dry Santa Ana wind cycles, and seasonal rain had pushed the roof past the point where repairs made financial sense. A full tear-off and replacement was the right call.
Atwater Village sits in the Los Angeles basin, where summer surface temperatures on a dark shingle roof can climb well above 150°F on exposed slopes. That thermal cycling, expanding and contracting day after day across decades, is one of the primary forces that breaks down the bond between granules and the asphalt mat, and it accelerates the cracking and curling that eventually lets water in. The torn-open shingles visible on this roof were a direct result of that process, compounded by wind lift at an area where the bond strip had long since lost its grip.
What Did We Find Around the Vents and Low-Slope Area?
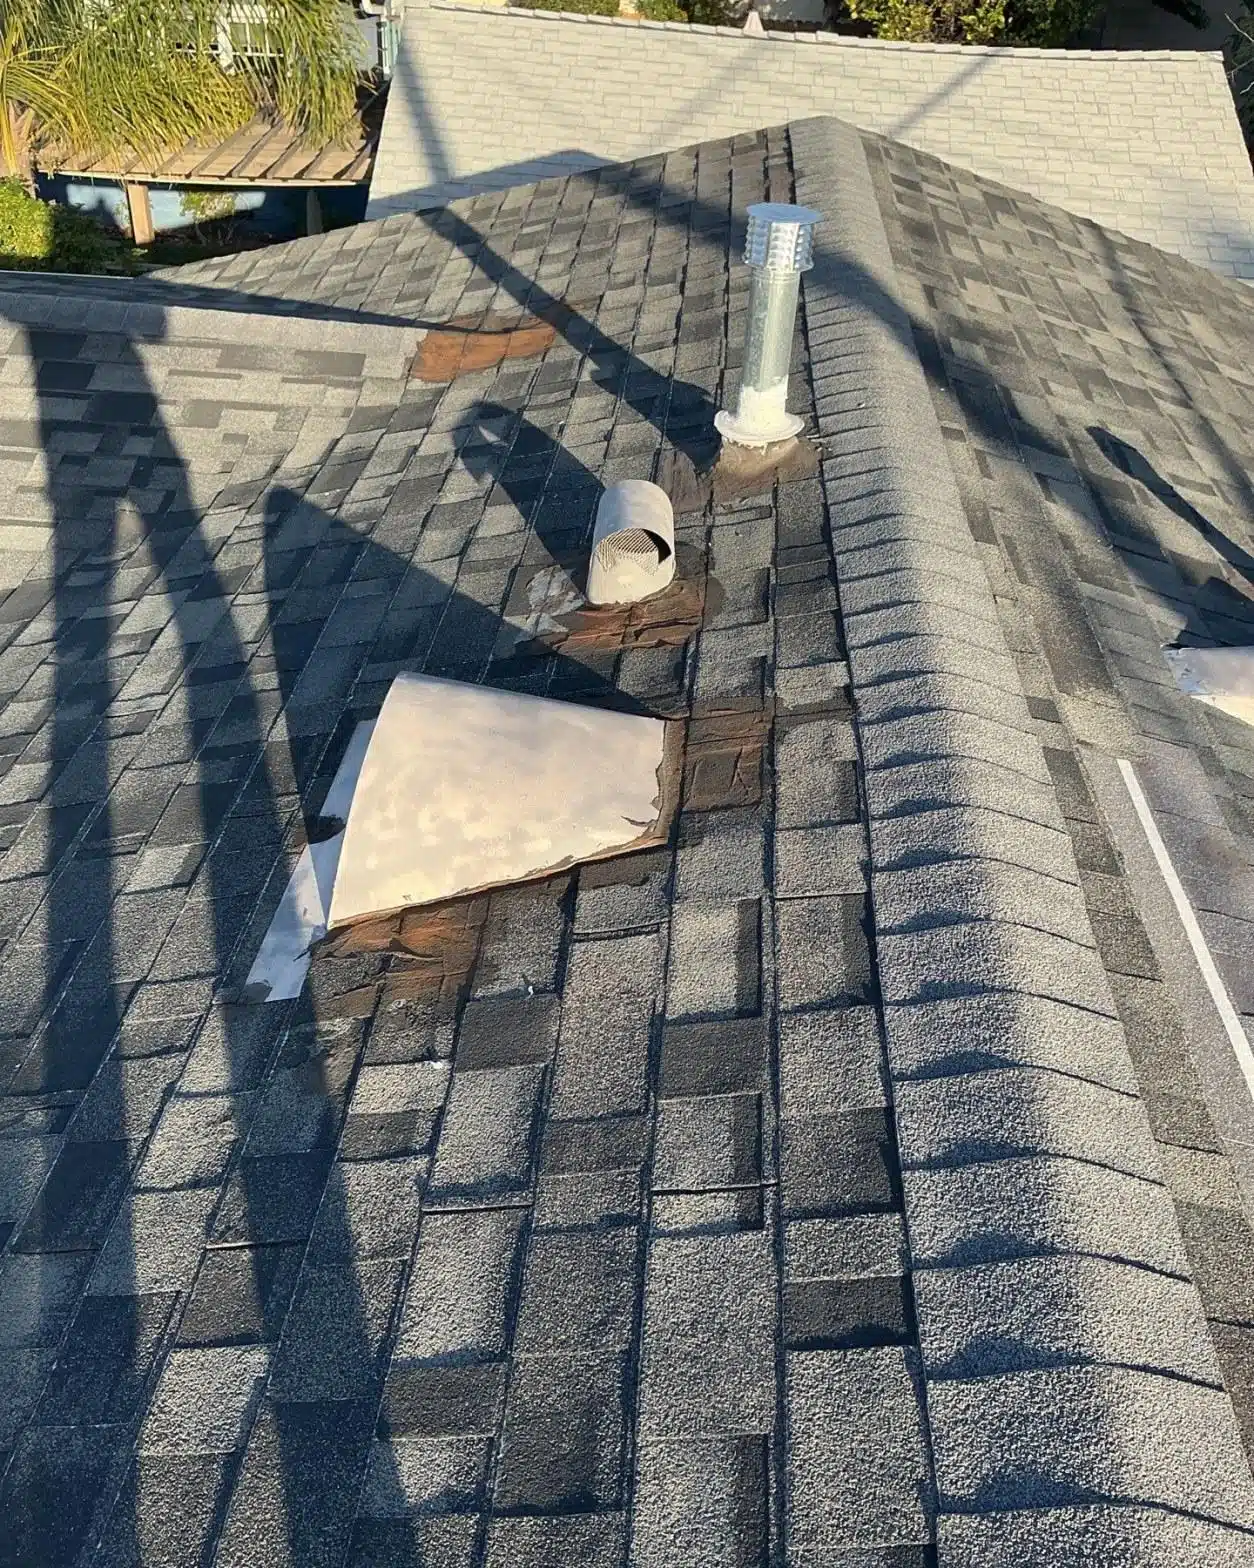
Two pipe vents and a low-slope membrane section near the rear addition were the most urgent leak points on this roof. Both vent boots had failed, and the membrane patch had separated at its upslope edge, creating an open gap where water could travel directly onto the board sheathing below.
Problems like these rarely appear alone. On reroof jobs involving older Los Angeles houses, we often find that a failed vent boot and a failed membrane edge show up together because they share the same root cause: the original materials have simply aged out at roughly the same time. The vent boot visible in the inspection photos had cracked away from the pipe, and roofing cement applied during a prior repair had turned brittle and was no longer bridging the gap.
The low-slope membrane section was particularly telling. Rather than a proper built-up or modified bitumen system integrated with the shingle field, the rear addition had been patched with a surface-applied rolled membrane that was never mechanically fastened or properly lapped under the field shingles above it. When membranes like this are exposed to UV and thermal movement without adequate adhesion or flashing at the transition, they peel from the bottom edge first. By January 2026, the peeling had progressed far enough that bare board decking was visible at the upslope lap, creating a direct water path into the attic space above the rear addition.
Because the entire roof was being torn off, all of these penetrations and transitions could be addressed properly: new pipe flashing collars set into the new shingle field, new drip edge at every eave and rake, and no reused flashing of any kind carried over from the old system.
Tear-Off: What Was Under the Old Shingles?
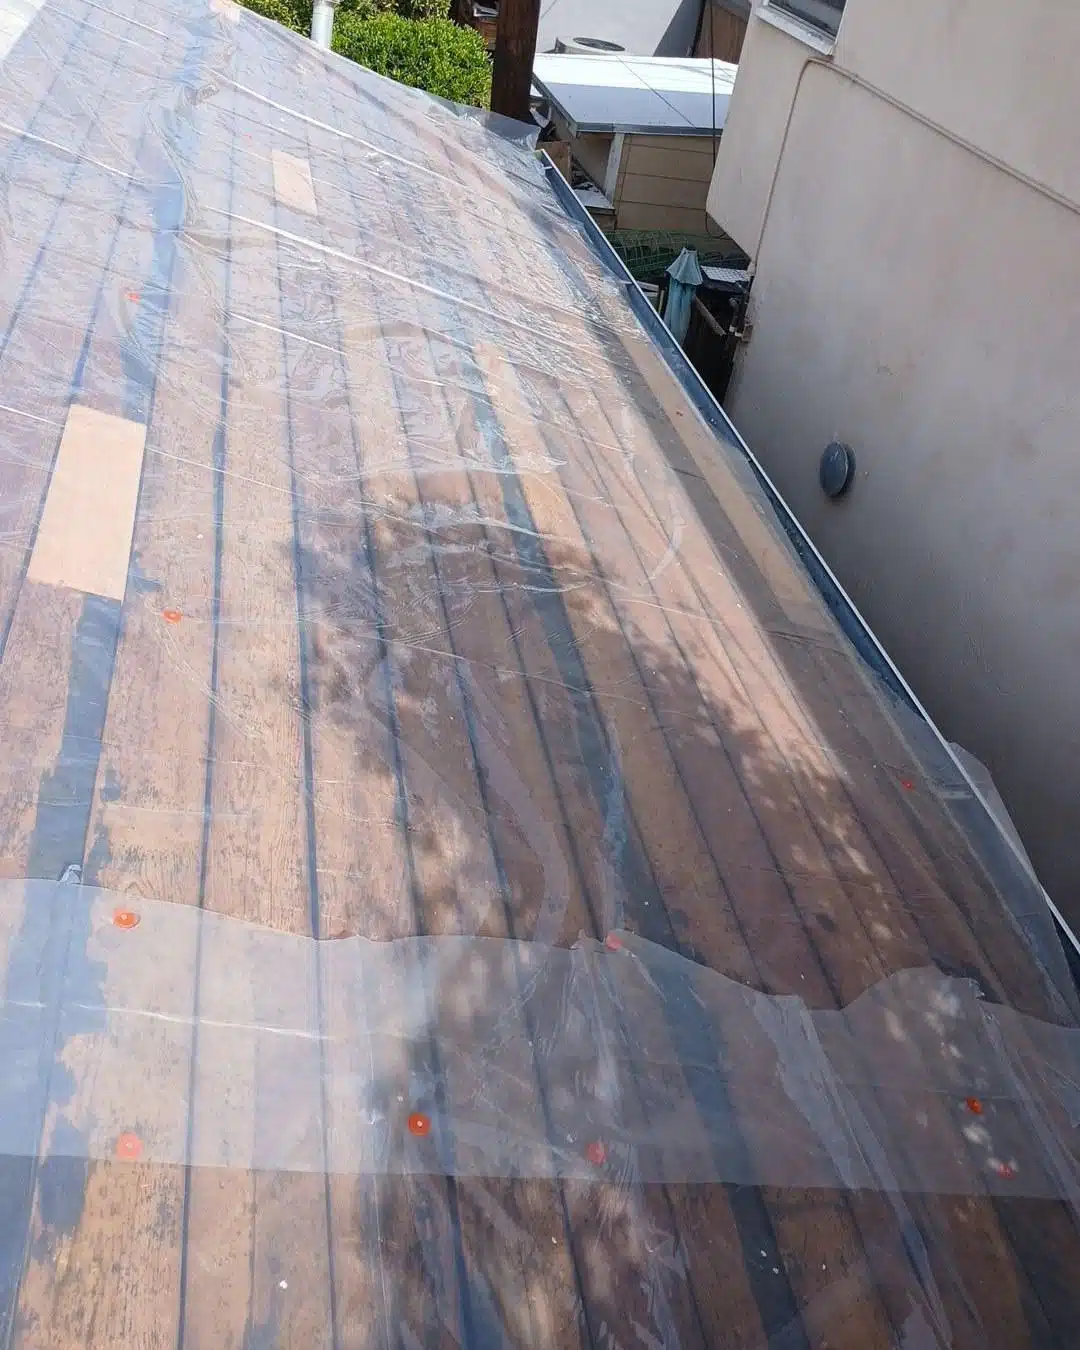
Stripping the old shingles revealed the original board sheathing beneath, which is typical of older single-story homes in Atwater Village and much of the surrounding eastside Los Angeles neighborhoods. The boards were in serviceable condition and provided a solid nailing surface for the new assembly.
The U.S. Census data for this part of Los Angeles shows substantial housing stock built before 1960, and board sheathing rather than plywood decking is standard on structures of that era. Wide wood boards run horizontally across the rafters with small gaps between them. As long as the boards themselves are sound, they are a fully acceptable substrate for a new shingle installation and do not need to be overlaid with plywood before the underlayment goes down.
After the old shingles and membrane were stripped on the first day of work, the open deck was covered with temporary plastic sheeting held down with cap nails overnight to protect the exposed boards in case of unexpected weather. Work resumed the following morning with underlayment installation. CertainTeed underlayment was rolled out across the full deck, lapped at the seams according to the manufacturer’s pattern, and fastened before any shingles were set. The underlayment acts as a secondary water-shedding layer, so the lapping sequence, running upslope from the eaves, matters as much as the material itself.
New metal drip edge was installed at the eaves before the underlayment and at the rakes over the underlayment, following the sequencing required by current California roofing practice so that water running off the edge of the deck is directed into the gutter rather than behind it.
How Was the New Roof System Installed?
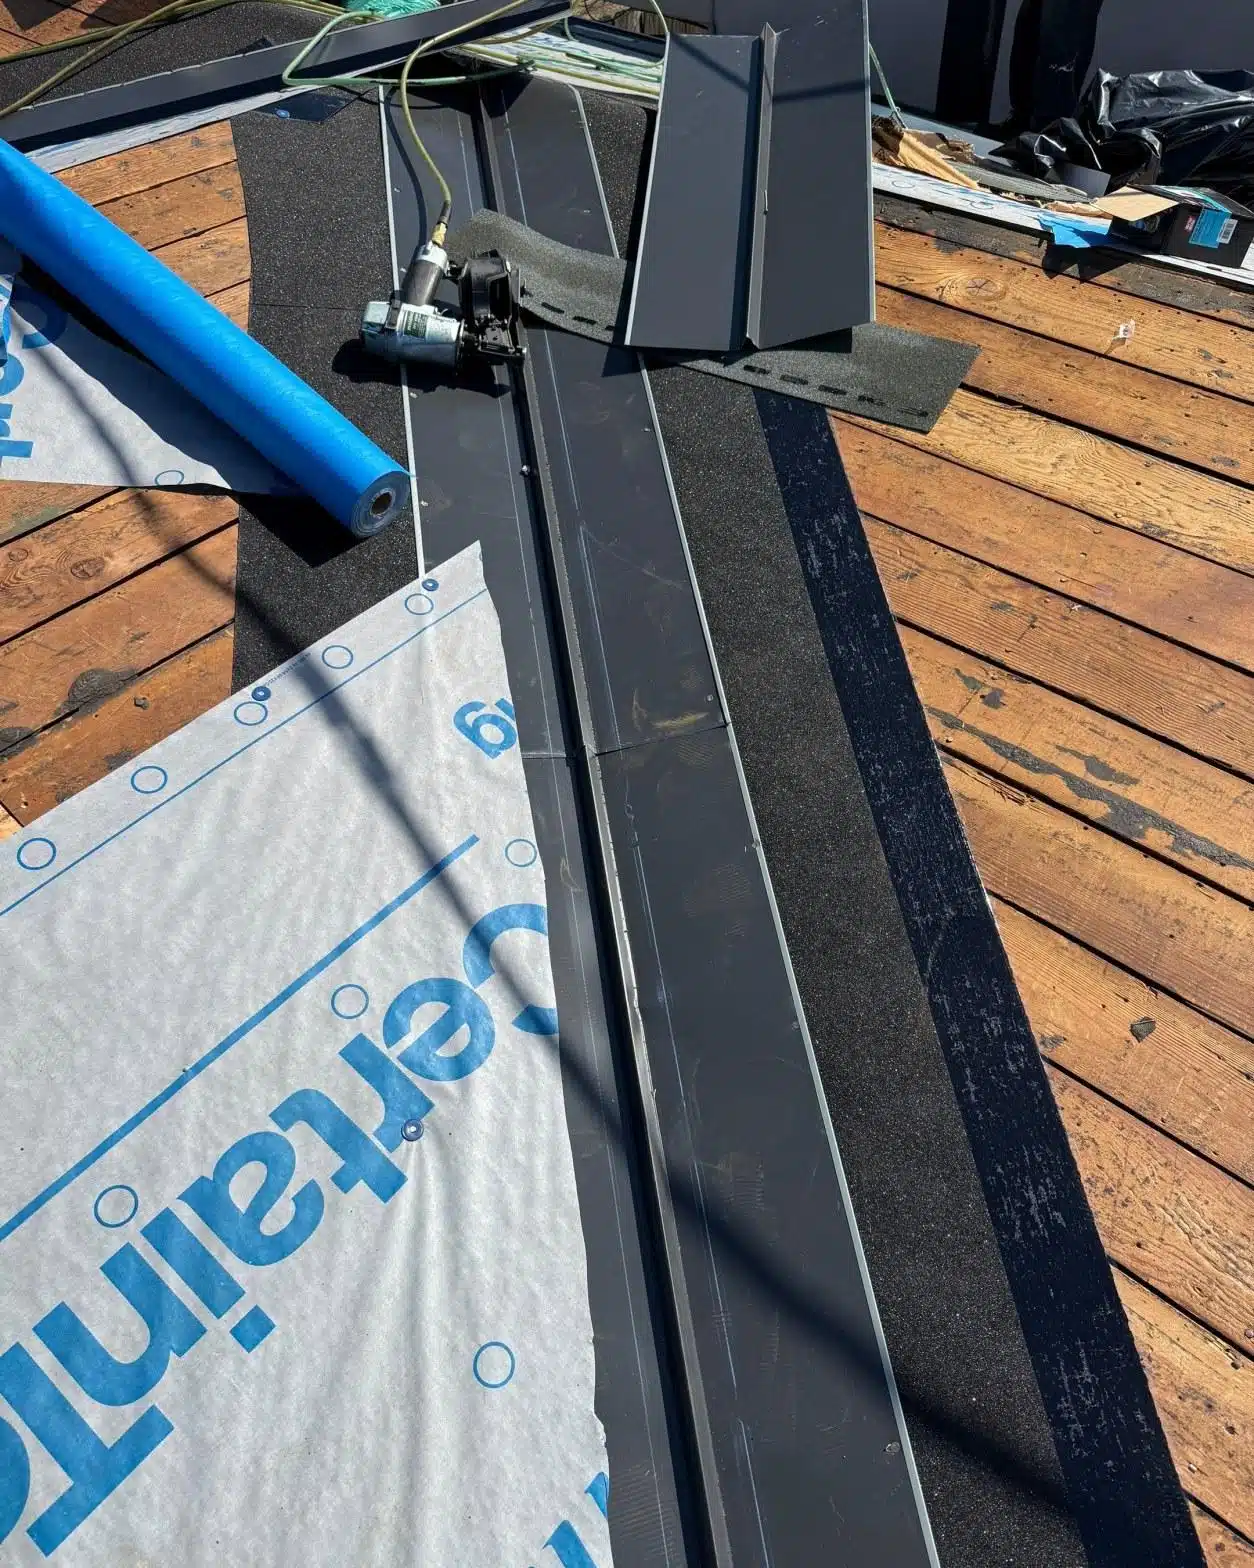
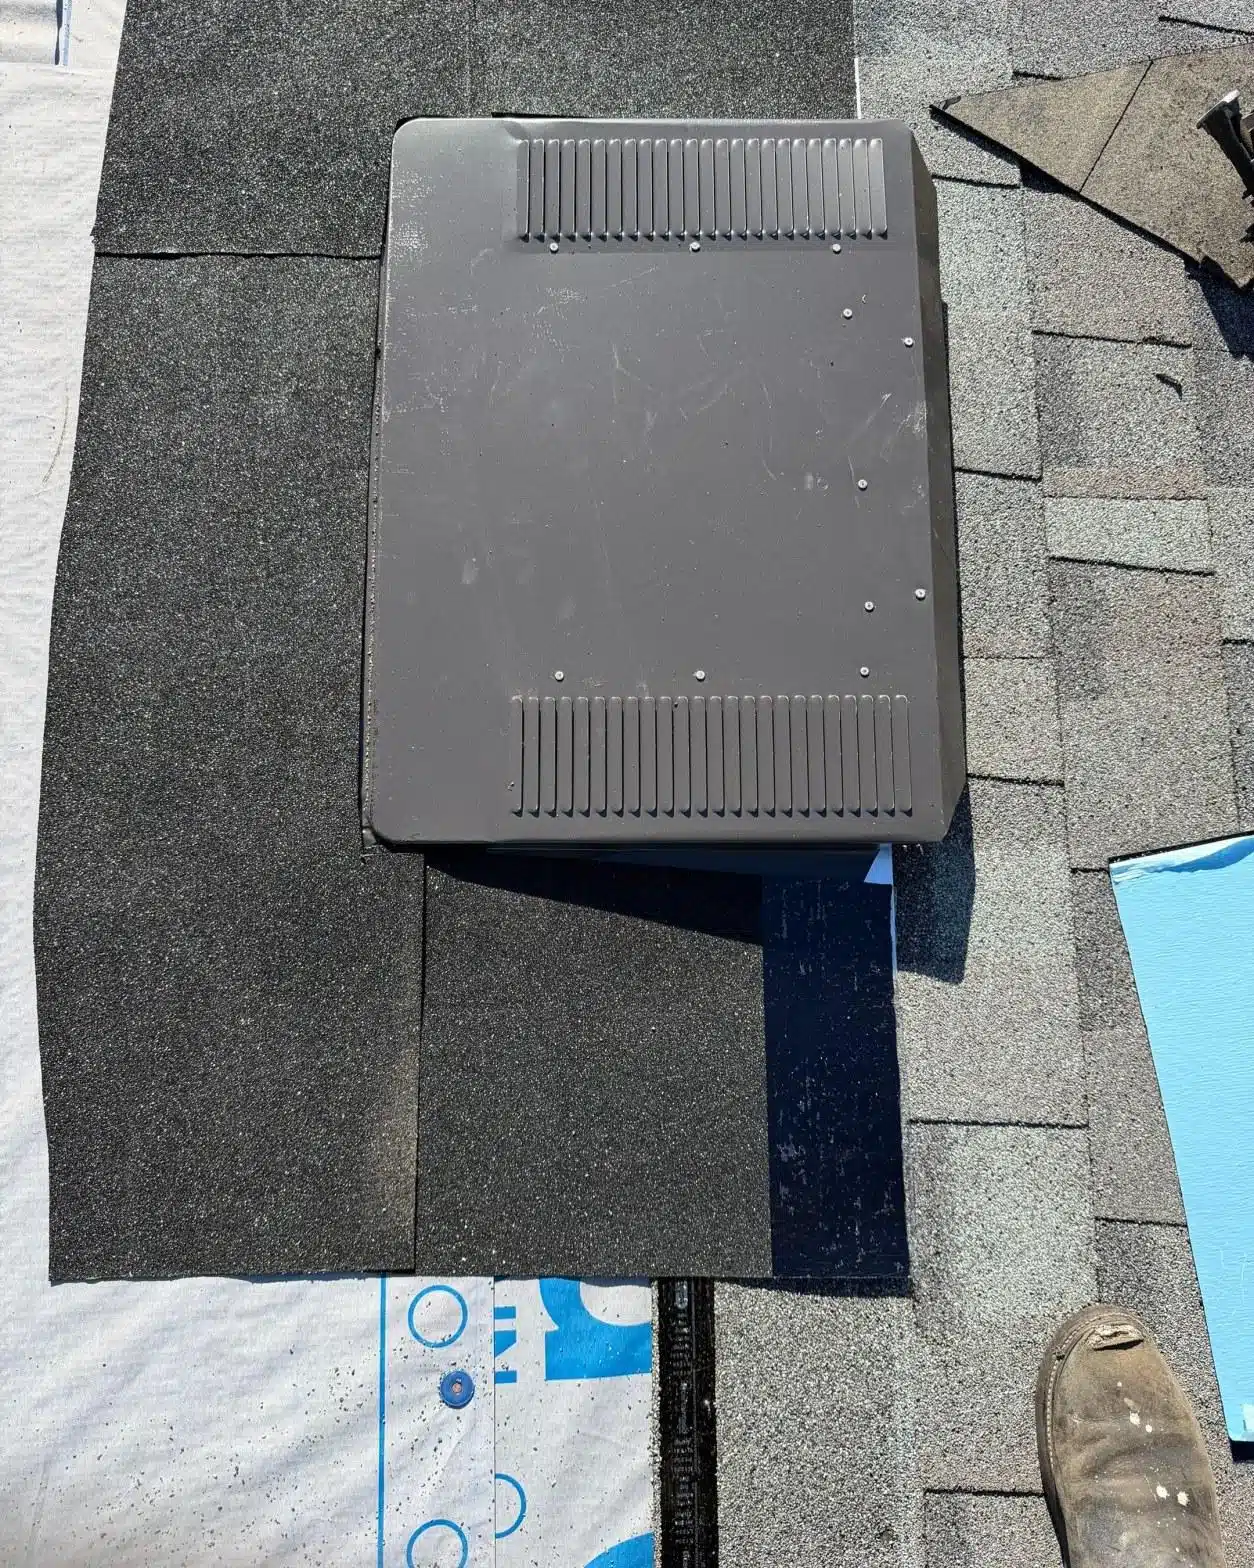
The new assembly went down in sequence: drip edge, underlayment, field shingles, box vents, and finally ridge and hip caps. Every penetration received new flashing, and the box vents were cut into the field before the surrounding shingles were finished, integrating them into the waterproofing layer rather than sitting on top of it.
Metal drip edge installation is one of those details that is easy to shortcut and hard to see once the job is done. Contractors licensed by the California Contractors State License Board (CSLB) are required to follow the California Residential Code, which specifies drip edge placement and nailing for new shingle installations. Installing it correctly at both the eaves and the rakes keeps the fascia and rake boards dry over the life of the roof, which is especially important on a hip-and-gable layout where water sheds in multiple directions depending on which slope it falls on.
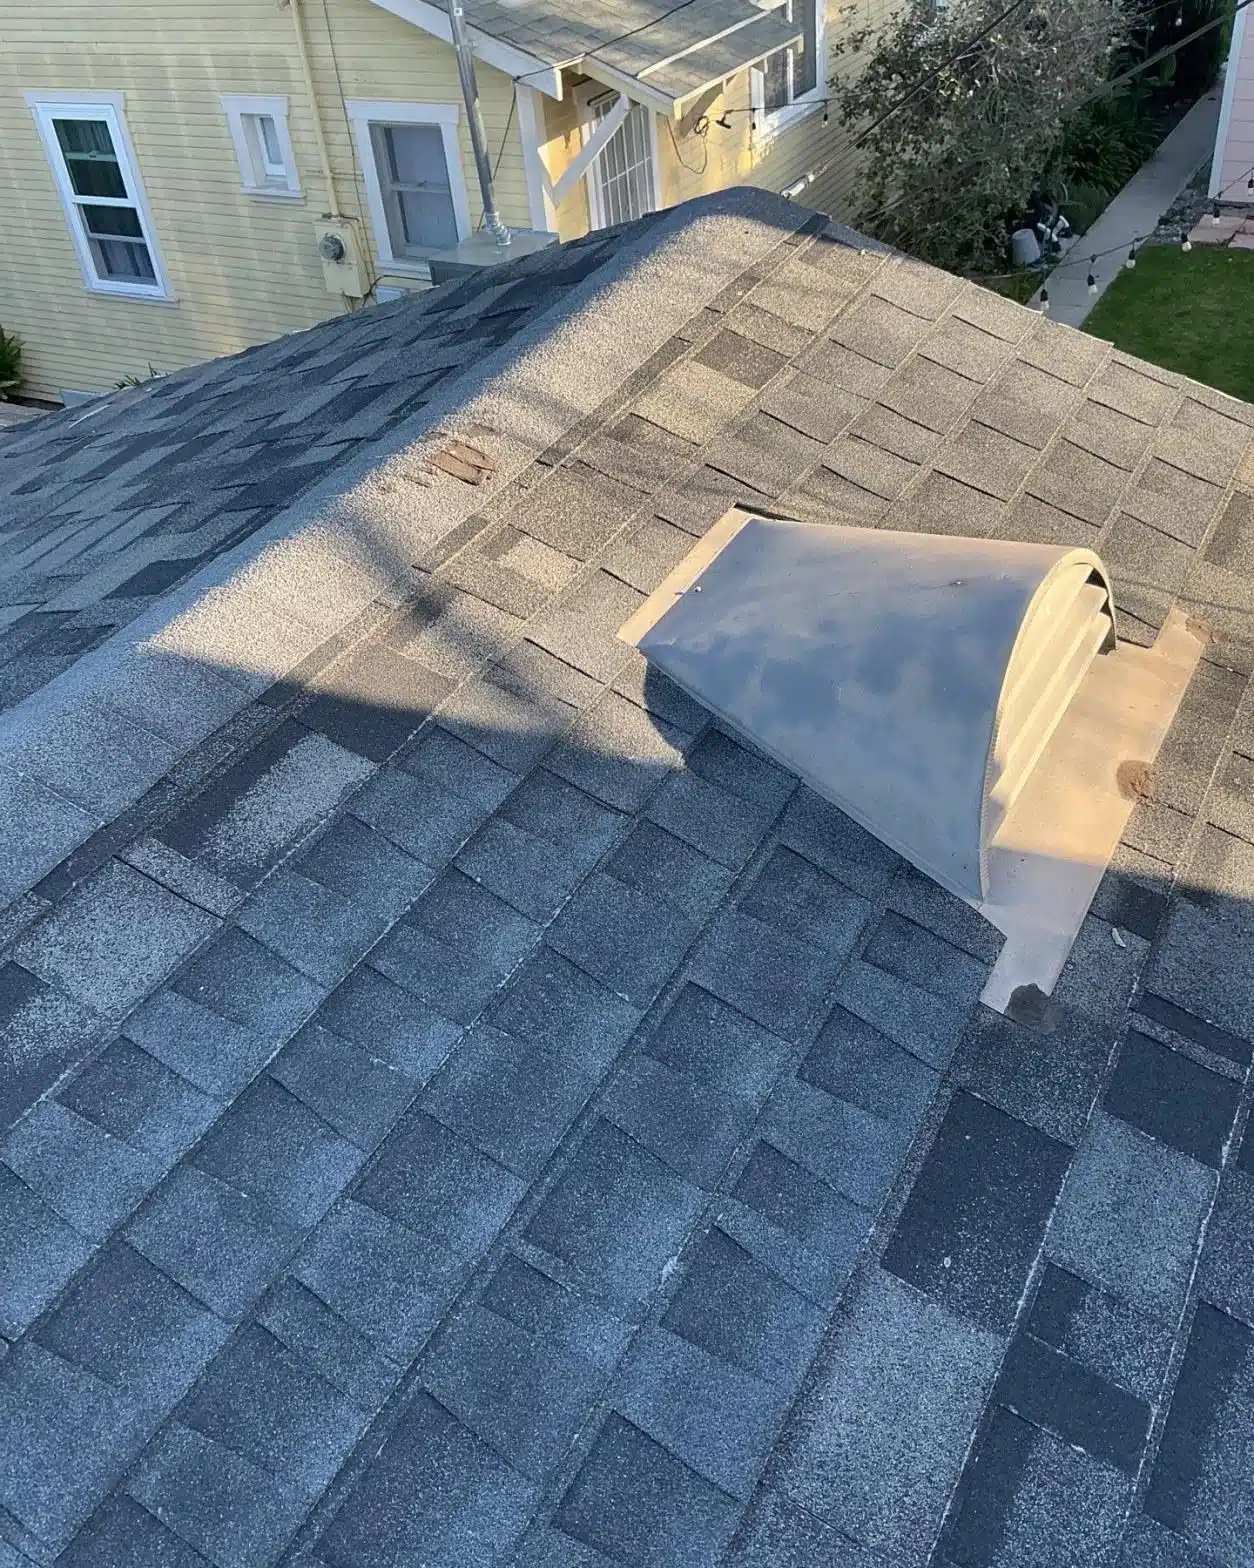
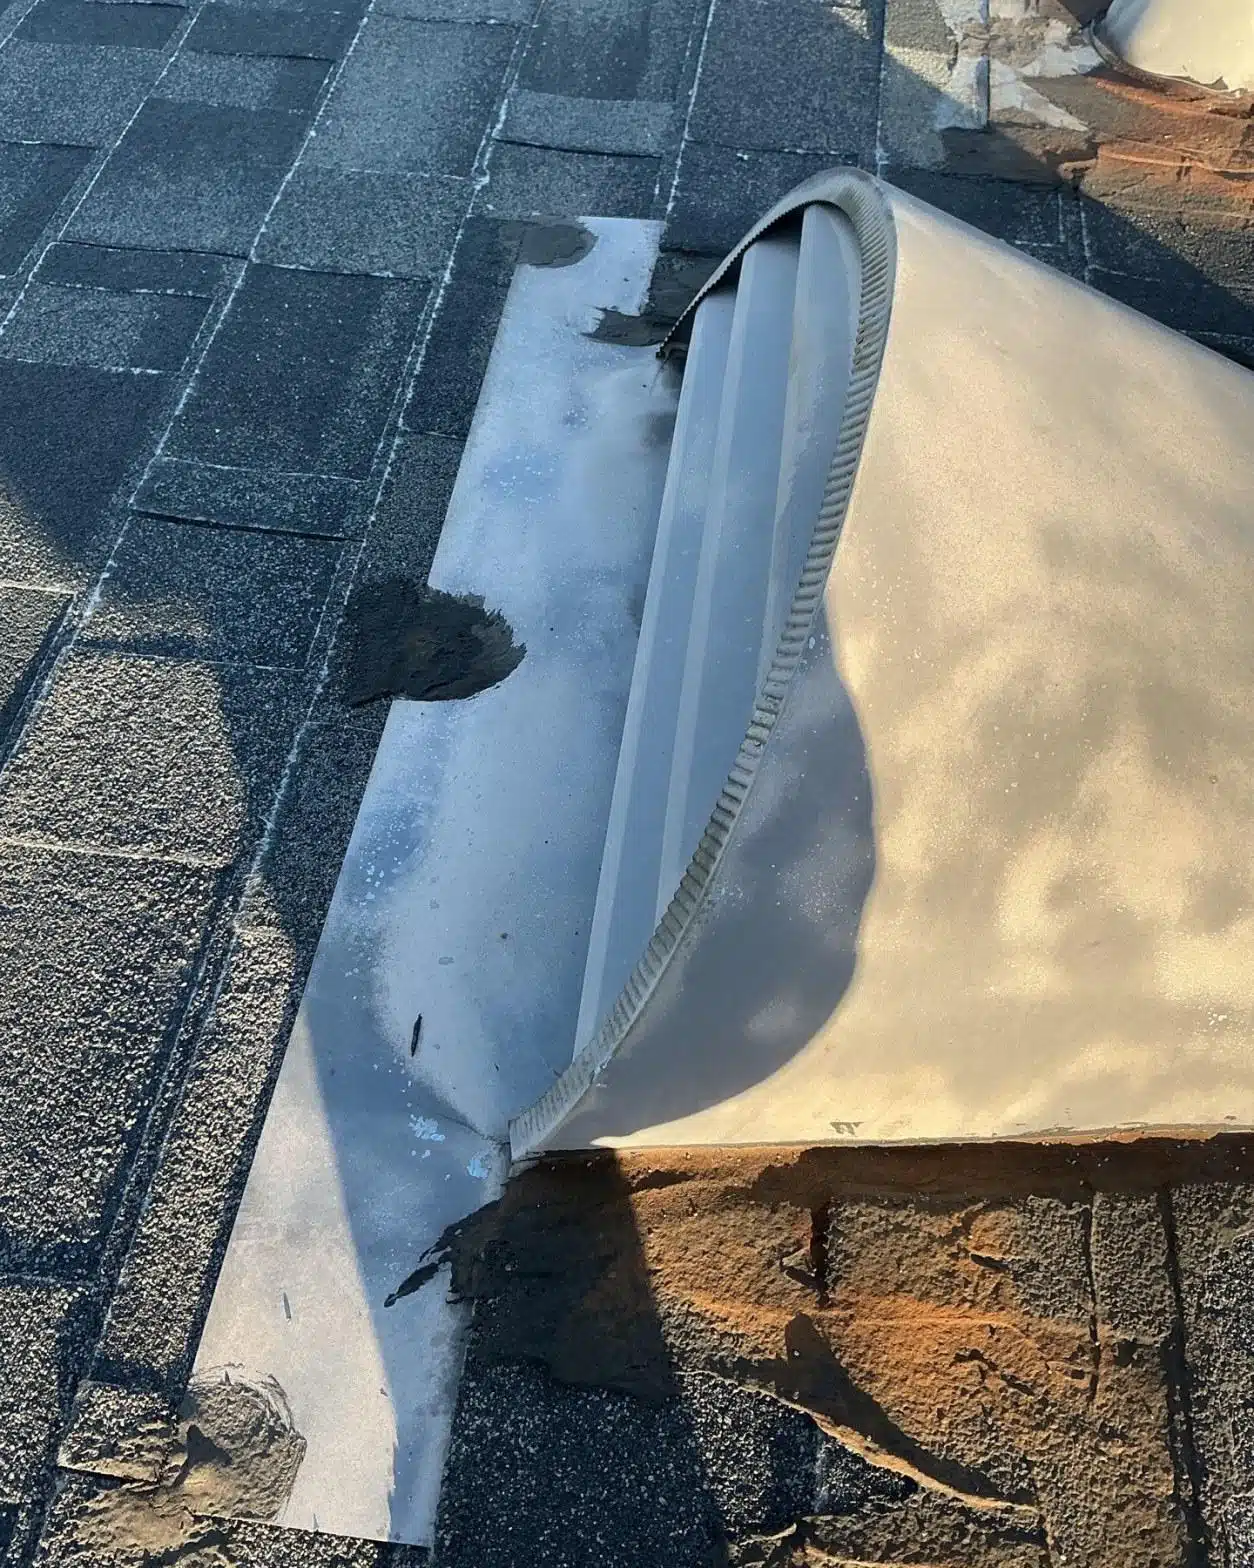
The box vents were positioned in the upper field of each slope to allow warm air to exhaust from the attic space. Proper attic ventilation reduces the thermal load on the shingles themselves and helps prevent moisture buildup in the attic cavity during the cooler months. Each vent was set into a cut opening, flashed, and then shingled over at its upper and side edges so that the lower flange sits on top of the shingle course below it, shedding water away rather than trapping it.
The architectural shingles were installed in a staggered pattern across the full hip-and-gable layout, including the small rear addition. Hip-and-gable roofs require careful layout at every hip line because the shingles must be cut and aligned so that courses meet cleanly at the ridge without exposed gaps. New hip and ridge cap shingles were installed last, capping every exposed peak and hip line on the finished roof.
The Finished Roof: Atwater Village, February 2026
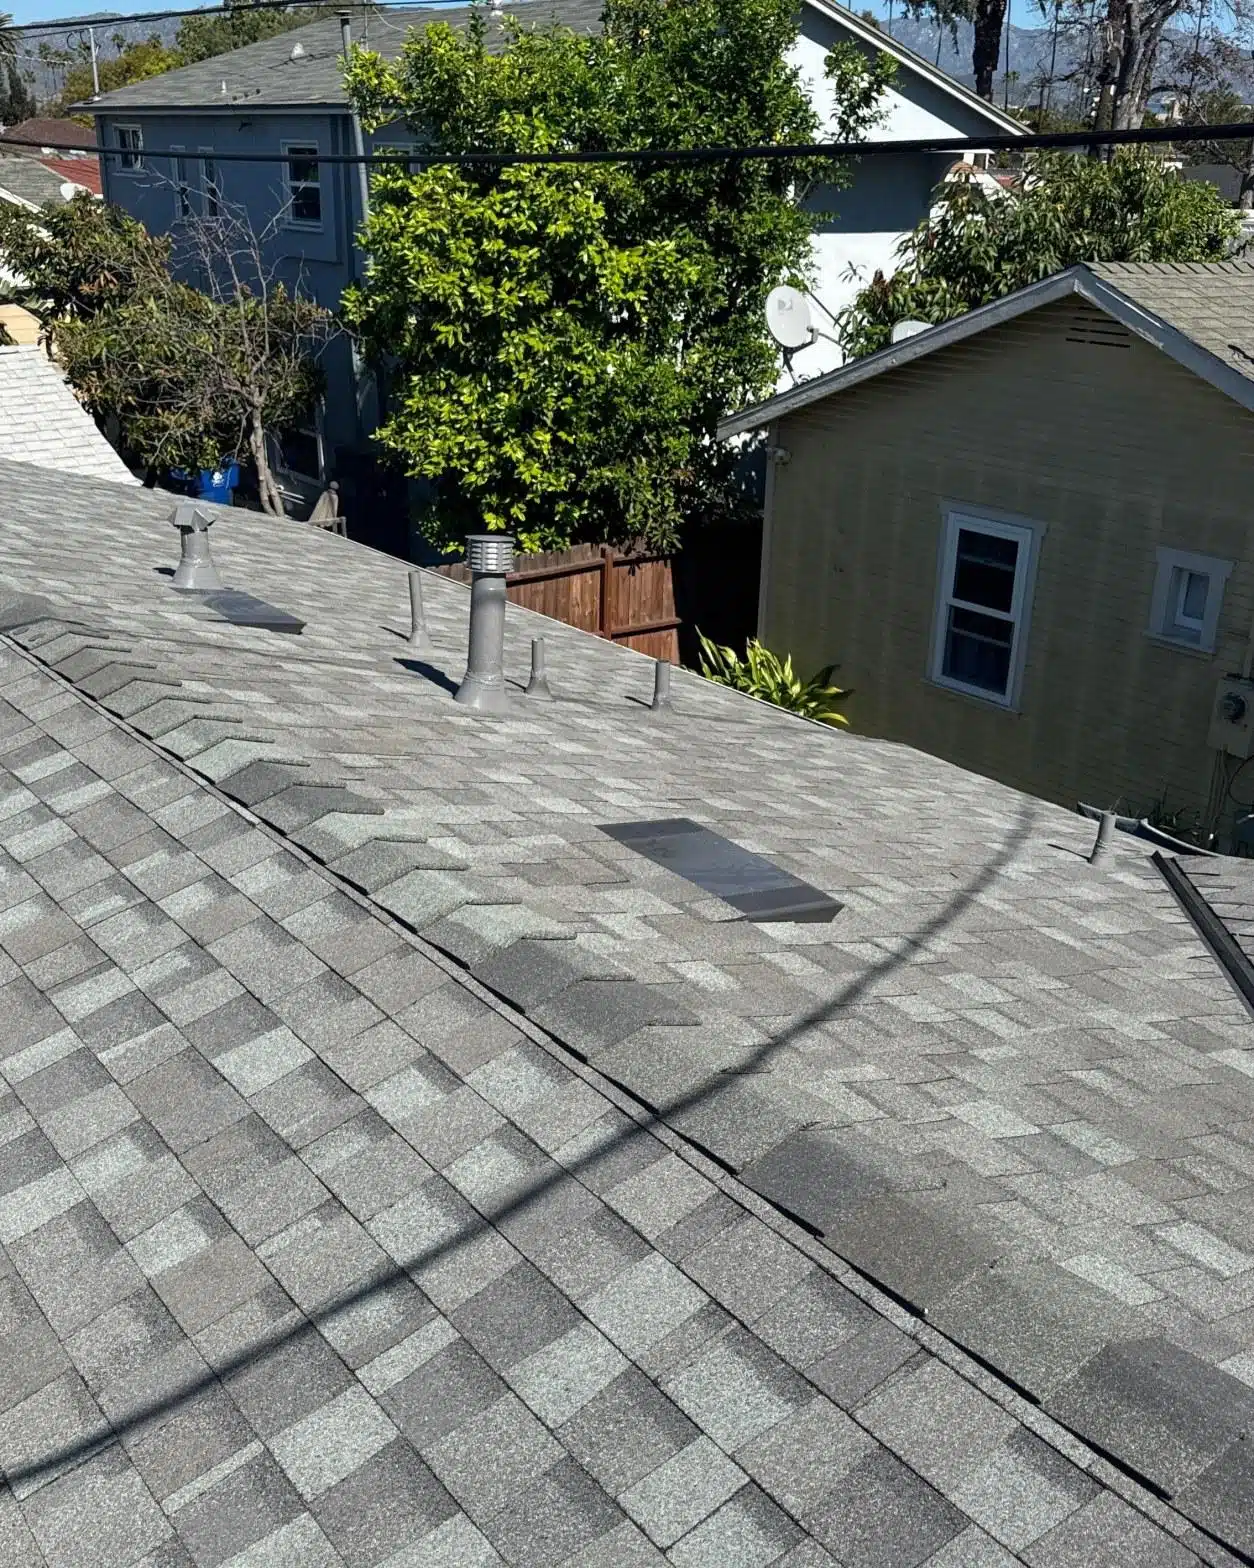
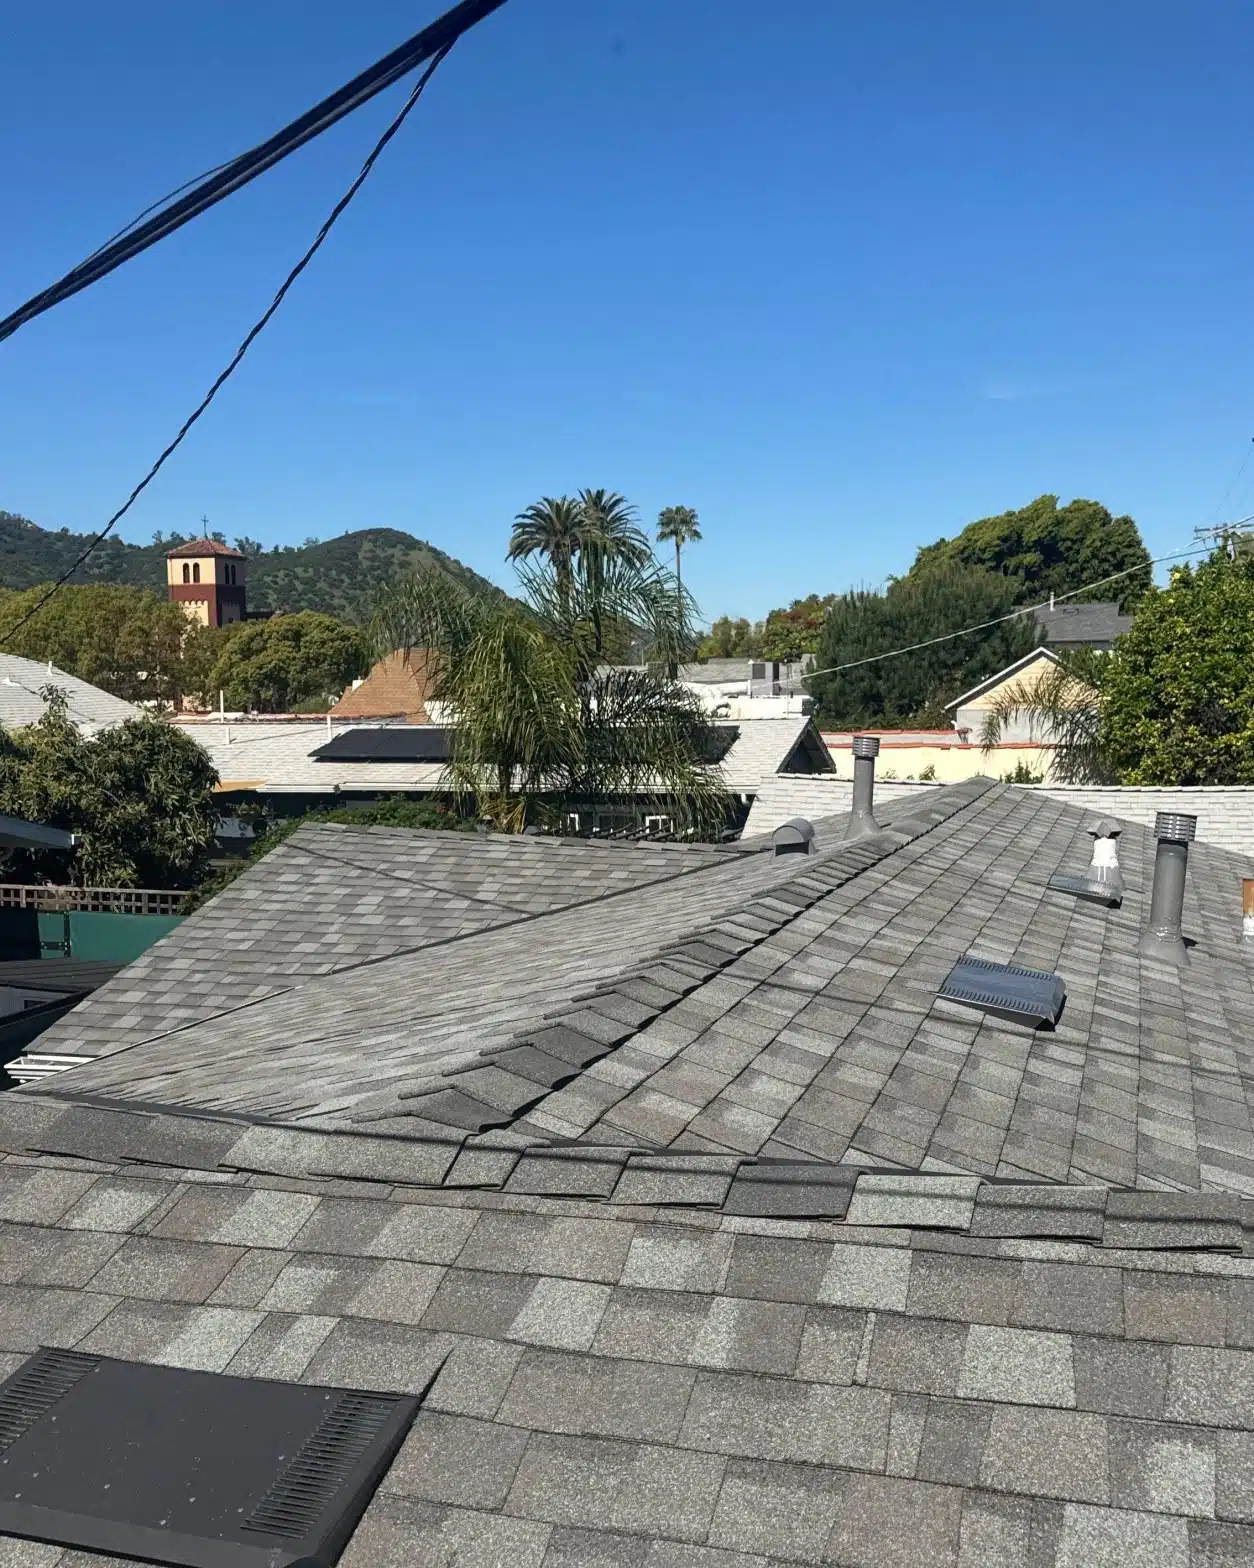
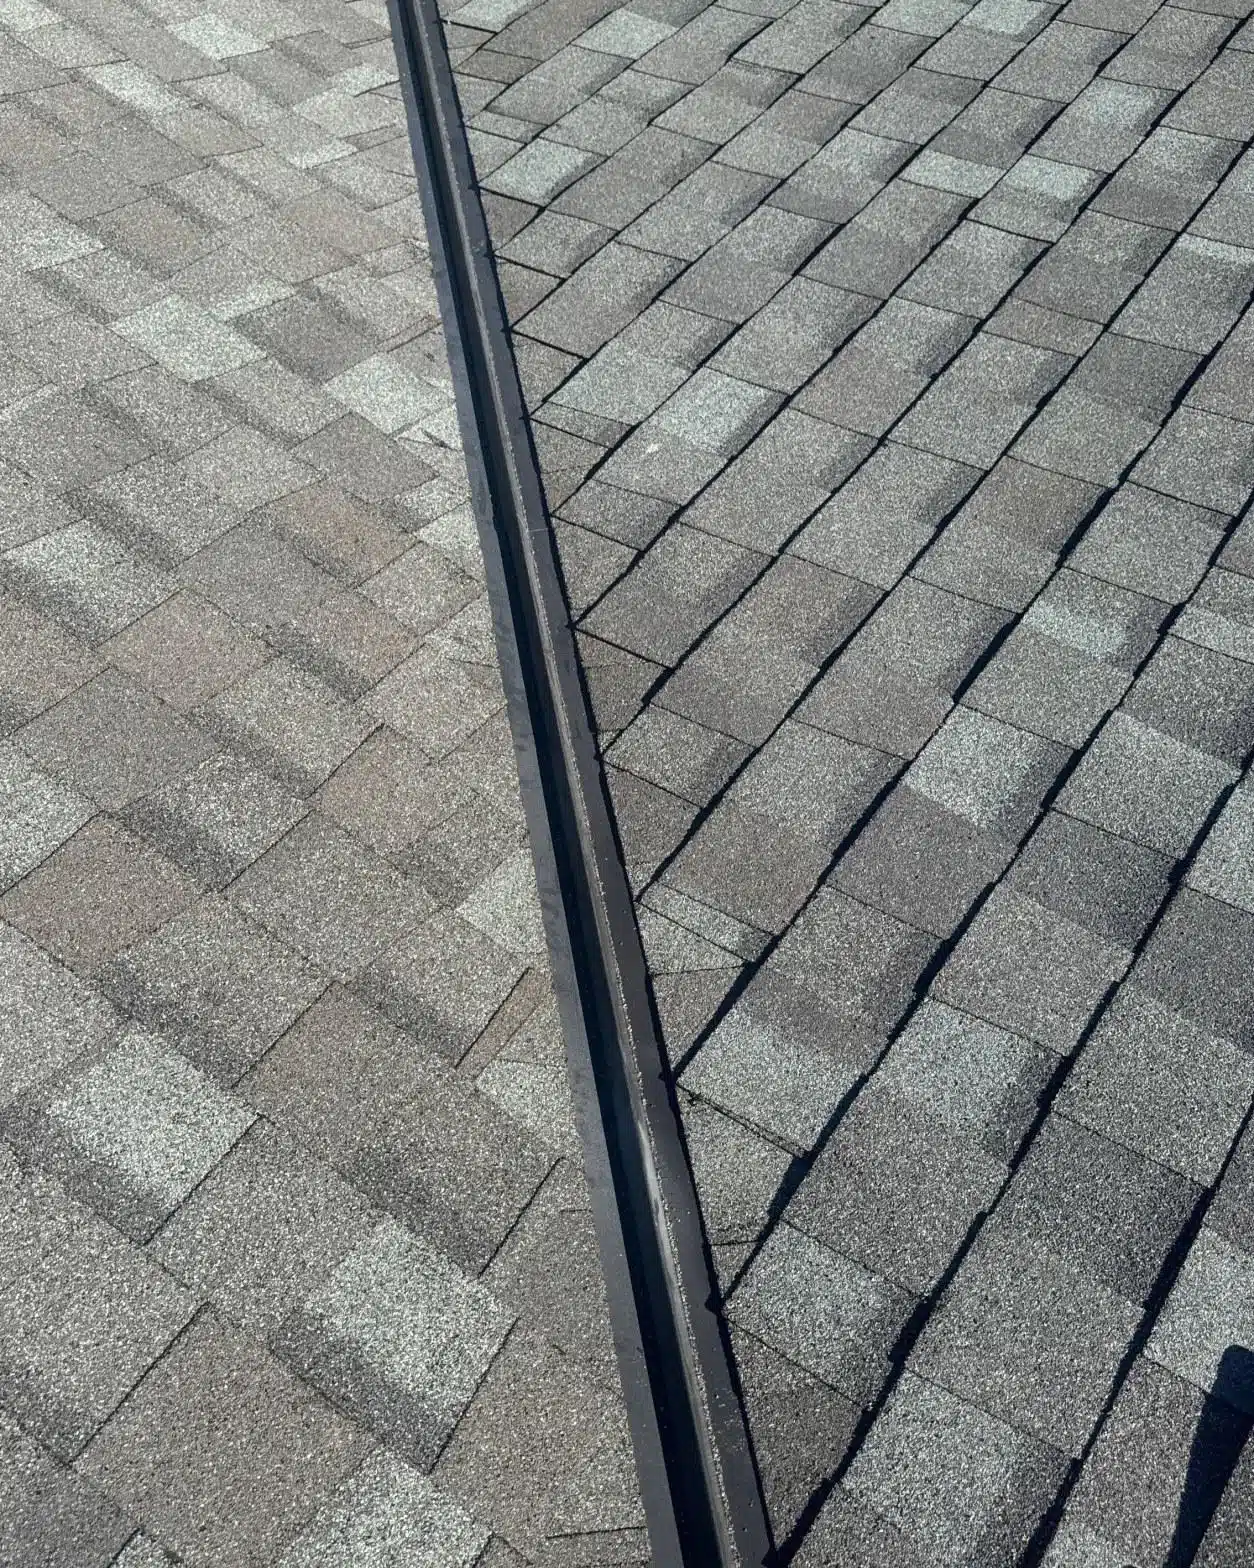
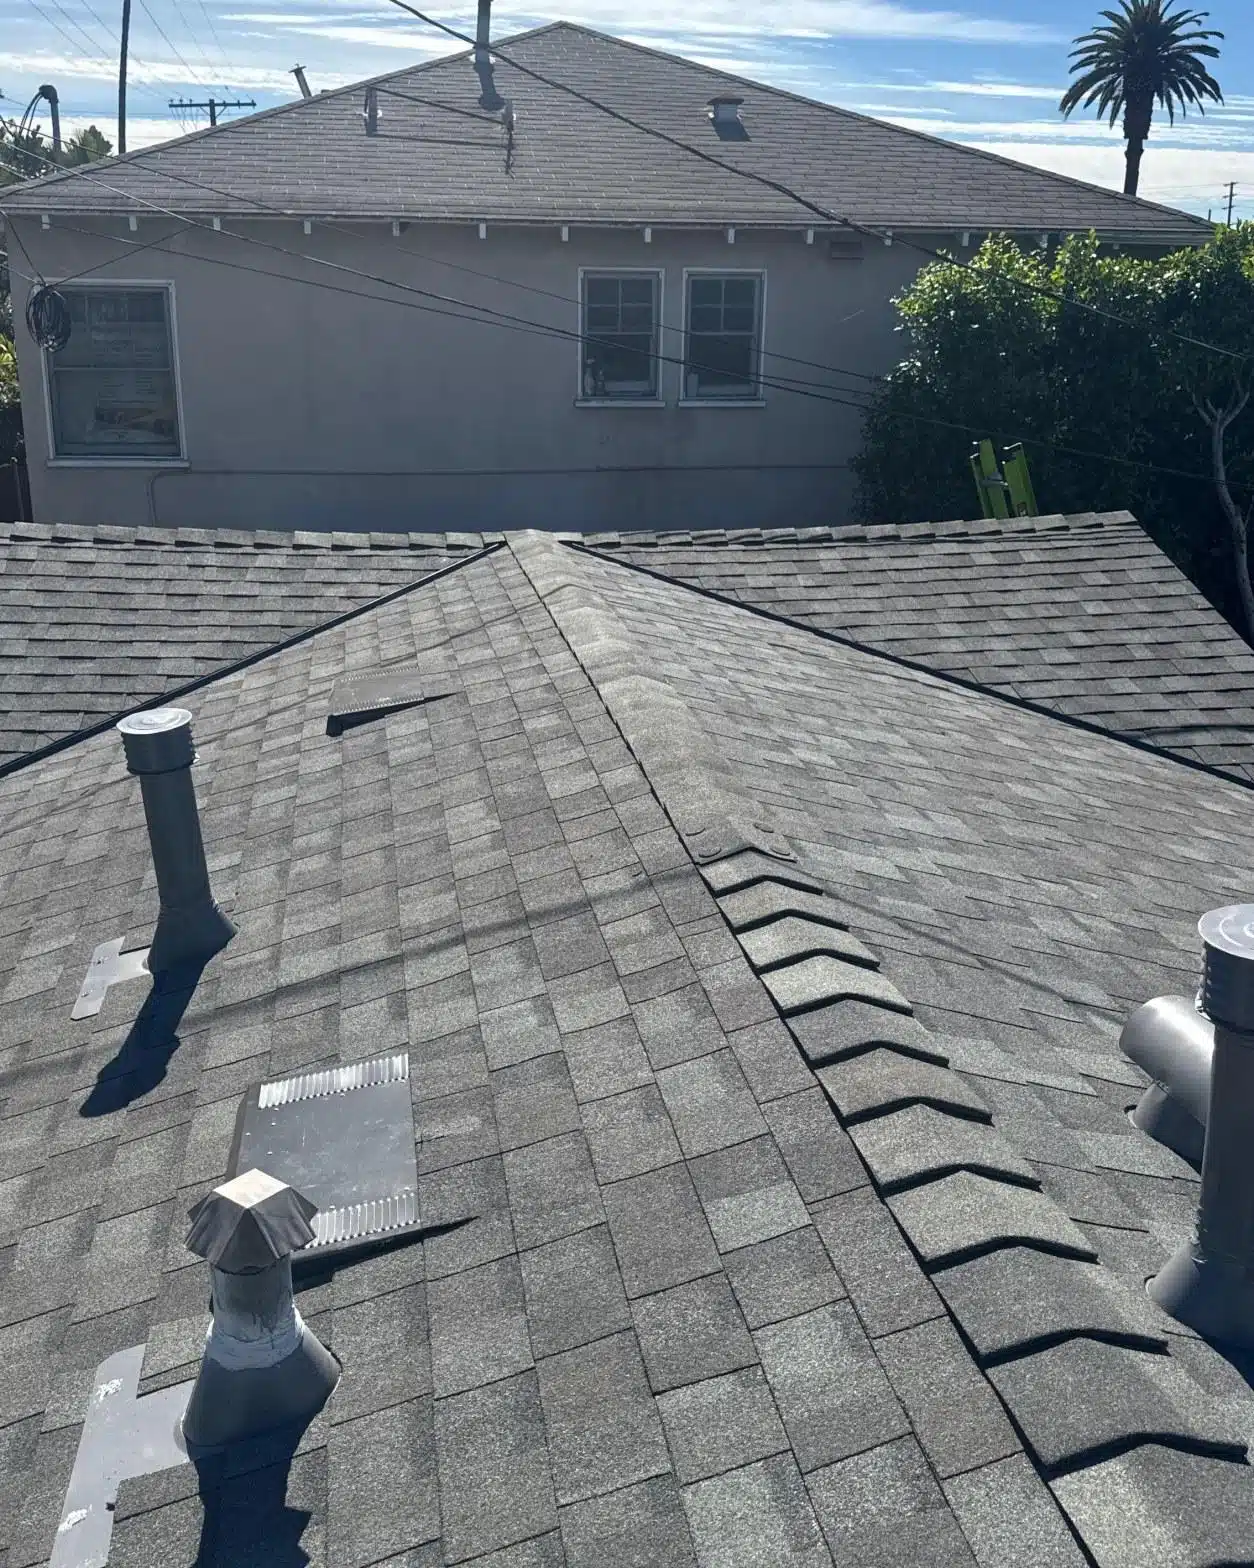
The completed reroof at 3651 Boyce Ave presents a clean, uniform gray shingle surface across all slopes, with properly seated ridge and hip caps, flush box vents set into the field, and new pipe boot collars at every penetration. The job was finished on February 28, 2026, five days after tear-off began on February 24.
From the street and from neighboring properties, the difference between the worn original roof and the finished installation is immediately visible. The original surface had a patchy, granule-depleted look, with darker streaks where the asphalt mat had been exposed and lighter patches where old repair caulk had dried out. The new shingles are consistent in color and texture across the full field, with no visible patching, lifted edges, or mismatched cap shingles.
The pipe vents that were previously surrounded by cracked and debris-clogged boots now sit inside clean flashing collars that are integrated with the surrounding shingle courses. The low-slope rear addition that had a peeling membrane is now covered with the same shingle system as the rest of the roof, transitioned properly at the eave edge with drip edge metal rather than a surface-applied patch.
For homeowners in Atwater Village considering a similar project, this job illustrates what a full tear-off and reroof actually involves: not just new shingles over the old surface, but a complete assessment of the deck condition, all penetrations, all edges, and all transitions between roof planes. When a roof has reached the age and condition visible in the inspection photos from this project, a layover is rarely the right answer. Starting from bare deck lets the crew see exactly what they are working with and address problems before the new materials go down.
Roof Repair & Construction Inc. handled this project from the January 30 inspection through the February 28 completion, coordinating the tearoff, interim protection, and full installation as a single continuous scope of work.
Ready to Talk About Your Roof?
If your Atwater Village home or neighboring property has a shingle roof showing granule loss, lifted shingles, failed vent boots, or a low-slope membrane that is no longer holding its edge, schedule an inspection before the next rainy season puts pressure on those weak points. Contact Roof Repair & Construction Inc. to have a roofer walk your roof and give you a written assessment of what it needs.
Gallery
Explore our full range of Roof Repair services across Southern California.
Frequently Asked Questions
How long does a full shingle reroof take on a single-story house?
This job ran from tear-off on February 24 to completion on February 28, 2026, covering a hip-and-gable roof with a small rear addition. The timeline on a single-story home depends on the size and complexity of the roof layout, the condition of the deck once the old shingles come off, and how many penetrations like vents and pipe boots need to be replaced.
Do I need to replace the whole roof or can damaged shingles just be patched?
When granule loss covers the full field and multiple areas show lifted, torn, or failed shingles, a full replacement is typically more cost-effective than repeated patching. The Boyce Ave roof had failed vent boots, a peeling low-slope membrane, and deteriorated ridge caps in addition to field shingle damage, all of which pointed to a roof that had aged out rather than suffered isolated damage.
What is board sheathing and is it okay to reroof over it?
Board sheathing is the original wood decking used on most Los Angeles homes built before the 1960s, consisting of wide wood planks run horizontally across the rafters with small gaps between them. As long as the boards are structurally sound, they are a fully acceptable substrate for a new shingle installation and do not need to be covered with plywood before the underlayment goes down.
Why does my roof vent keep leaking even after it has been patched?
Most vent boot patches fail because roofing cement loses flexibility over time and cracks away from the pipe as the roof expands and contracts with temperature changes. The only lasting fix is a new boot collar integrated with the surrounding shingle courses, which is what was done on this Boyce Ave project during the full reroof.
How do I know if a roofing contractor in California is properly licensed?
You can verify any contractor's license status directly through the California Contractors State License Board (CSLB) at cslb.ca.gov by searching the contractor's name or license number. A valid CSLB license is required for roofing work above a certain dollar threshold in California, and hiring an unlicensed contractor can affect your ability to pursue a claim if something goes wrong.
What is the difference between a reroof layover and a full tear-off?
A layover places new shingles directly over the existing layer without removing the old material, while a full tear-off strips everything down to the deck before the new system goes on. A tear-off allows the crew to inspect and repair the deck, replace failed flashing and vent boots, and start with a clean, dry substrate, which is why it was the right choice on this Boyce Ave project where the deck condition and multiple penetration failures needed to be addressed before anything new was installed.